marcytech
Well-known member
- Joined
- Apr 6, 2022
- Messages
- 464
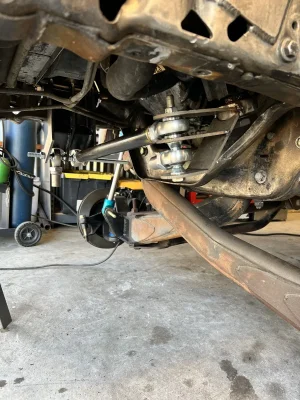
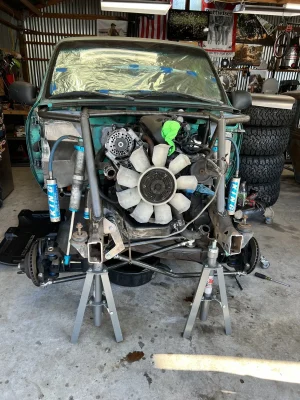
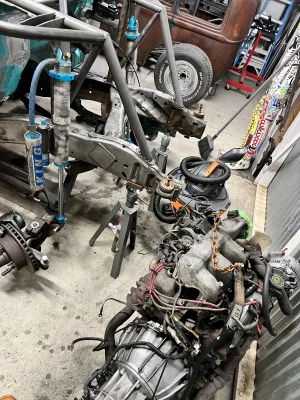
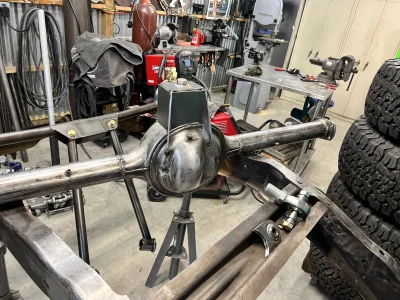
yeah they both share the OG plank fixtures for the front and rear ends.SI and Newline have the same geometry as well right? Years ago when i was linking my ranger Jerry told me his kit geometry was just like Nestors and Planks.