Local Legend Project: Tur-BRO-yota

Feb 8 2018
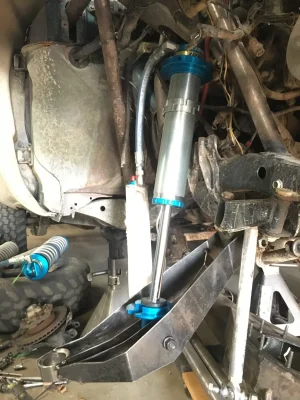
Revalved front sway-a-way coilovers the night before leaving for KOH

new valving is as follows:

Compression:
1.65x0.012”
0.90x0.008 flutter fulcrum
1.5x0.012”
1.35x0.015”
1.2x0.015”
1.05x0.015”
0.90x0.015”

0.90x0.100” washer
1.5x0.062” plate

Rebound:
8 stack

1 free bleed open
200psi
1.16” preload
4”350lb over 16” 500lb
1.3:1 motion ratio
Eibach microcellular foam shaft bump

cb72a39eeebe18cceae3814f9b20f527.jpg


57f07f7cf5be88200252a0e8e254efe3.jpg
 
New valving was a drastic improvement over the 0.008” stack with a rate plate, for sure.

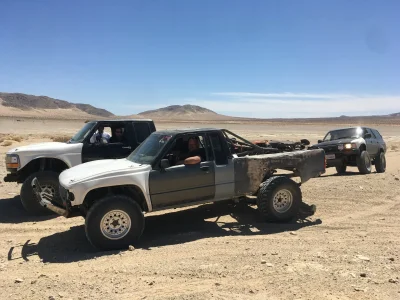
Smashing the whoops on Ghost Road headed toward the lakebed by hammertown, the center support bearing on the Turboyota departed.

Hilarious!! The sounds of the driveshaft powerfucking the floor under my ass were quite funny.

Got the center support bracketry bent back with channel locks and the carrier bearing monkeyfucked back on and drove it back to my buddy’s cabin. Rode in Kyles F150 the rest of the day....

26b1e7cc6b318454e5e8b818bc3cf723.jpg


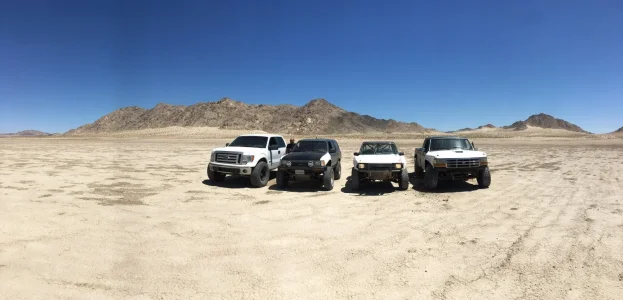
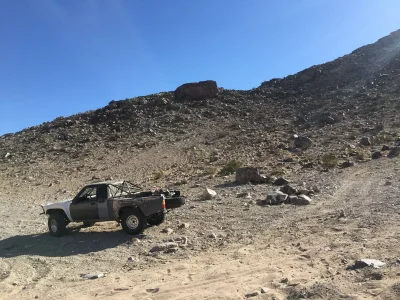
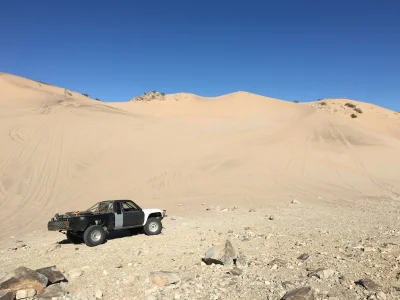
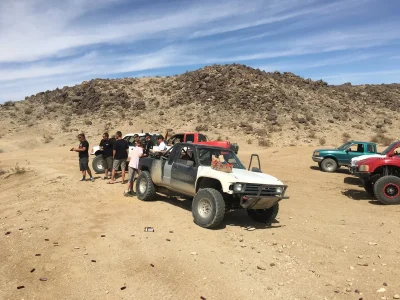
Annnnd the only other picture I took of the ‘yota whilst at KOH. Boring pic in hazyhammertown...
8ac94c2127920f0d4946acdf5b4542c4.jpg
 
Dealt with the DNF’d carrier bearing situation:

El Salvadoran Vato welds. The astute reader will notice the bolt slots are fuckered.
7820b89b1c9111f4de881f52d2984dcb.jpg


7e8bf602aaabee6c28d92c1be39e581a.jpg


d757d22d8ccc891bb81be81789f8e1d4.jpg


3aaad33524c49dfe0c3ad6f152ca5a13.jpg
 
Excellent post from @FasterNU deserves immortalization here:

Quoted from A-A-Ron:

With these "rate plate" set ups... what I am mainly looking at is the distance from the first shim that is covering the piston holes to the flexible or inflexible plate. Basically, the largest diameter shim is what has to bend first to allow fluid to pass thru the piston. Just for the sake of it, I am going to call the largest diameter shim the main shim. I am also going to call the thick factory rate plate a "real rate plate" ... again, just for the sake of discussion.

If you make a short distance from the main shim to a real rate plate.... once you hit a certain amount of flow, the main shim will hit the thick rate plate washer... and will not flow anymore. Playing with this distance is going to change the max flow. Playing with the shims in between this distance is going to affect how it behaves before it gets to that max flow.

So, add up the distance from the main shim to the "rate plate". In DoDah's case... he has .032" of distance before his main shim will hit his 1.5 x.020 "flexible rate plate". So, once that main shim bends .032", it will hit that flexible rate plate. In his case, if it needs to flow more, it still will because it is thin enough to bend ... although it will become much stiffer at this point. If he would have left the 1.5 x.062(real rate plate) ... it basically would choke it off at .032".

With a top mounted reservoir shock like a coil over, once you hit that wall where there is no more flow ... it's going to push that column of oil into the reservoir, AKA cavitation. (And create a nice pressure spike, and create a shit ton of heat and start cooking that oil)

Now, you still have some options with the middle shims between the main shim and rate plate too. If you make the second shim a smaller diameter than the standard diameter second shim, it's going to let that first main shim bend easier at first. Play with the diameters and heights here to get the desired ride. Most of the initial feel seems to be in that first shim or two. Larger diameters on the small higher speed shims will stiffen things up. Thinner shims can also make it stiffer. That might seem backwards, but think of the column of metal disks and height you are creating and it will make sense.

FWIW, I had a real rate plate set up on 2Ghetto before I installed the front bypasses. I was at .028" distance. I could not flow any more than whatever amount of oil could squeeze past that .028" of distance. It actually worked real well. I've been wanting to play with a flexible rate though, because I feel like hitting a wall of flow can't be the most desirable thing. I will probably do this in my brothers truck, G3. Right now he has .030" of distance to a real rate plate on his front coil overs.

Now, let's look at what barge did below. As you can see, he still kept that real rate plate in there. However, he has what is mostly a traditional pyramid stack (small flutter on main shim) ... then there is a flexible rate plate which is 1.65 x.020..... which he has spaced .100" off of the real rate plate.

I had read before that the shims don't bend much more than like .050" ... but barge has called BS on that, and I believe him.

Compression:
1.65x0.012”
0.90x0.008 flutter fulcrum
1.5x0.012”
1.35x0.015”
1.2x0.015”
1.05x0.015”
0.90x0.015” (what is the point of this shim?) Spacer for this vvvvv
<<<<<<<<<<<<<<<<<<<<<<<<<<<<<<<<<<<< 1.65x.015
0.90x0.100” washer
1.5x0.062” plate

So, total flow in this case(if you can get everything to bend that far) would be .080" until you hit the flexible rate plate ... and then .100" more distance until you hit that wall. So, the grand total there would be .180". That seems like quite a bit to me... but hey, it never hurts to try it!

Happy tuning! I am going to work on posting up some videos from this weekend. We went testing in Plaster City with the new bypasses on BroDaddy, my new settings on 2Ghetto, and G3's rear end with the free bleed plugged in the back. We were running 3 wide for a bit too. Big fun!

Oh, and LOL at the "astute reader" noticing the bolt slots on your last posts. HAHAHA.
 
Last edited:
Numbers as of March 5, 2018
————————
Hours: 658
Total cost minus sold items:
$13,461.23
Cost minus superseded items that will be sold:
$10,952.98

Parts pile cost not yet installed:
$4785.81
———-
Here’s what was on the shelf as of March 2018 awaiting future install;

35x10.5R15’s: $100
New +2 PRP seats: $400
4X Innovations motor mounts: $133.95
4qt oil container: $39.96
King 3.0 IBPs w/compression clickers: $1300
King 2x2 bumps & cans: $477
Wilwood Superlite calipers: $315
Wilwood rotors: $162
Carpet: $139
1.25” muffstuff uniball kits: $280
Speedway 5x5.5 7075 billet hubs: $140
Coleman 2.0” snouts & locknuts: $134
Dirt Tech 40 spline axles, 1 hub & housing: $600
Schreiner 40 spline Hub, bearings, seals and 2 rotors to complete the rearend: $564.90
 
Quoted from chewy0288 on DR:

“The total hours is both mind blowing and awesome to think about. Really puts into perspective the work, time, “money “ that goes into a streetable realistic prerunner. And really changes the total cost when you add in the amount of money you would have had to pay a shop for probably lesser quality work than you put out. Lol.

Even at $20/hour the labor exceeds the total cost of parts.”
 
My response to chewy0288:

^^^Well said. To get to the point I’m currently at in the build, which is playable, but lacking fine details and niceties, it averages out to 12 hours/week for an entire year. Most builds take longer dependent on an individual’s finances and motivation level. I’m about 2.5 years into the build at this point, but I’ve had lots of other truck & house projects rolling through my life.

On the financial side, I obviously buy almost everything used. The King 2x2 bumps and cans that I bought a few months back marked the first time in my life that I ever purchased brand new shocks from the manufacturer.

How much does it cost to have a shop fabricate a Tig welded cage that encompasses over 200ft of tube? I honestly have no clue, but I bet it’s upwards of $7-8K...

Take note, youngsters.
Build it yourself.
Save money.
Expand your skillset.
Fuck bitches.
 
April 2018

Miles on the Dirt BROdometer: 108
Gatorades consumed: 18
DNFs: ‘yota Carrier bearing prolapse (fixed), Whitetrashkyle’s D44 hub, and EZ-UP
Stucks: ummyeahitsme (Andrew) 3X and maybe 1X for @h0runner ? Not sure…
Smiles, fist bumps, laughs: innumerable
Rice Crispies treats: 8
Tanks of fuel: 1
# of 7.3L OBS Fords in our group: 3
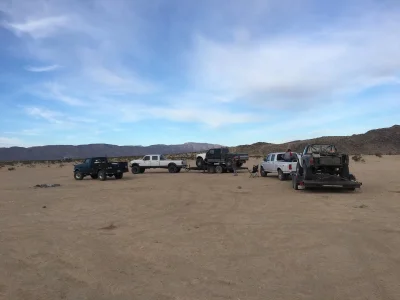
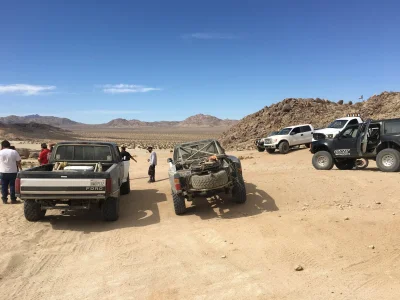
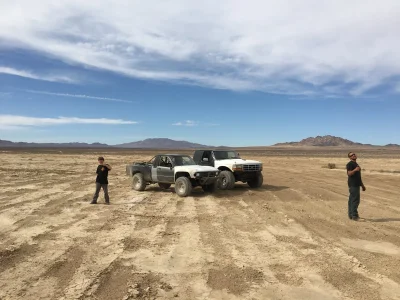
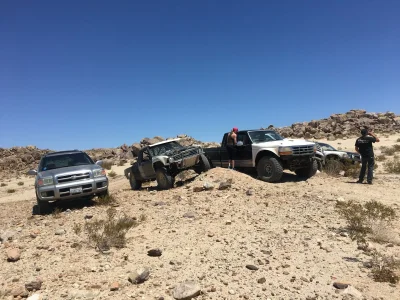
# of Dezert Dimes S-10s that were on their ride to the Rock Pile Memorial: Zilch10EA9A9E-CF25-4E58-A7DB-246AA9D826D6.jpeg6EAB6AF1-4A5C-4950-9C89-FF944486224D.jpeg39E57389-7264-419C-AE35-8CD969CA0145.jpegCB8482D9-4B4F-4A7F-8A8E-0A90013A035B.jpegC8E2BB71-D2C5-4D62-B91D-5BAB606CC0CD.jpeg6C099AC6-D59F-4BD1-B8F0-1B56D077748C.jpegBBF63083-9294-47D5-B715-A8C15C08977B.jpegA23B2B6F-17D1-4CE6-91B4-30609CF85AB8.jpeg5C94087C-3F85-4F23-ACE5-53CFFC0E92D1.jpeg77A032C7-F379-4A64-B8ED-17B1511984C6.jpeg978237B3-5807-4681-9958-773E616EACDC.jpeg2C1A3F1B-55CB-4A4B-861B-E2ADC70BEA86.jpeg
 
April 23 2018

Installed my new PRP +2” width +2” height tan ostrich seats. My upper rib cage finally was not smashing against the seat frame.
57b0db7f7c6264f09a64d1cb38df9a91.jpg


May 2018

Hendrix Billet Carrier bearing installed. Very nice machining on the bearing housing—froze the bearing and MAPP gassed the aluminum for a very tight shrink fit.
3061b32affb98d3f70eaa761b12c1127.jpg
 
May 2018

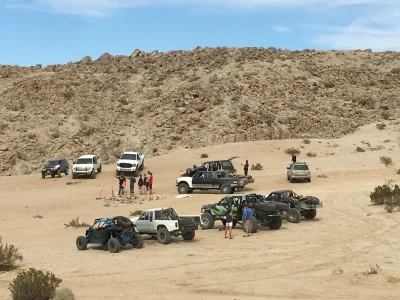
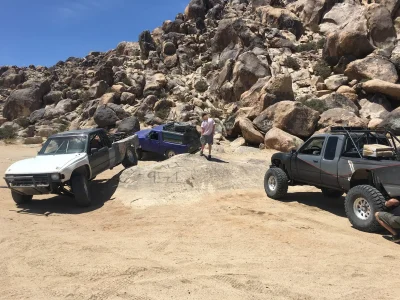
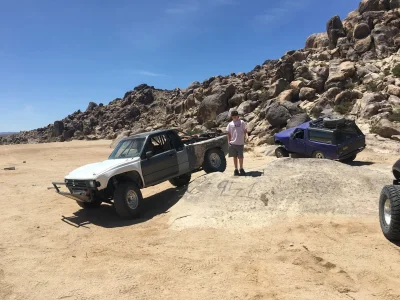
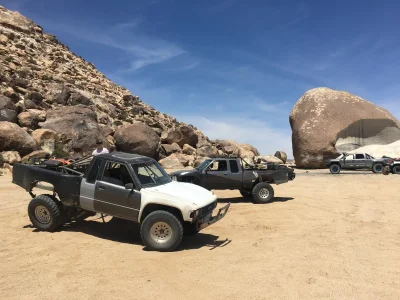
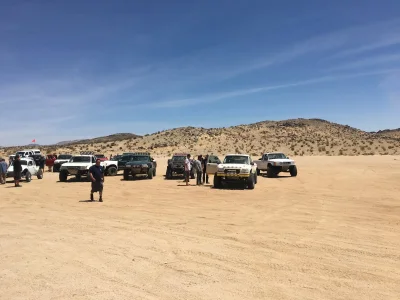
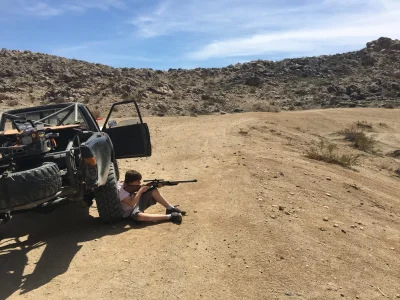
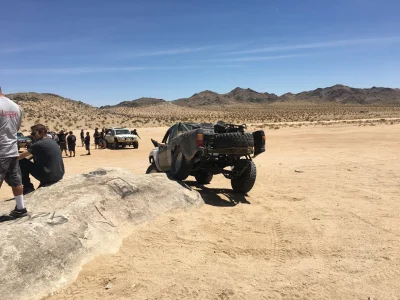
Fantastic, problem-free weekend in the Johnson Valley Dirt at the DR Cinco de Drink-O meet.

Dirt miles: 86
.22LR rounds: 100
9mm rounds: 100
12ga: 25

Had a great time driving, shooting, eating tacos & sausages, hanging out, meeting new people, talking shit, and laughing.

Dang, I spy @charlie brown @dwphoto @sdecurti @marcytech @FasterNU @theycallmeWALLY @Lutz and many many othersB73155F3-67BA-4612-BBBD-3F64A474E2AE.jpeg214D091A-EDE0-47A6-9ADC-92BA850D5585.jpeg94CFC3B3-F74B-4EBF-A65E-494951459771.jpegE8F4AF50-8AFC-43AF-AD24-8A8A2E8A0326.jpeg0A26D6E2-DA9B-43CE-B18C-95403FB29F8E.jpeg241D208F-3973-4B8C-AD94-7478B0BC7C92.jpeg09FFA0AB-3CB7-4475-B426-AD891E09EEF2.jpeg7345ABEB-6EF1-4321-BBA7-2AFB4D33B050.jpeg26C4769C-95A8-4495-819B-5A1DA23F40B0.jpeg10D53911-CDA0-471A-A8A0-591B31FD69BF.jpegA0D50AED-58B3-4A78-B36E-4C8267F0786E.jpeg45EC59AD-F331-4499-8447-00534D8679E7.pngD40DBEF2-8652-41A0-B75B-46AC734DB915.png
 
May 2018

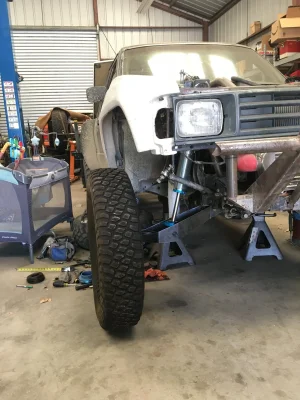
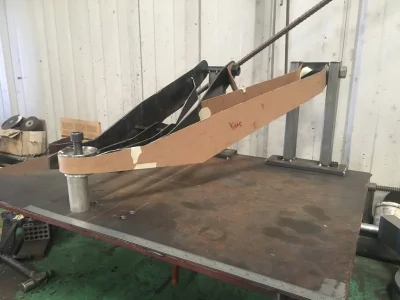
New front suspension from scratch with the bandsaw, Prasma Cuttel, some cardboard, and swag plate brake. Machined the bushing pivots. Repurposed an a-arm jig that I had from when I made arms for FatBrent’s Mobza.
6DEC6C1F-847B-4819-B2B6-B76B70C3E211.jpeg868DF5EB-1EA2-44C4-8B37-4447413763BB.jpegAF580DEB-BC57-4939-BEC1-FB24F635171C.jpeg02197960-51C4-4E13-B9E7-4AA5CA517140.jpeg3AE106F0-7DE1-4229-8638-768FCBF25648.jpeg

More cardboard engineering:
a0c97f364d59bb7de432b8d7fa02d533.jpg


15dab92adc89ad1ea6ff782cd30f88b1.jpg


Exported the cardboard .dxf files to the chinee prasma cuttel:
53dccbddad363c6002461938987819e6.jpg


Near final cofiguration:
37834f98b9ef7a21742ddf0cea034a15.jpg


Rear frame pivot tab solid modeling is almost complete:
02f5f583b3cc41e12305beb960232a10.jpg


1b3a5d9a21eae984c34852b80a256e44.jpg


dd09c3ab4e88facdcd01cdedb2bb5291.jpg


Driver’s side upper shock mount will require slight trimming.
07e371f9bd650d637fb24760730bfc58.jpg


Time: 4 hours
Music: Volbeat
Fab Tools: chinee prasma cuttel, scissors, sharpie, vise brake
Herramientas Mecánicas: earthquake impact, sockets & wrenches
 
July 2018

Clean slate:
7cf6107924e07b54e7f1fc176cc8584c.jpg


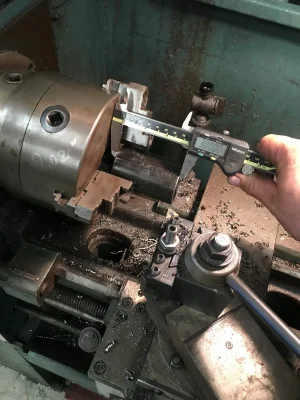
Band sawed, then Milled snout blocks from 1/2” blanchard ground plate I had laying around.
909e0e672e75209ebe646607d0857231.jpg


66eb3e0454f980858ce944b497cfd4ba.jpg


Hole sawed 2.5”, then bored 2.614” light press fit hole for weld-in snout.
85ebaa7ed66da95525d8bb4abdccc379.jpg


c6c332d3a35ee8659461d58e84c7cec7.jpg


Ameribrade CNC plasma cut my upright plates. NICE quality plasma cuts! Fitment was excellent. I made a couple bends in the 3/16” plate with the vise brake. Clevis is 4x4x0.250” wall tube.
4ee7a1c8b6190fc8c40092fb7cc30be2.jpg


Tacked together:
38d3e8b9a81778d4db6020143021db03.jpg


8774810c612740e563379d7eb246dd82.jpg
 
12.19” Wilwood rotors and Wilwood calipers fit snugly inside the 15” Outlaw II wheels.
0e969b71d6c53330883ddbbc9cb76272.jpg


Like a hotdog down a hallway in a 17” Method beadlock...
d6985933431e86a4d26940b1d5abd7ac.jpg


Need to remove 1.919” from the back of the snout:
126b4021c0dcb8820647aa7046def30b.jpg


Most importantly:
53ae2d6d0fd5471fb770d6da729a1ade.jpg


39 lbs!!!
 
Back
Top