You are using an out of date browser. It may not display this or other websites correctly.
You should upgrade or use an alternative browser.
You should upgrade or use an alternative browser.
Hoopdee 94.0 Bronco
- Thread starter Brett_408
- Start date
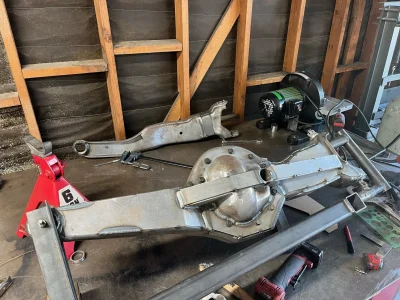
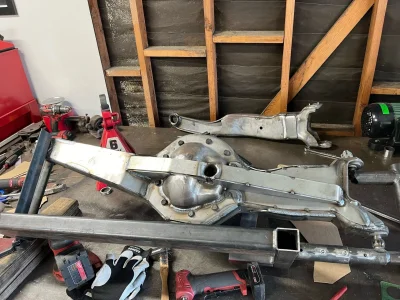
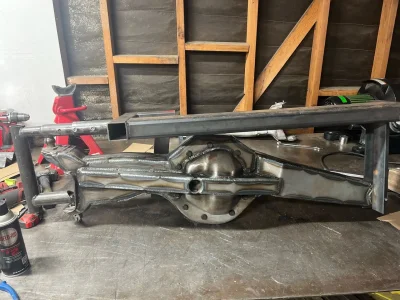
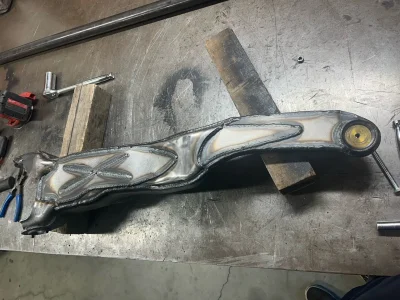
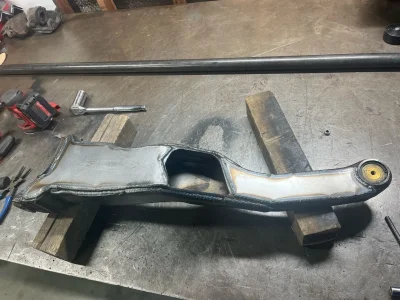
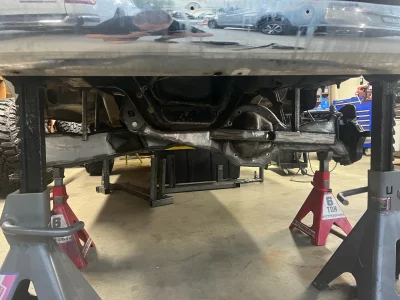
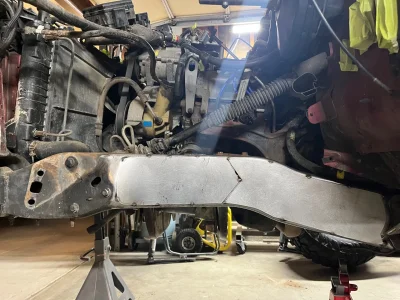
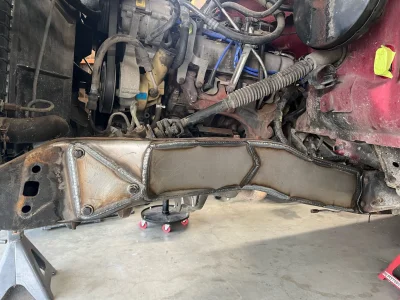
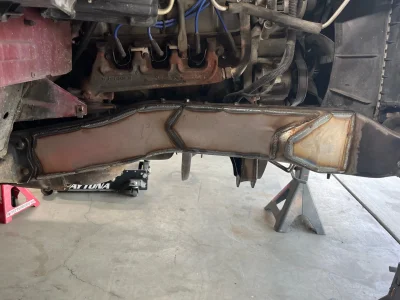
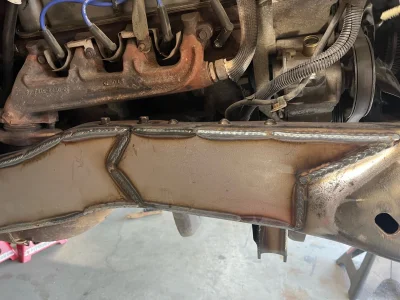
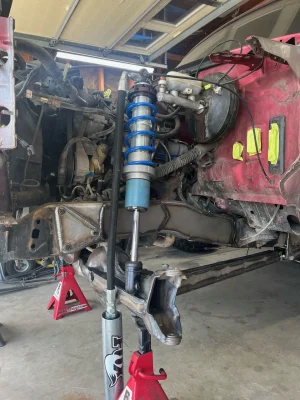
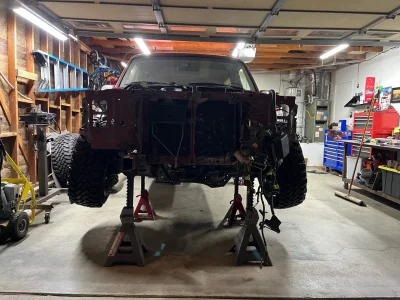
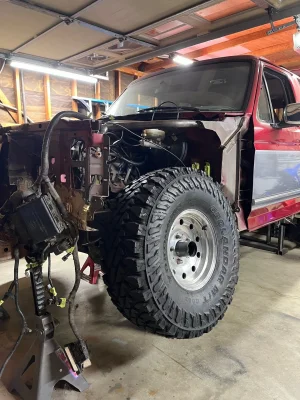
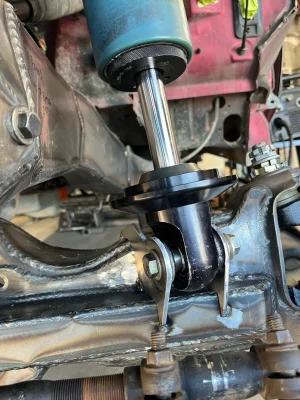
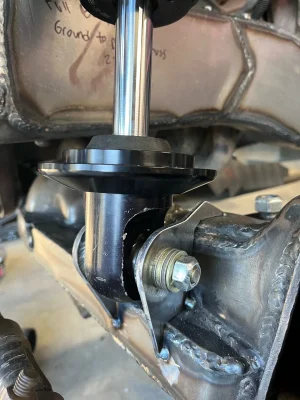
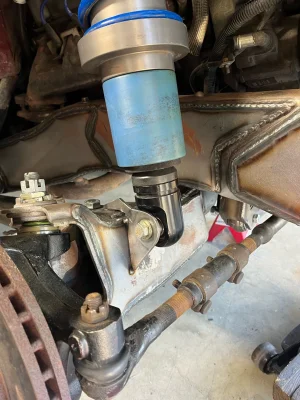
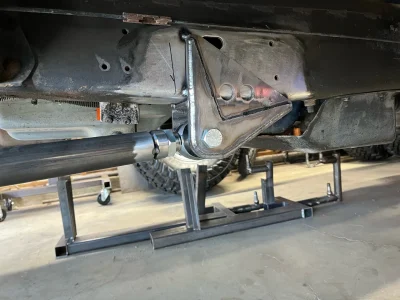
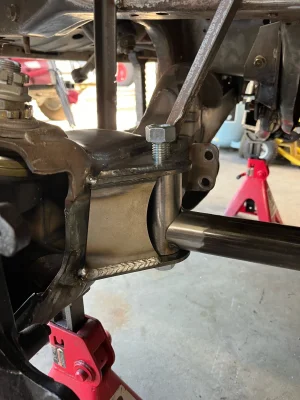
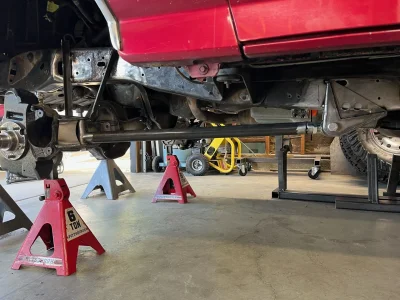
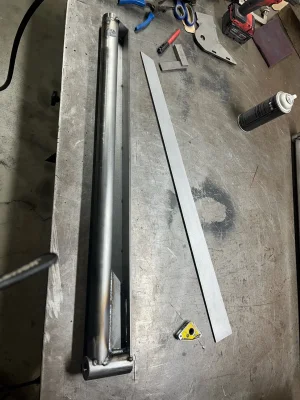
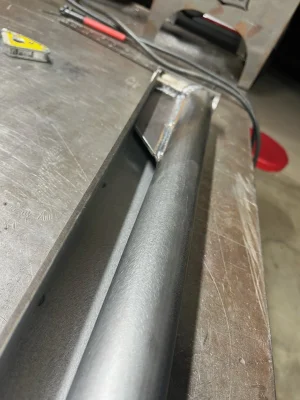
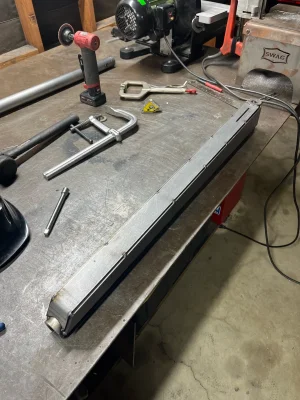
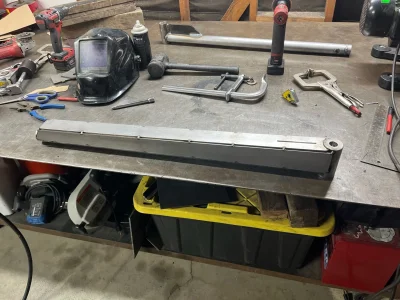
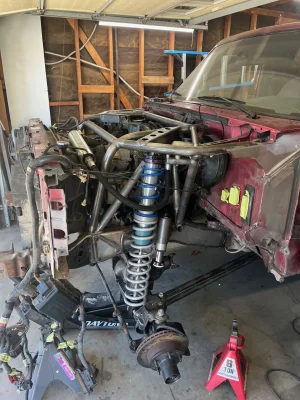
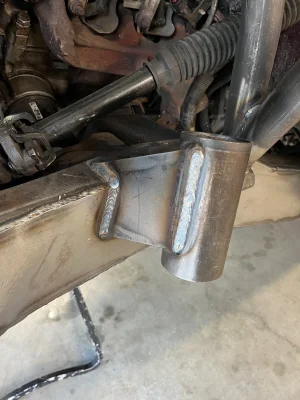
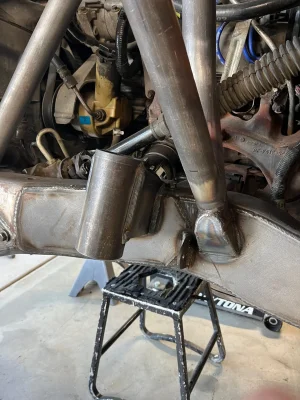
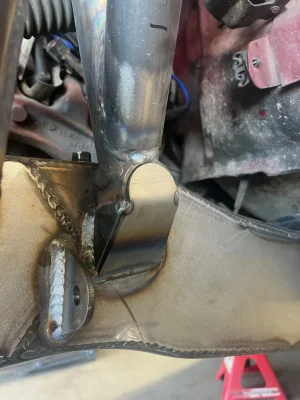
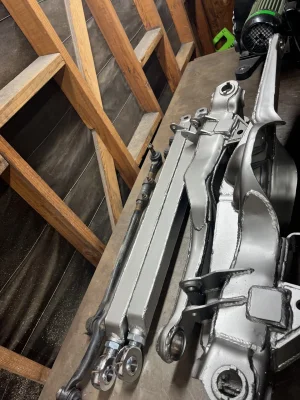
I then located the radius arm mounts on the backside of each beam and on the frame rails. Made sure everything was square side to side and cut the radius arm main tube to length and tacked them in place. I then was able to finally cycle the suspension for the first time. Need to do some minor clearance to the uniball cups so they don't bind in the Solo beam pivots but its minimal. As of now it cycles about 20" of travel. Once the entire driveline is bolted in we will see what the axle shafts and u joints let me get away with. Radius arm construction is 1.75" x .500 DOM bosses at the beam mount then a 1.75" x .120 4130 main tube with 1 1/4" hiems and finally all plated in with 3/16 mild PNO. There is an internal gusset in the center in anticipation of bumping off the top of the radius arms.


Yes I just trashed all of it. I'll rerun all the brake lines with -3 fittings and stainless tubing. Much more serviceable.Nice.
What did you do with all the ABS crap? Delete?
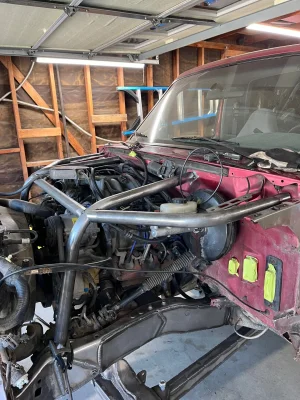
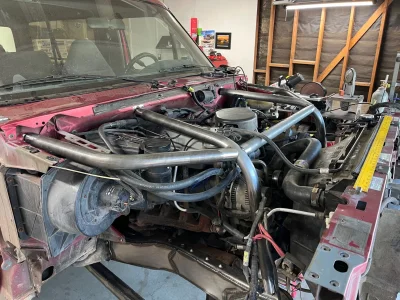
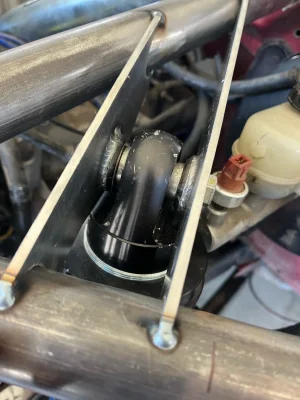
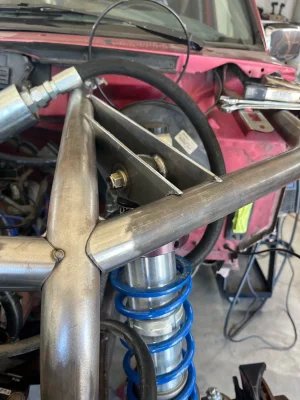
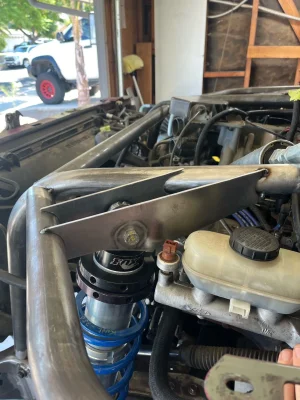
Engine cage / upper shock mounts pretty much wrapped up.
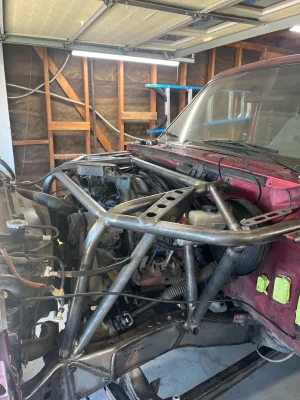
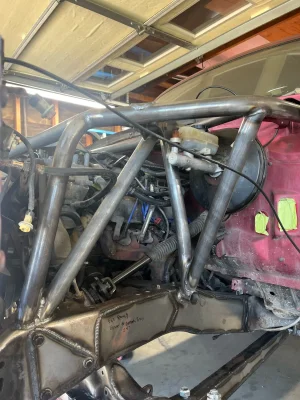
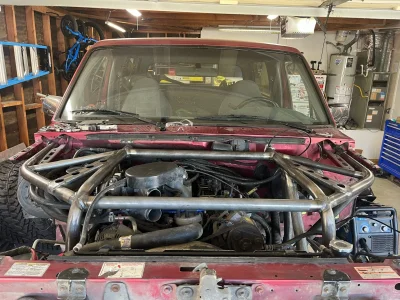
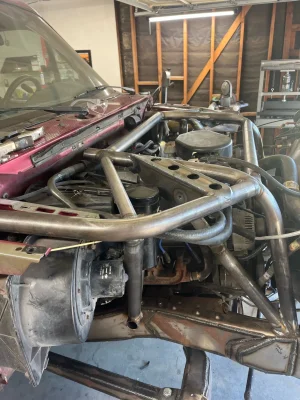
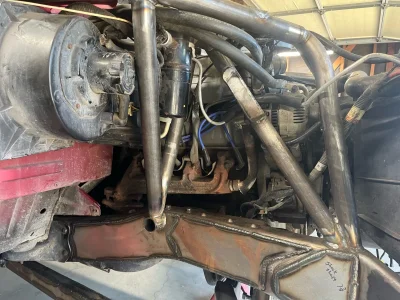
Thoughts on adding gusset tubes from the node in the middle of the shock mounts to the rear cross over tube? Is it needed for lateral support or just overkill at this point? I'm leaning towards just over kill and harder to work on the engine or components.
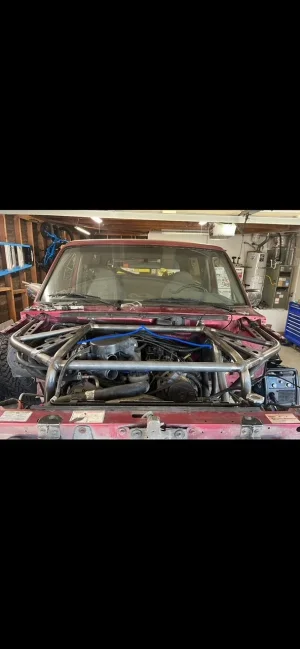


Thoughts on adding gusset tubes from the node in the middle of the shock mounts to the rear cross over tube? Is it needed for lateral support or just overkill at this point? I'm leaning towards just over kill and harder to work on the engine or components.

nolandurecki
Member
- Joined
- Jun 14, 2024
- Messages
- 8
looks sick dude, how much caster do you have at ride height?
I put 9* caster at ride height that's with the alignment cams at a neutral or zero position so it can be dialed in + or -looks sick dude, how much caster do you have at ride height?
Ajones880
Well-known member
Looks Killer!!! keep it up!
CozRodz
New member
Looks awesome man! So much great info on this thread that I could never find combing through decades of threads on the other ones. Looking forward to hearing how it works. So much cooler that you did it yourself! 


Thank you. My goal was to give the info that I could never find before I started this project. All the big name bronco parts builders are pretty tight lipped about processes and details (rightfully so) or they wouldn't be in business. I'm trying to make it easier for the working man that will DIY it and doesn't have deep enough pockets to buy from the solo or desolate catalogue.Looks awesome man! So much great info on this thread that I could never find combing through decades of threads on the other ones. Looking forward to hearing how it works. So much cooler that you did it yourself!
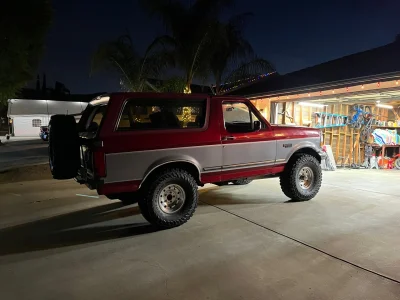
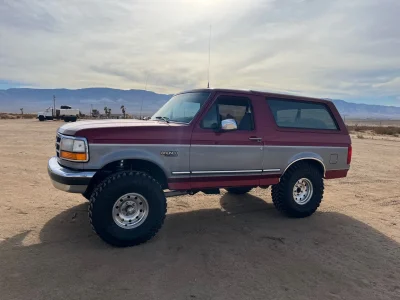
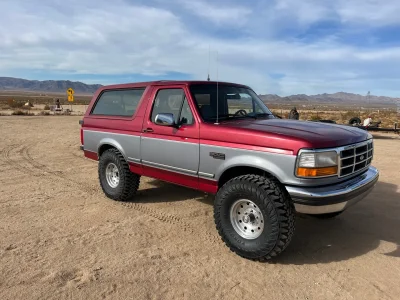
Update time! Basically the front end is done and I've been driving it for a couple weeks. Been grinding hard on getting everything wrapped up by our new years trip. Bumps and limit straps mounted, odds and ends ect that take forever, Brake lines converted the master cylinder to -3 AN and ran all new stainless brake lines using all -3 fittings and bulkheads (deleted ABS), Final assembly mounting fuse box (not in factory location), intake, resi mounts, coolant expansion tank, bolt the entire front clip back on, paint everything, built a cross member for the radius arm mounts, new grade 9 bolts (shanked) for all the suspension components, and all new ambulance steering.
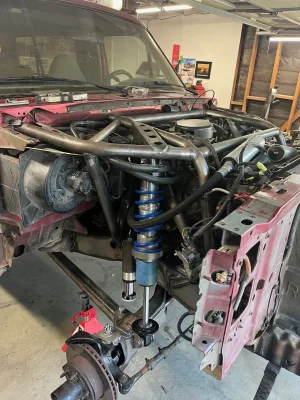
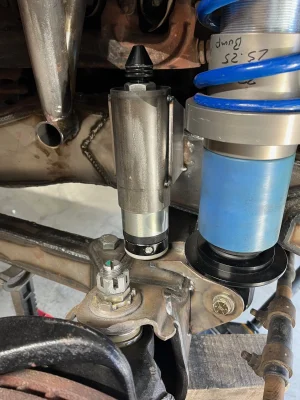
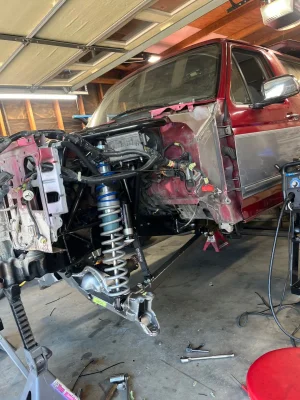
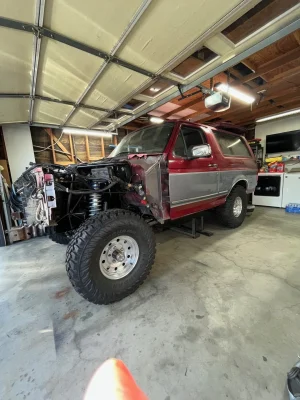
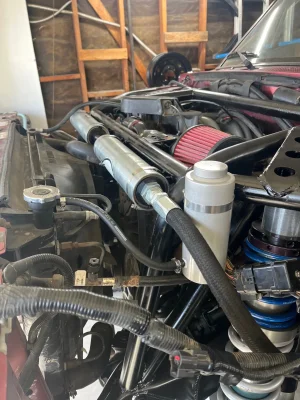


Got it out to JV this last weekend with the family. Did a couple runs and had a blast front is a dream rear still stock boooo. Can't go real fast to really test it because of the rear end but also with the wife and a 2 and 3 year old we just cruise anyways. Had no issues not a single one all weekend. I have a deaver 64" spring pack and all the DIY offroad 64" kit shackles, hangers ect with fox bypasses all at home waiting to be installed. Hopefully get that going soon.


Giant Geoff
Well-known member
Very cool! Turned out great.
Baconcreekmetal
Active member
- Joined
- Mar 18, 2023
- Messages
- 164
Very nice looking rig.
Similar threads
- Replies
- 40
- Views
- 1K
- Replies
- 22
- Views
- 270
- Replies
- 9
- Views
- 1K
- Replies
- 44
- Views
- 3K

