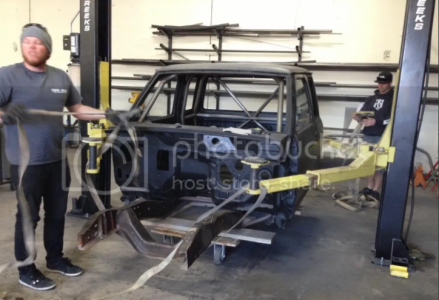
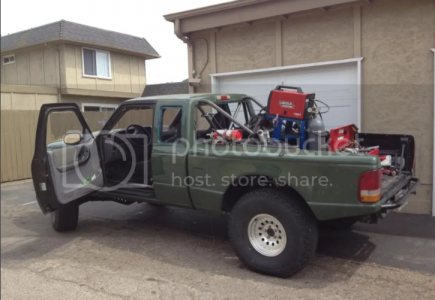
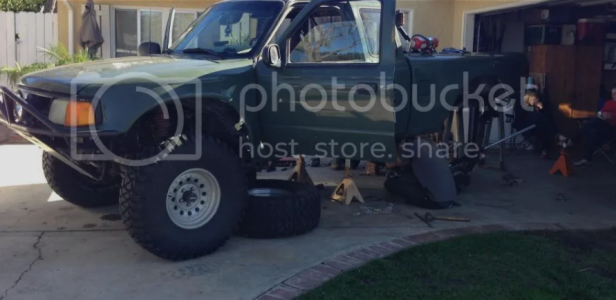
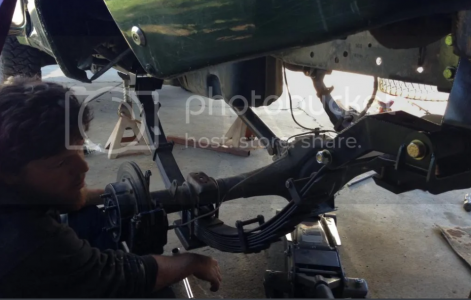
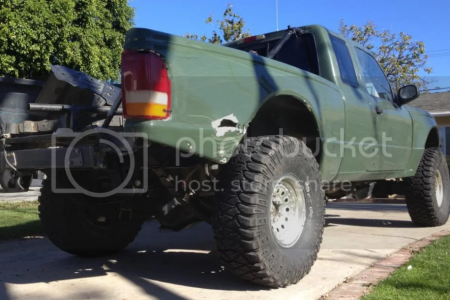
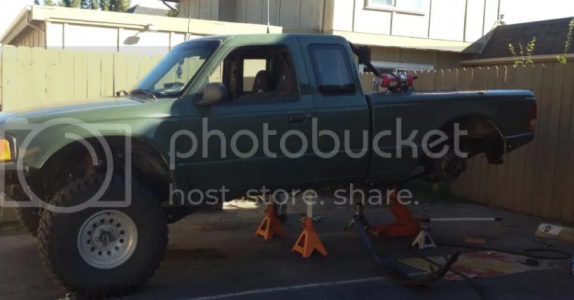
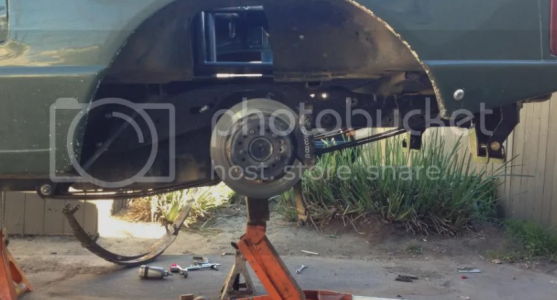
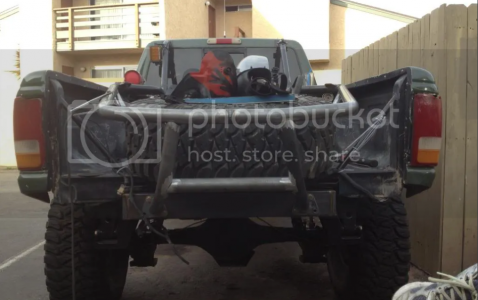
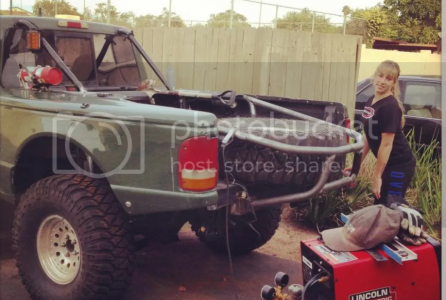
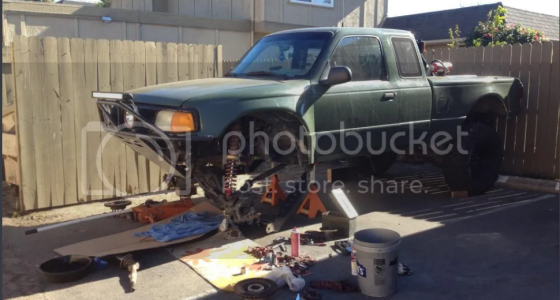
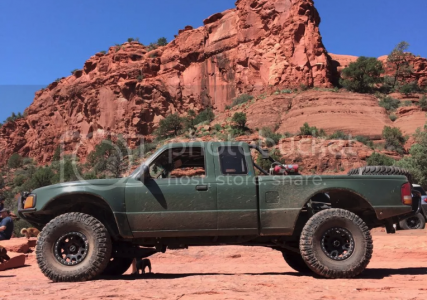
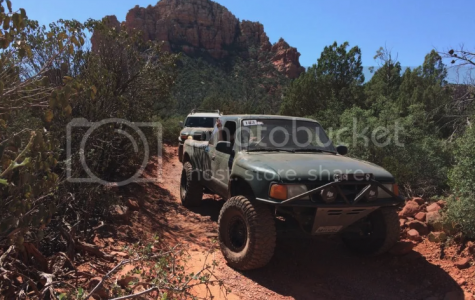
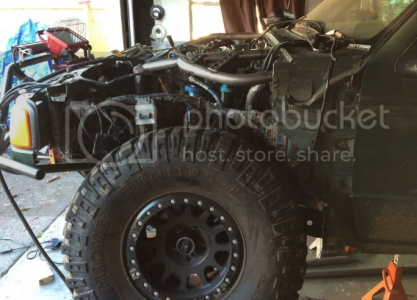
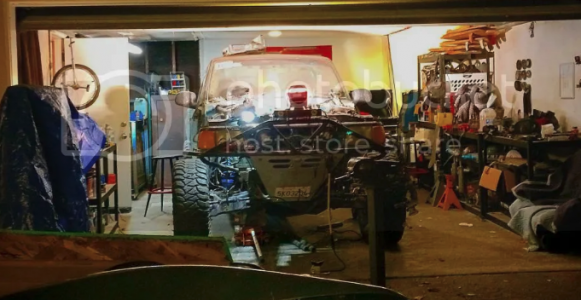
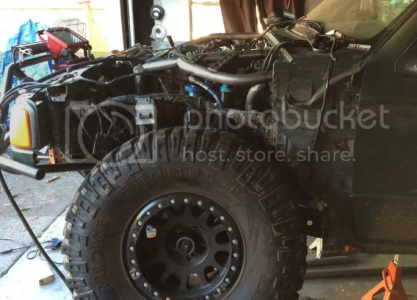
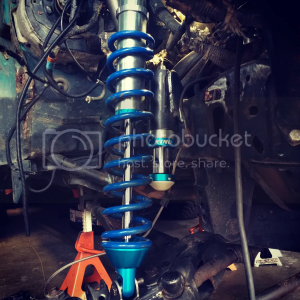
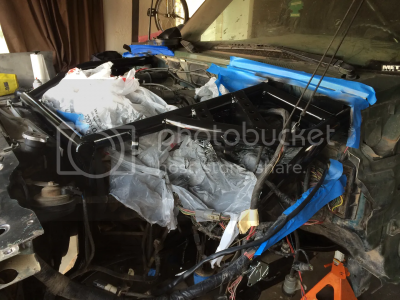
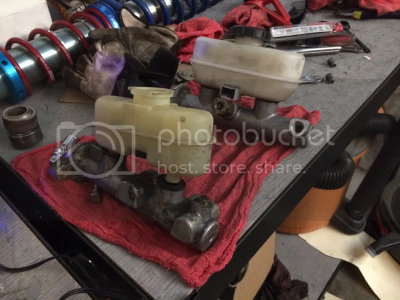
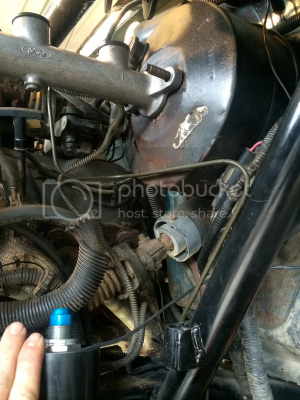
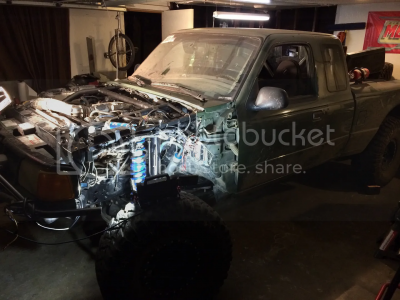
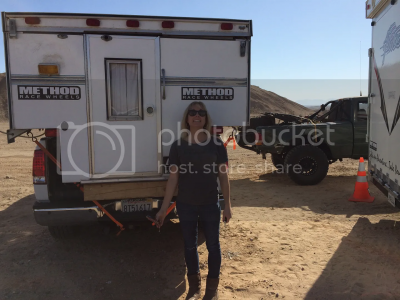
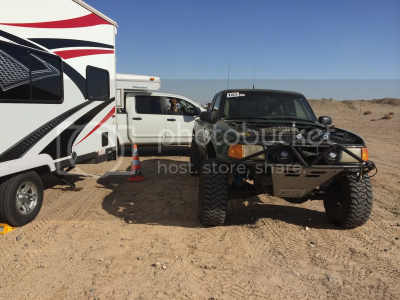
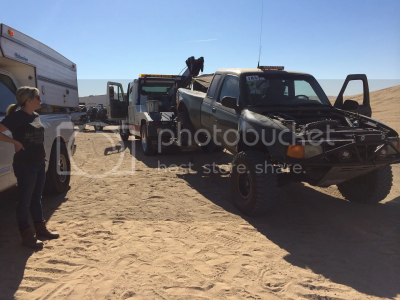
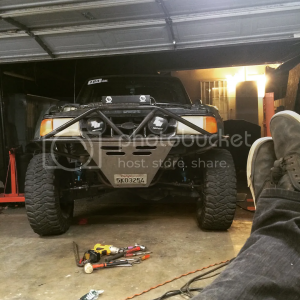
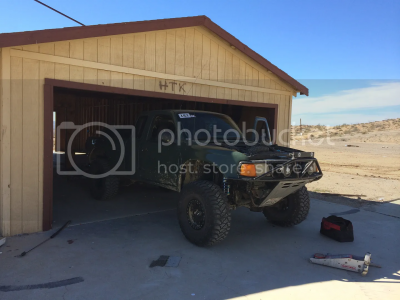
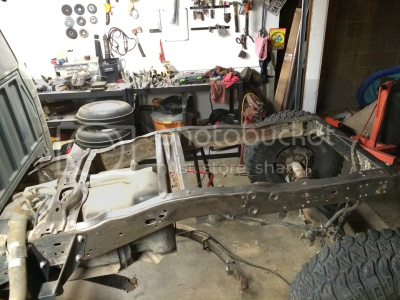
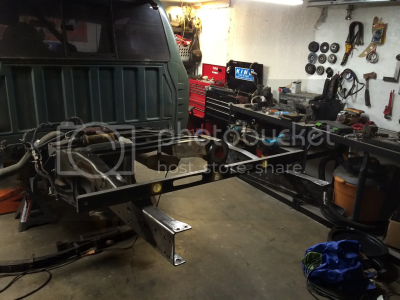
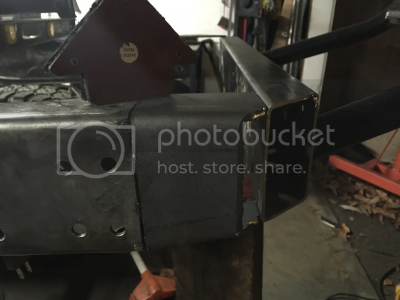
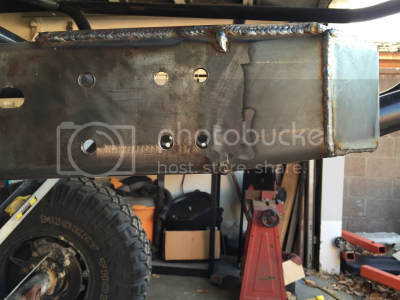
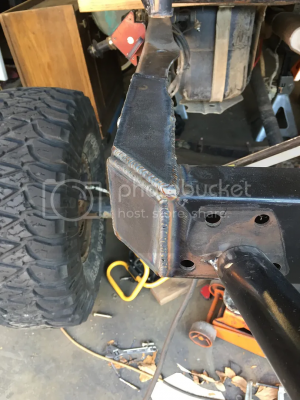
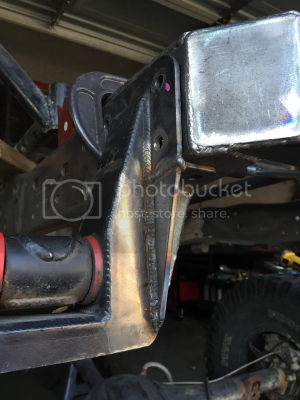
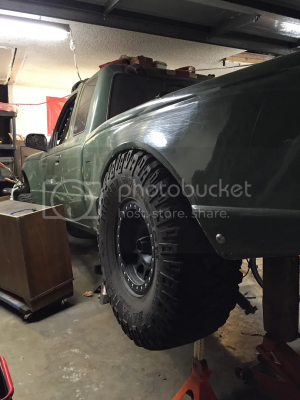
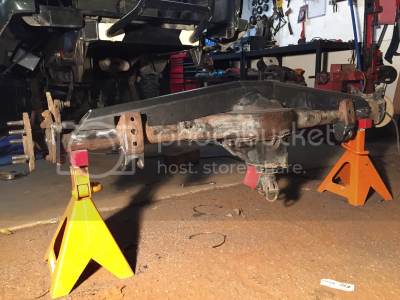
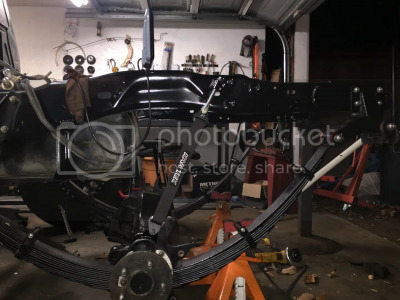
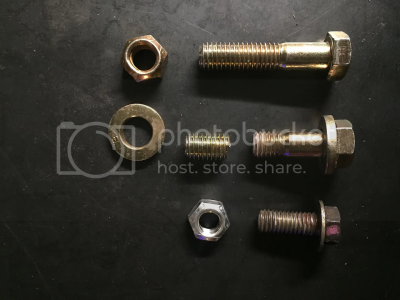
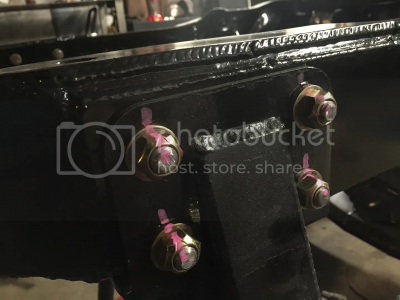
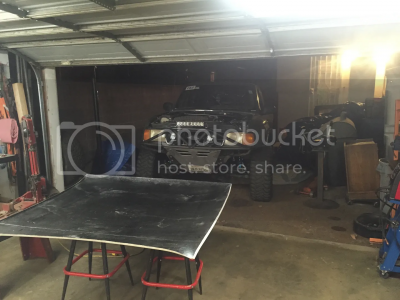
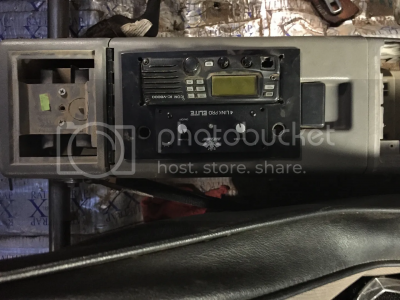
Super busy with work and working events on the weekends but the shocks have me motivated. Got the fenders off, inner feder wells out, the hood off, and 3/4 of the old engine cage off. It was 90% bolted on and a few small welds. The welds were easy the bolts were a pain in the ass... They are inside the frame where it is boxed and have been there since 1999 I believe.
I have a full day today to work on it so I should have the rest of the cage off and the frame cleaned up where the cage will mount. hopefully I can start laying down the base of the engine cage frame as well.
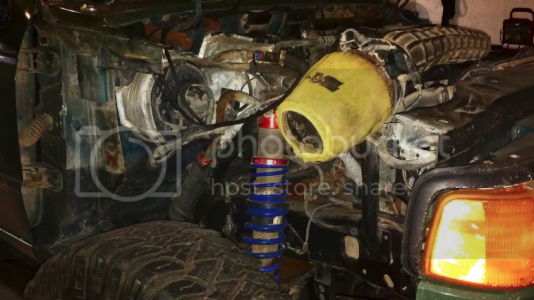
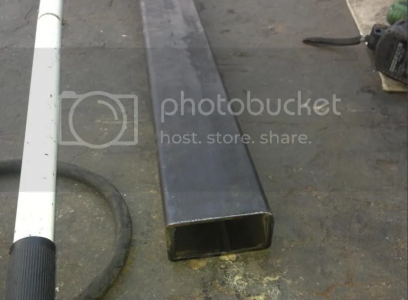
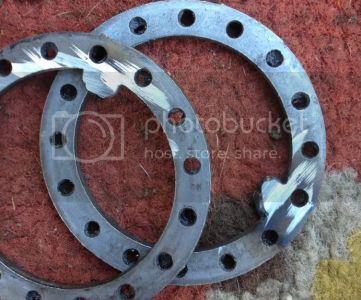
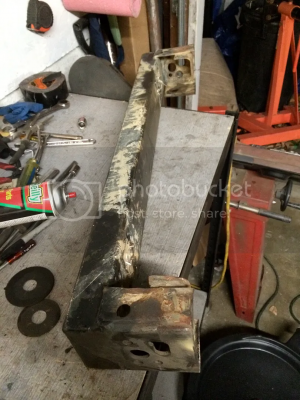
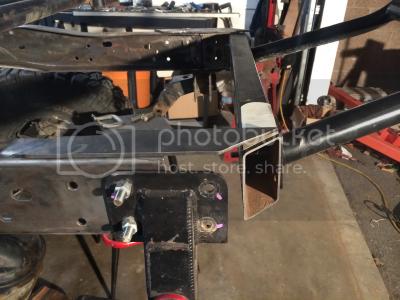
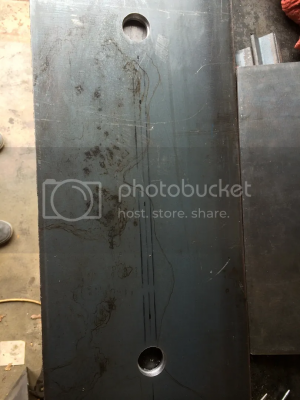
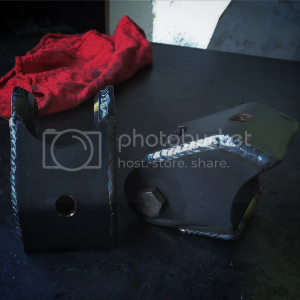
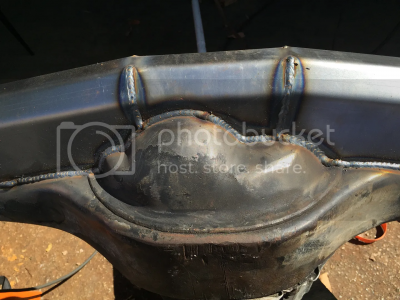
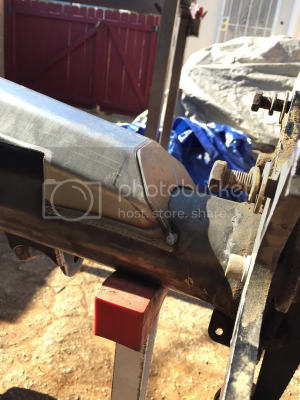
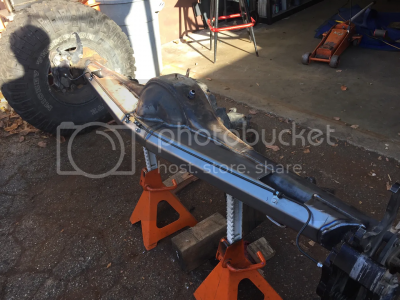
Going to use this thick piece of metal to attach the cab to the front with some square tubing.
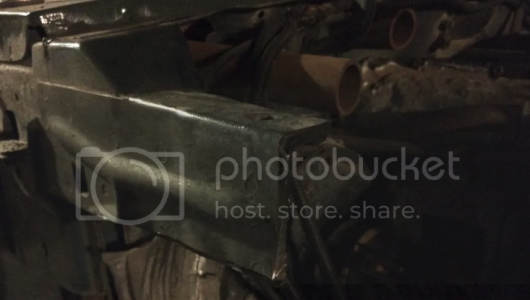
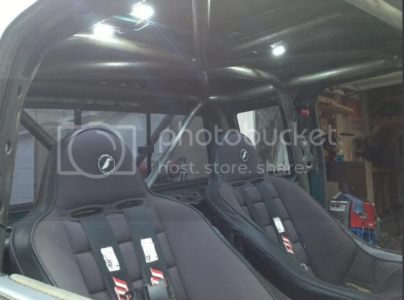
Got the the engine cage 100% off. Whatever bolts I could I just cut off and the rest were a huge pain in the ass. I have all the wiring organized and labeled and I even got 1 tube cut and bent up yesterday!
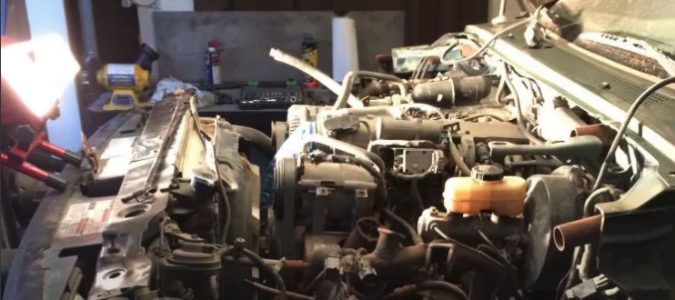
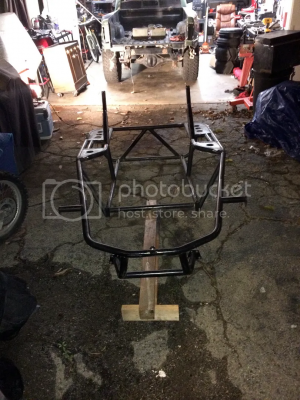
So far this is my plan for the cage... I haven't had a chance to check all the clearances with the intake. I may just have to shorten it a little as the old cage was fairly close to the same spot. Let me know if there is any reason I should run it like this please. And just an FYI this front cross brace will have tube clamps.
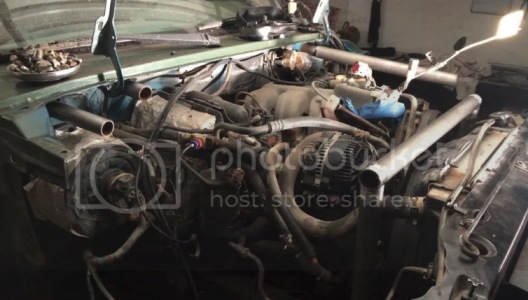
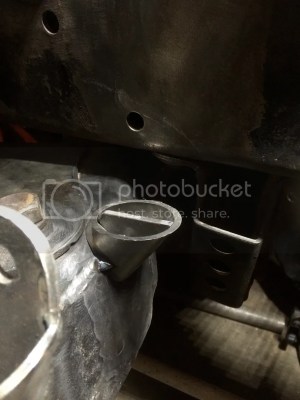
Pictures of said tube from above and then some of last nights progress... One tube at a time.
Fits in there nice and snug. Hopefully I can get a different Intake at some point, but in the mean time this will work.
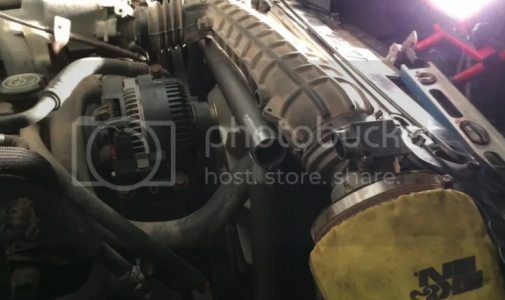
More tubes
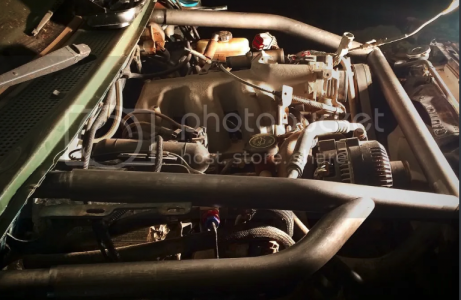
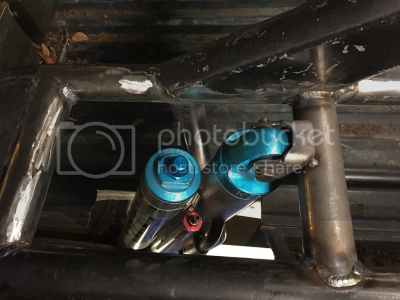
Soon became time to start organizing shock placement before burning all of the tubes in.
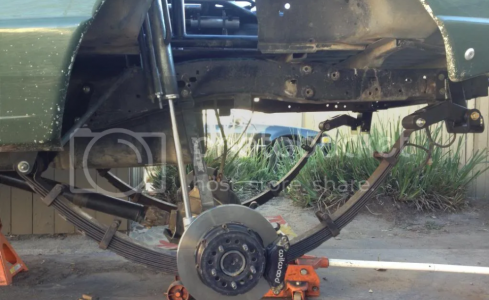
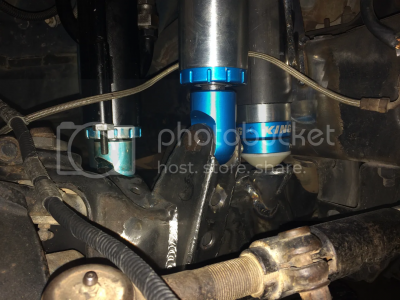
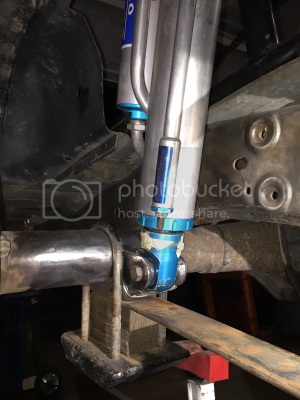
Decided it would best to run the bypass in the rear on my truck. Where I stubbed out when I built the cap cage and keeping all of the AC and heating components led me towards the decision. All that said, the coilovers would have been too tight of a squeeze to fit in.
Added a support tube. Since the photo It has been moved 1/4" more forward for clearance reasons.
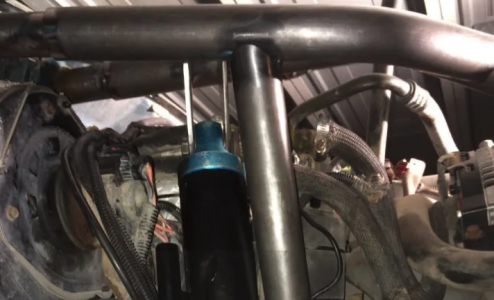
Lots of time with an angle grinder can get you some nice results.
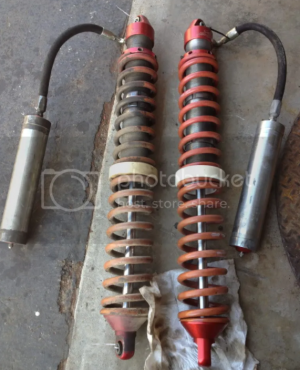
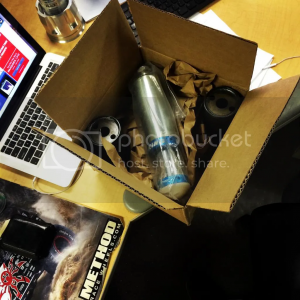
I was waiting on coilovers to be built and with a little research found out that the 12" bypasses I had were going to be the same length. So they were used as mock ups
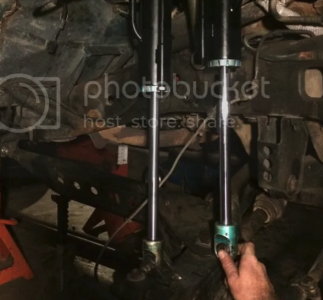
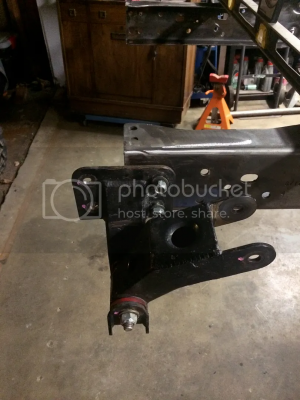
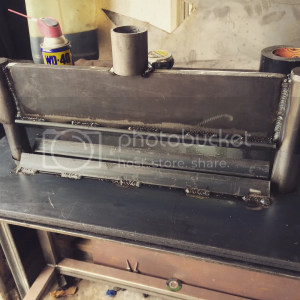
I made my template for the lower front coilover mount last night and cycled it. Pretty much what I expected and with out I have it laid in closer to the frame it should work out just fine with a 12" coilover. The only issue I found is that at full bump or full droop (which ever I decided to forfeit) the coilover does not cycle 'clean'. It starts to go into a regressive stroke, but only slightly. I'm not to worried about it because the bypass cycles smooth and that is where most of the valving will be. Please comment now with why I should care about this.
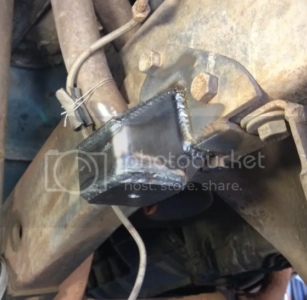
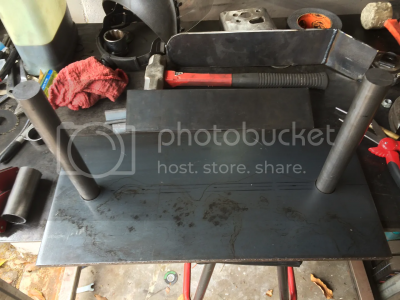
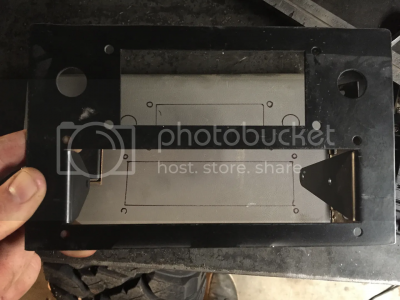
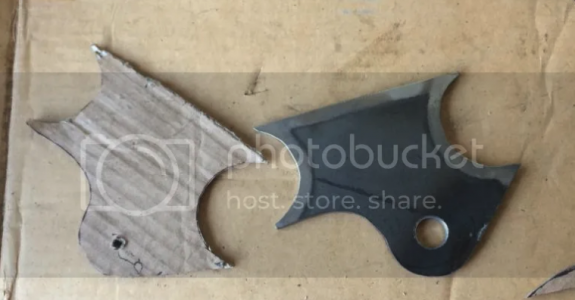
Then I cut this plate out as a mock up.
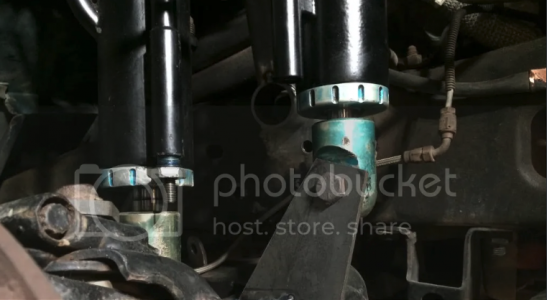
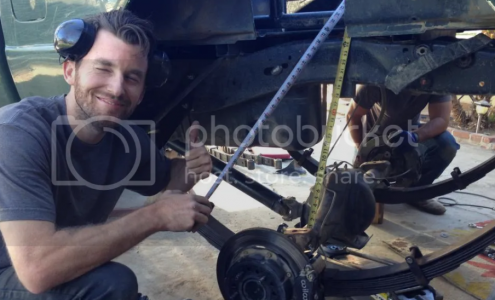
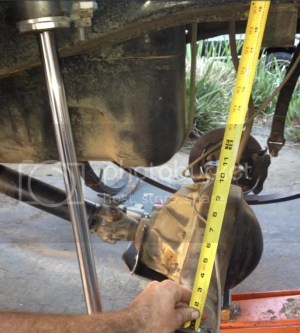
The bypass looses almost 3/4" of shaft travel which 5/8" is limited at bump and an 1/8" at bump so I don't blow the bitch up, but everything cycles smooth and is in line with each other and it cycles 17" of travel at the end of the hub which means I can be strapped at 16" easily and be plenty happy enough.
