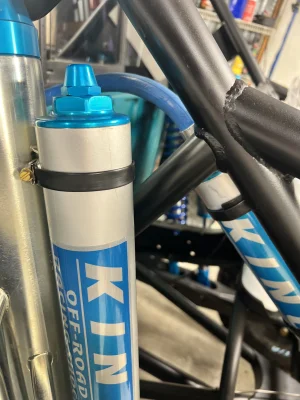
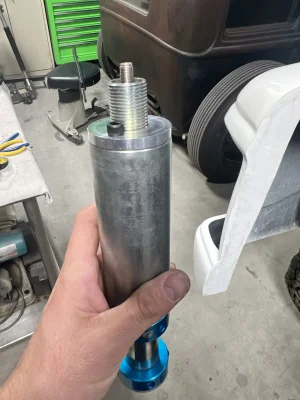
The IBP is going to be a bit longer to account for the different shaft setup that the internal pin needs. King's IBP is basically just a last ditch bumpzone being added to the shock, its not a true internal bypass with multiple tunable zones like a fox is. The King IBP coilover's ideal application is in a single shock application with a rubber frame mounted bumpstop. When you start adding in hydraulic bumpstops and bypass next to it, the bumpzone you create is so gnarly the vehicle ends up just bouncing off it or creating a harsh feeling. Which then turns into taking pressure out of the hydraulic bumpstop, shortening the pin length in the coilover or the bumpzone valving (there is two sets of valving and pistons in the IBP's) or lightening the valving in the bypass. It's a revolving door

You will just have to play with it. I wouldnt recommend it to people running a CO/BP setup but once you get it to your liking you'll really be thankful for it if you stuff the truck or overshoot something.
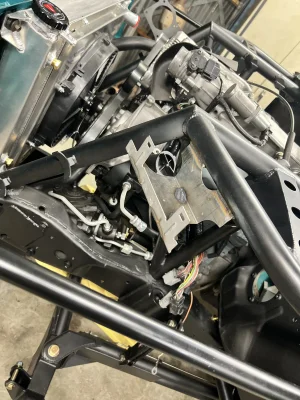
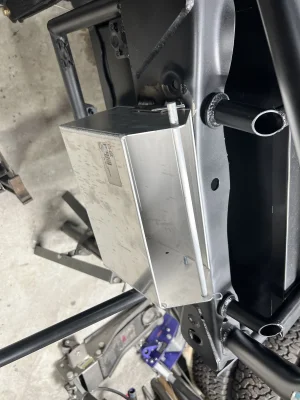
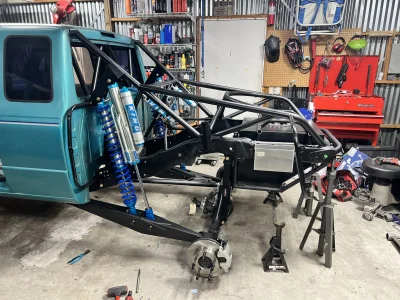
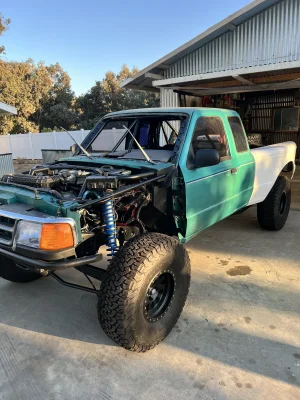
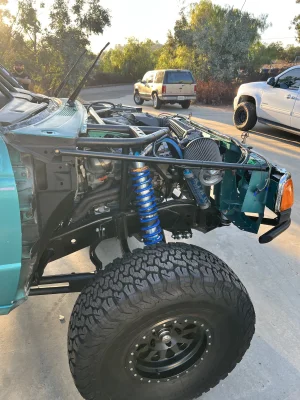
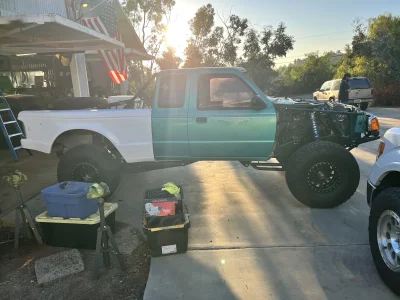
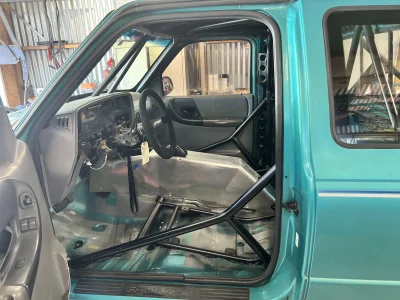
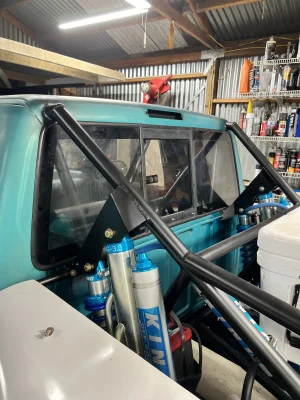
 gonna run a shorty magnaflow muffler. Also got the 3 link wish bone in and aligned, shocks are on and bumps are on, all bolts are shanked anti seized and loctite haha
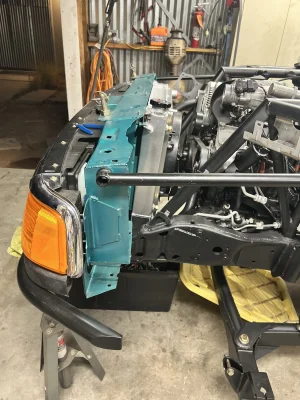


 If you have any questions on it let me know!