You are using an out of date browser. It may not display this or other websites correctly.
You should upgrade or use an alternative browser.
You should upgrade or use an alternative browser.
1968 Ford F-250 Prerunner Build Thread
- Thread starter 85Yota
- Start date
DesertGoat
Well-known member
the AC draw needs to trigger your fan in order to prevent overheating. every factory car ever has the condensor up front so no reason that should default to causing overheating issues unless the radiator is too small or your fan trigger is not working.
but you do you boo boo.
i'm sure it'll be fine in the back too
but you do you boo boo.
i'm sure it'll be fine in the back too
yea, the AC peeps told me to make sure fan for condenser is on anytime AC is turned on... or you will get high pressure and it shuts off? (for me that is going to be my trans cooler fans)
They also said it would probably be better up front in front of radiator... but I knew I couldn't make that happen with where things are at with mine.
In theory I could see it not allowing things to cool quite as well as no condenser ... because air temp coming out of condenser is higher than ambient air temp, right?
DesertGoat
Well-known member
yeah, that's true. The "inlet" air temp to your engine cooling radiator is going to be higher than it would otherwise be without an AC condensor. so your cooling will be affected a bit. but that is generally compensated for by the higher speed of the fan & an appropriately sized radiator factoring AC usage.
meaning your fan speed with the AC on would be higher than it would be if the AC was off for the same engine load.
meaning your fan speed with the AC on would be higher than it would be if the AC was off for the same engine load.
I'm running a large griffin radiator with dual spal burhsless fans that should handle the load without a problem. Gonna try it up front first and see how it works. The main thing with condenser up front is the resistance of air into radiator. Has Spal Dual 16" 2596cfm. Should work out well if I can get enough airflow through everything. Not much room up front either. The condenser hoses are like 1/8" from the core support tube structure that the grill mounts to and will have the hood pins on as well.
Last edited:
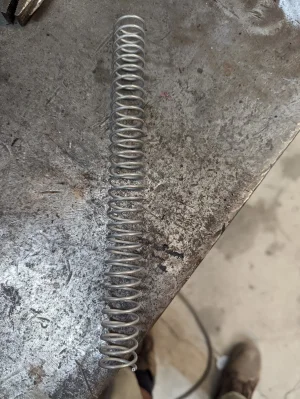
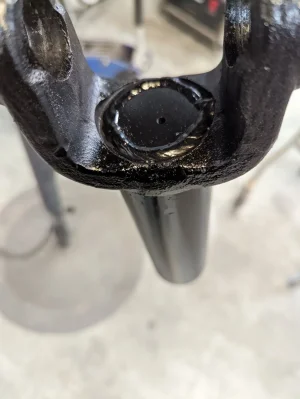
Continuing to reassemble front TTB. Got axle shafts extended, just gonna try them temp to make sure all works before getting some 4130 axles made, also running a Yukon duragrip limited slip up front. It doesn't allow you to use the c clip for pass stub axle out of diff. They use a spring inside the pass axle slip at the inner u joint. Well my contraption TTB setup runs a long 1350 driveline slip to account for max travel and axle plunge. So I got a longer cut to length spring from McMaster. Install in the slip and cycled and immediately the cap inside the u joint yoke broke out. So pull it all apart again to weld a 1/8" cap into the slip yoke end. Painted and reassemble everything and no problems now cycling it in the shop. Got new spicer u joints for the whole front end as well to remove old factory unknown miles joints and replace with known new good joints.
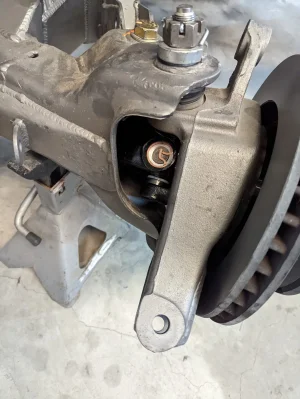
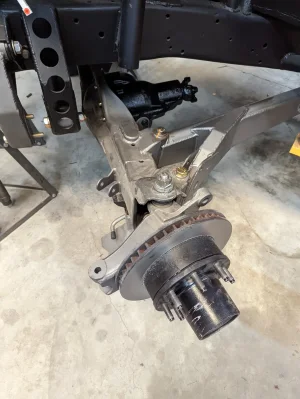
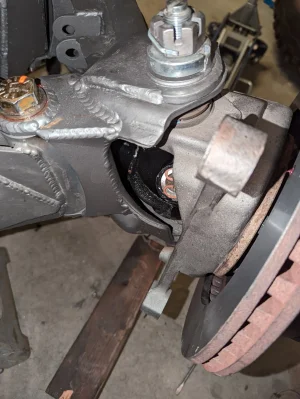
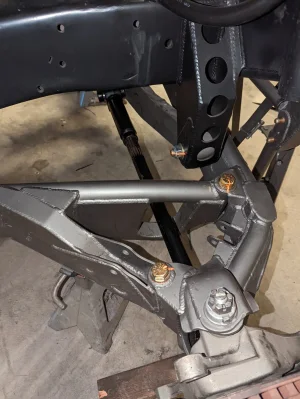


Got limit straps all mounted up. Running that huge D70 rear axle and being a short bed made rear driveline shorter than I would've liked it but still getting around 26" rear and 22" travel front which is plenty. Cut some 16 ga steel to make limit strap length fully stretched as well. Make mounted tabs easy and keeps them from being twisted or not aligned as well
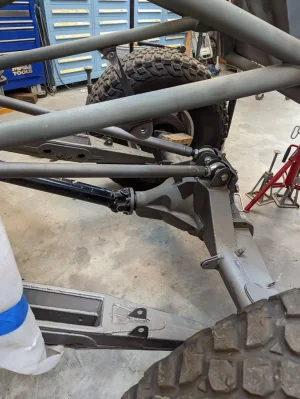
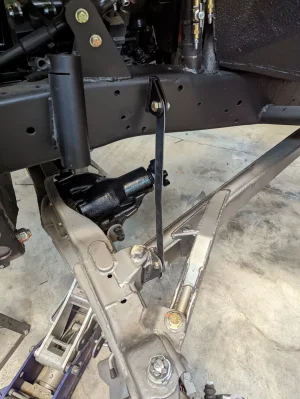
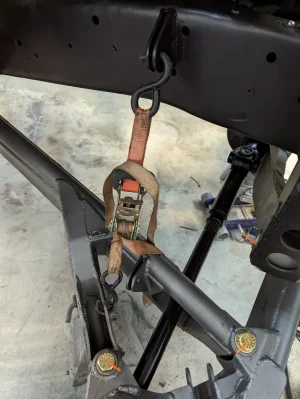


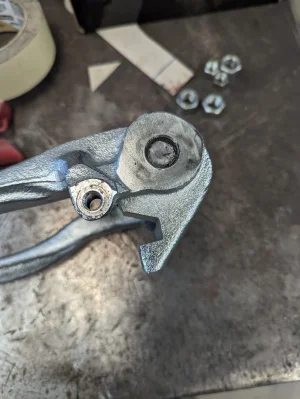
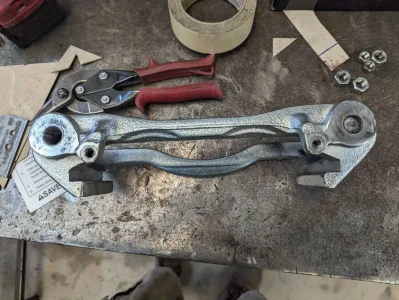
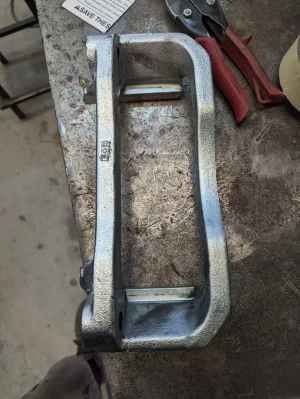
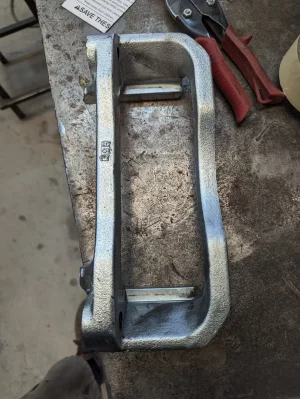
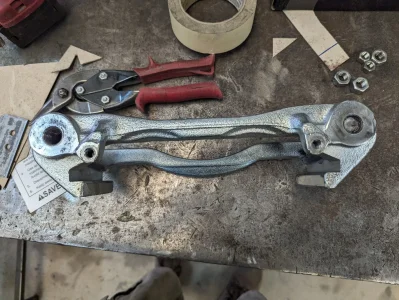
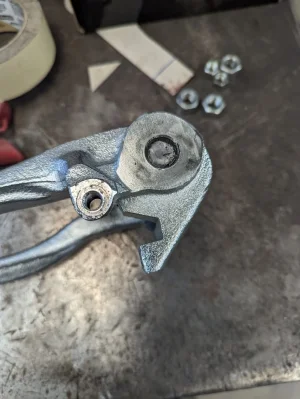
Well installed the front hubs, and brakes. The new caliper brackets rubbed slightly on the rotor since the casting wasn't parallel to the mounting bracket it was angled. I removed caliper to grind it and then upon re installation the lower caliper bracket bolt on the driver side stopped tightening about 1/4" from being tight. So i went to unscrew it and it came out about 1/4" is all before it stopped. So sprayed some penetrating oil on the threads I could access from backside and screwed it in and out from tight to tight. Messed with it for like 30 min and go frustrated so tried to force it out. Well that didn't work out the bolt became siezed, wouldn't move. So got my 4-1 torque multiplier out and told that bolt it was coming out one way or another. After about 20 min I got the bolt to break. Removed caliper and bracket this time and reinstalled caliper with the factory bracket since the new bracket has a broken bolt in one of the hole. The bolts at a M16x2.0 thread bolt and I don't have any that size so I reinstalled everything with 1 bolt and ordered 4 new ones with a tap and die kit so I can replace all the bolts and chase all threads on that brackets before final install.
the bodj
Well-known member
Yeah! You tell that bolt who’s boss
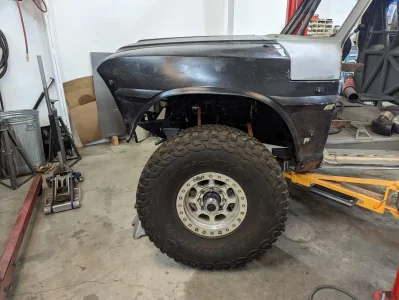
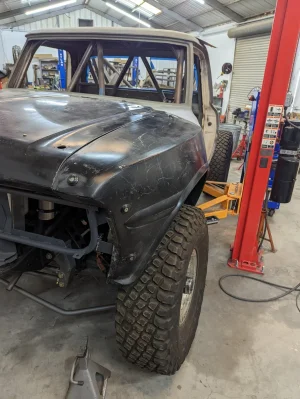
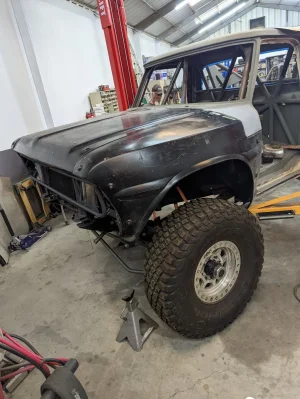
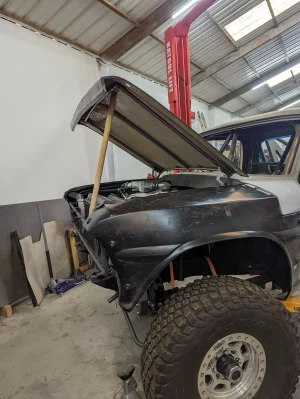
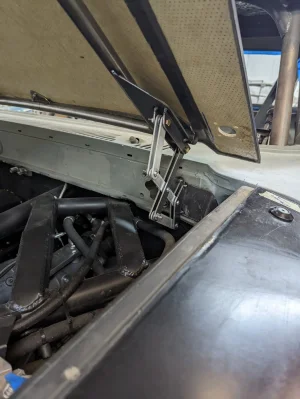
Ok got my fender mounts finalized, except bottom of passenger side since I'm gonna run exhaust out the side there. Also made and mounted up the hood on hinges I made to have it operate like a factory hood. Will add lift supports to assist in lifting and hold the hood open. Still need to finish the hood pins which will happen in a couple weeks after I get back from Baja, and swap the transmission in my Toyota matrix that lost 5th gear in the trans.
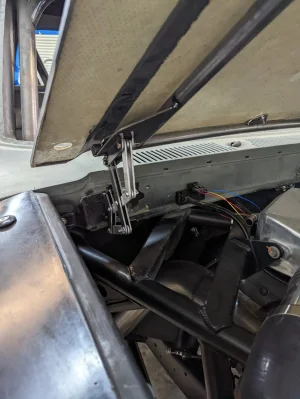
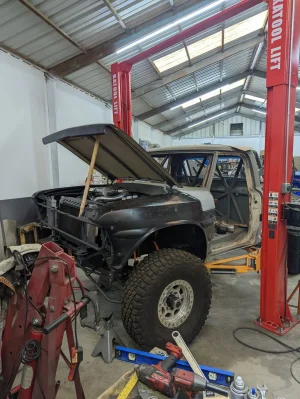


the bodj
Well-known member
That hinge is wild looking. But it's exciting to see it all with the front end together!
Got back from 10 days in Baja. Transmission in my DD Toyota matrix lost 5th gear. So I pulled the trans to see how to do it. Then went to LKQ pick your part in Hesperia to pull another 5 speed. Got that and installed in my car, only to discover it has no reverse. Put in reverse and it's goes into 4th.
So today I pulled the car out of the shop to get back to work on this beast. So got the hood hinges on and started on the hood pins. When in Baja my dad fiberglassed the old hood pins and did some body work on it. To keep everything clean he had moving blankets ontop of the engine. Got the pins in position and mocked up some plates to get them held in place. When mocking up and in the process of tacking them on I caught the moving blankets on fire. I lost my sense of smell in my accident so it was burning for a few minutes before I heard something and saw it was up in flames. Pulled the burning blanket off the front of the truck and ran them outside since they're still on fire. Some pieces of blanket was stuck onto the intake tube and intercooler, I tried to get it off the engine cage and it wouldn't budge so I blasted it with the fire extinguisher for a second to put it out. Turned on the fans and exhaust fan since shop was nice and smokey. Went outside till smoke was all cleared then came in to asses the damage. Some black soot on the aluminum intake tube, few burnt vacuum hoses and an intercooler coolant hose melted. So besides that big hiccup I got the hood pins mocked up and started cleaning up the black off everything. Gonna get some more scotch bright pads and some WD40 cleans them up pretty easily.
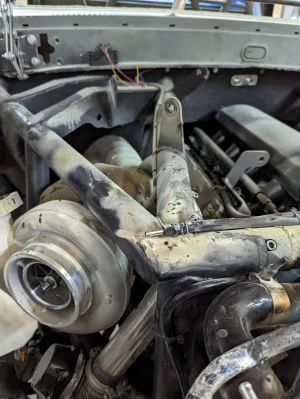
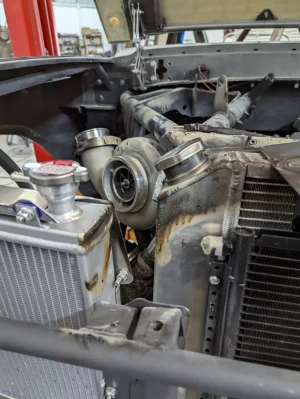
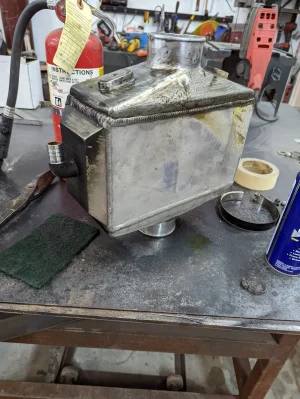
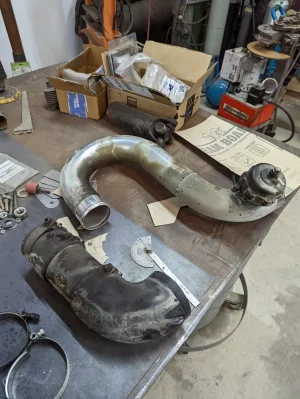
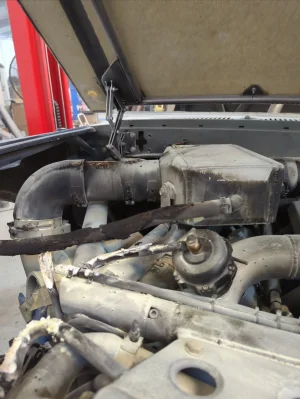
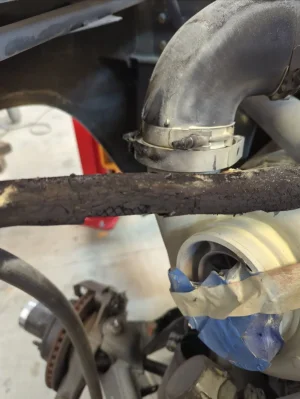
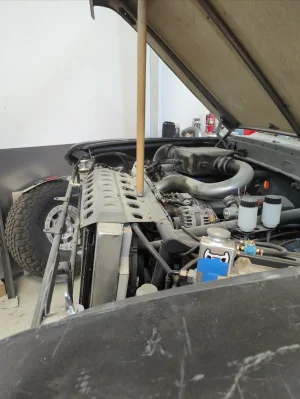
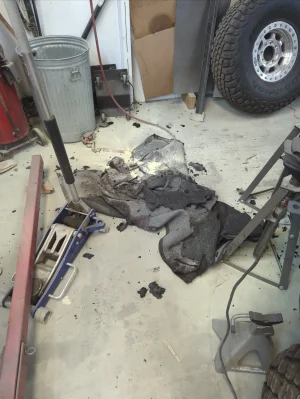
So today I pulled the car out of the shop to get back to work on this beast. So got the hood hinges on and started on the hood pins. When in Baja my dad fiberglassed the old hood pins and did some body work on it. To keep everything clean he had moving blankets ontop of the engine. Got the pins in position and mocked up some plates to get them held in place. When mocking up and in the process of tacking them on I caught the moving blankets on fire. I lost my sense of smell in my accident so it was burning for a few minutes before I heard something and saw it was up in flames. Pulled the burning blanket off the front of the truck and ran them outside since they're still on fire. Some pieces of blanket was stuck onto the intake tube and intercooler, I tried to get it off the engine cage and it wouldn't budge so I blasted it with the fire extinguisher for a second to put it out. Turned on the fans and exhaust fan since shop was nice and smokey. Went outside till smoke was all cleared then came in to asses the damage. Some black soot on the aluminum intake tube, few burnt vacuum hoses and an intercooler coolant hose melted. So besides that big hiccup I got the hood pins mocked up and started cleaning up the black off everything. Gonna get some more scotch bright pads and some WD40 cleans them up pretty easily.


DesertGoat
Well-known member
sneezus christ, amigo.
Seems like you need some fire alarms with that broken schnoz of yours.
Seems like you need some fire alarms with that broken schnoz of yours.
Similar threads
- Replies
- 76
- Views
- 2K
- Replies
- 5
- Views
- 312
- Replies
- 13
- Views
- 886

