You are using an out of date browser. It may not display this or other websites correctly.
You should upgrade or use an alternative browser.
You should upgrade or use an alternative browser.
1968 Ford F-250 Prerunner Build Thread
- Thread starter 85Yota
- Start date
theycallmeWALLY
Administrator
- Joined
- Mar 30, 2022
- Messages
- 1,529
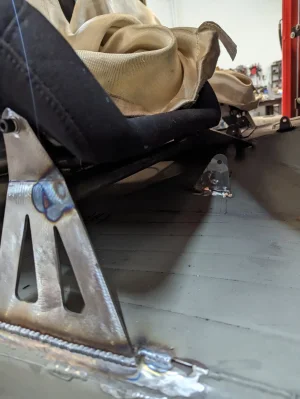
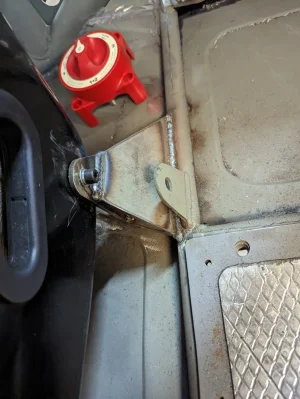
Are the rear seat mounts just welded straight to the floor pan?

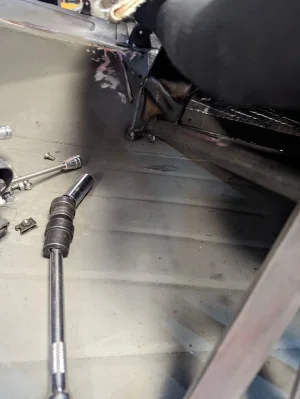
No, the front outer tab is welded to the tube that goes between the A and b pillars and continues to the frame from the a pillar. The rear tab is partially welded to the floorboard but is welded two the tab that extends through the floor to the frame. Same with the inner tabs. Go through the floor and are welded to the frame or to the 1-in tube that's welded from the cage to the frame to frame out the floor pan
the bodj
Well-known member
Do they have any side to side play?
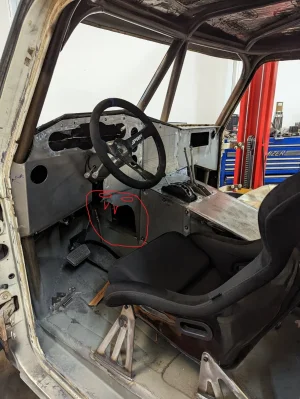
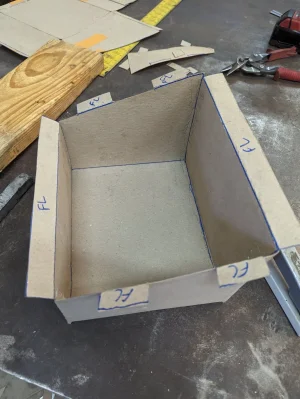
Storage compartment, glove box type setup in center console as well as the solve function 8 and 12 switch pros mounts. I could've mounted them with drilling holes and bolting them down but I like the look of these and give the edge of them a finished look in my eyes. Glove box is made same as I've done it in the past, ramboard heavy cardboard, staples on flanged edges and duct tape around outside, finished inside with spray paint. Should work well since my 50s and 60s Chevy trucks glove boxes were constructed in a similar fashion. plus making it with this stuff is super easy, cut with scissors, tap on edge of table to crease it so it bends in right spot. Easy to construct and will have some metal mounting tabs on bottom to help support, just like I did on dash glovebox.
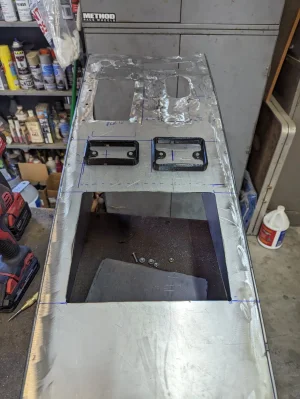


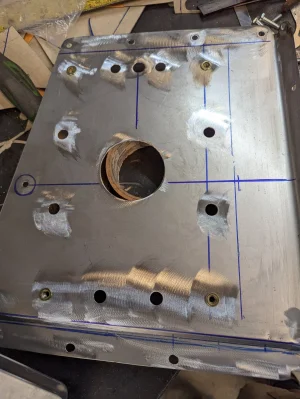
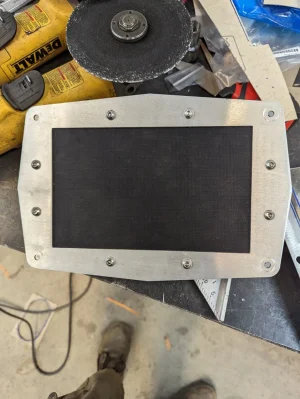
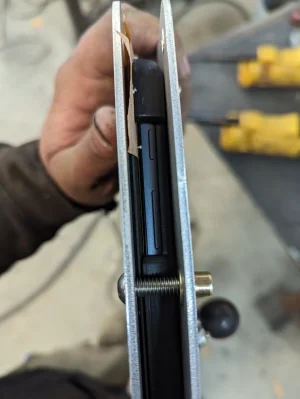
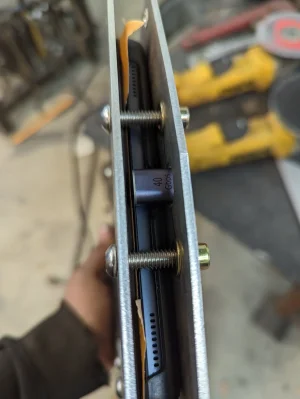
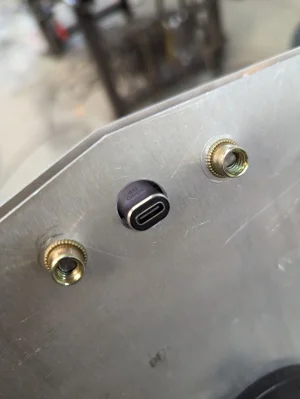
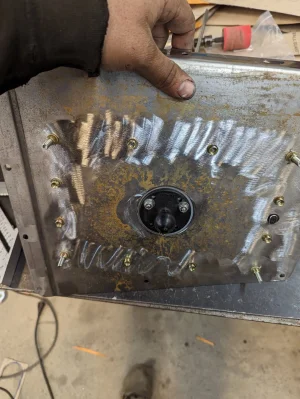
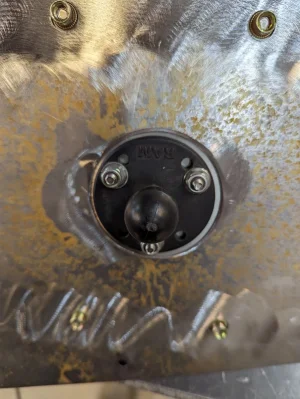
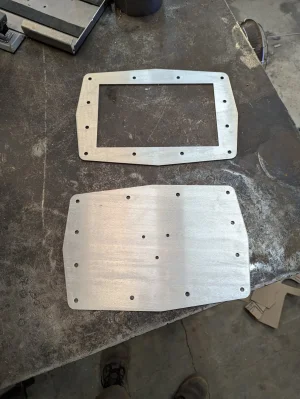
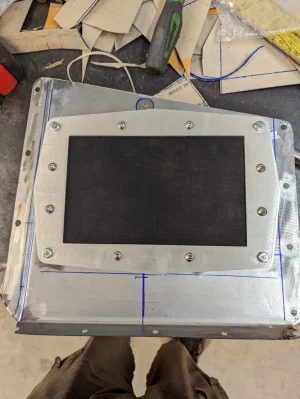
Well the mob. Armor style mount for my 2019, Samsung 10.1 tablet came in and I need to make a revision slightly to the front plate so I can access the power port easier. I also countersunk the mounting holes and mounted a ram mount to the back so I can use this tablet mount in my other vehicle easily. The outside for corner holes are free to have the bolt go through on the tablet mount and I used rivnuts to bolt this to the dash of the Ford. I also used a 90° USB-C adapter for power outlet so that is easy to access from rear of tablet mount and no exposed wires when bolted to the dash of my Ford. I made one extra of these with no rib nuts or anything. Just quarter inch holes through that I would sell for $75 shipped for the 2 laser cut plates if anyone's interested and wants a tablet mount for an Android tablet since not everyone likes Apple products like myself.


theycallmeWALLY
Administrator
- Joined
- Mar 30, 2022
- Messages
- 1,529
Looks great dude.
How much more work do you have on the interior before you dive into getting this turd running?
How much more work do you have on the interior before you dive into getting this turd running?
Interior really just needs paint and final assembly. The rear of the truck I am going to remount the fuel cell, trans cooler, rear light bar and bedsides. Then plumbing everything and then wiring. So another couple months of fab and plumbing and then wiring and final assembly.
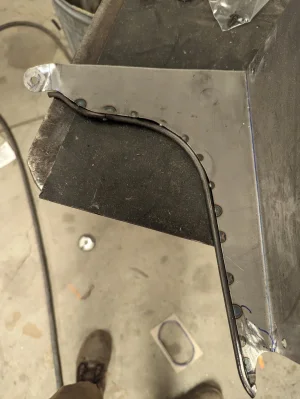
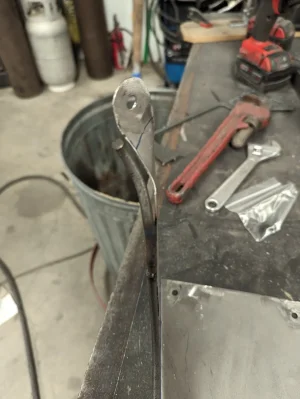
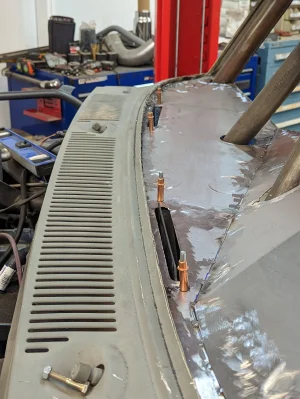
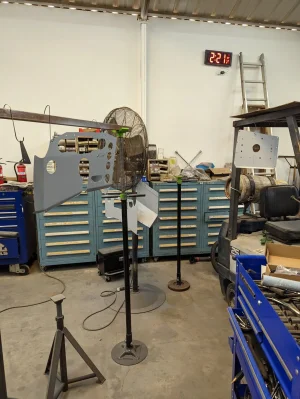
Defrosting duct holes cut and cleco in place. They will attach with same counter sunk Allen bolts that the dash uses . More holes drilled along with made bracket for vent for floor ducting to hook into. Got it all in primer. Gonna paint it all black before wrapping it with spray adhesive and marine vinyl.


Baconcreekmetal
Active member
- Joined
- Mar 18, 2023
- Messages
- 165
Those defroster ducts will be a huge improvement over the factory spot ducts.
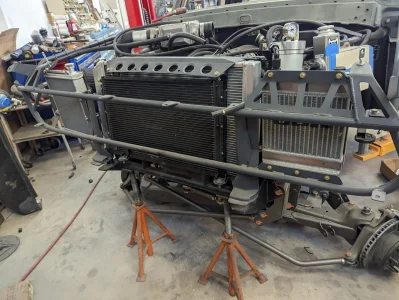
Yeah hopefully they will work perfectly. Well decided I didn't like the location of the trans cooler, batteries or the sway bar. So I got a wider bar that will allow bar to run that lower and outside the bump stops. Than I figured I would run trans cooler behind axle Infront of the cell. So to do that I cut the cell cradle off the back of the truck with the thought to just move it back. Well to move it back to fit trans cooler the rear of the cell was going to be behind the back of bedsides. So I have decided I'm going to get a new fuel cell. Thinking a 70 gal fuel safe Enduro cell should fit where I want it with the trans cooler where I want it. Batteries will be remounted between upper links and frame rails.
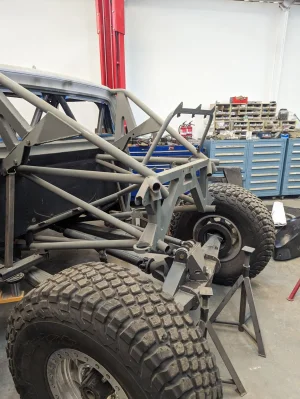
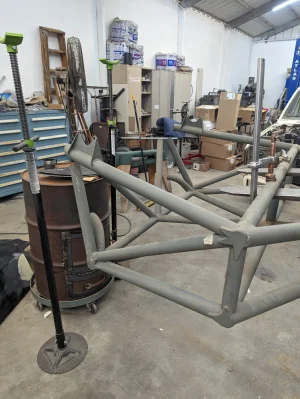


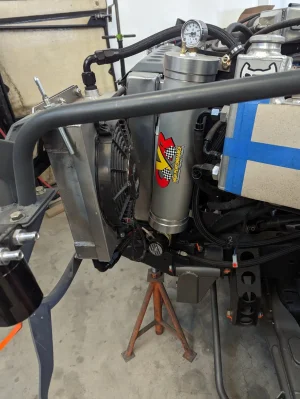
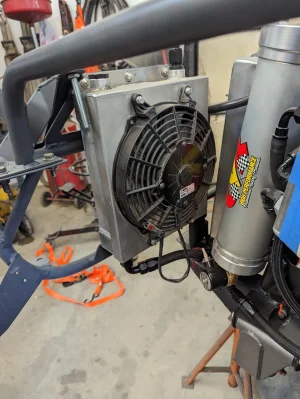
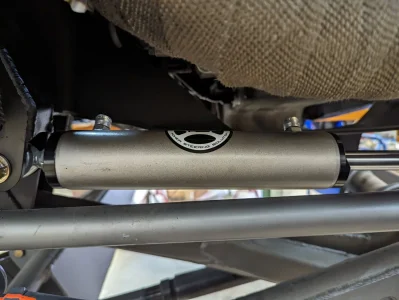
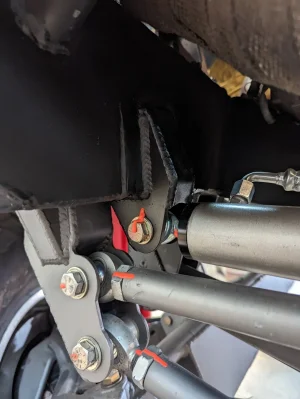
I also got an oil accumulator mounted up front for the engine as well as plumbed that and oil cooler in but I am short 1 10AN 90 degree hose end for my summit racing hose. I ordered a fitting off Amazon but it wouldn't work on the hose. I know I'm gonna be ordering more stuff from summit before this thing is done being plumbed in so I'll add one to that order. Also I cycled steering again and it wasnt turning all the way. So I removed the ram assist cylinder and than got full range. Measured and realized I ordered and mounted the wrong ram the first time. So I got new correct ram and got that mounted up and plumbed in.


theycallmeWALLY
Administrator
- Joined
- Mar 30, 2022
- Messages
- 1,529
Keep cranking dude!
She's going to be a beast when done.
She's going to be a beast when done.
the_fablab_
Well-known member
- Joined
- Apr 15, 2022
- Messages
- 221
Looking good bro
Baconcreekmetal
Active member
- Joined
- Mar 18, 2023
- Messages
- 165
This thing has come a long ways since I started watching it over in DR and YT. Great work.
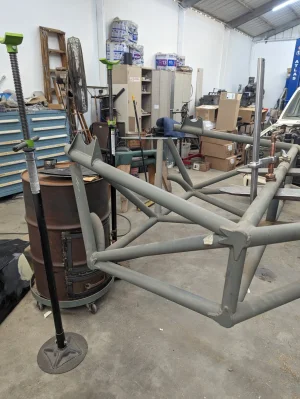
Thanks. It's kinda stalled out right now while I decide what to do for rear fuel cell/tank and spares. The fuel cell I had is about 4" too wide to make work and put stuff where I want it on the truck. I 'm thinking i'll redo fuel cell cradle/spare tire mount/trans cooler mount and than make a fuel tank that fits in that space. Not going to race this truck so a fuel tank out of 3/16" aluminum will be fine and could incorportate internal baffles, surge tank for dual intake fuel pumps and sending unit for gas gauge too.
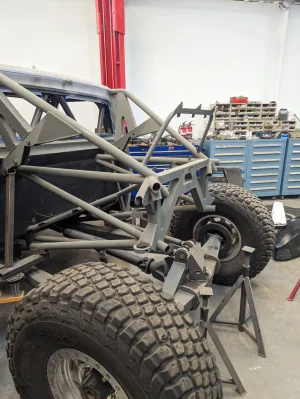
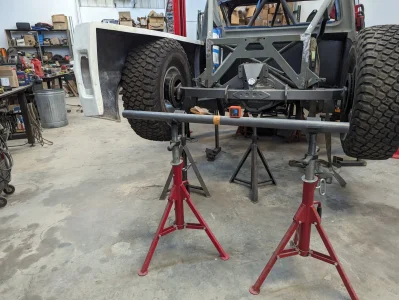
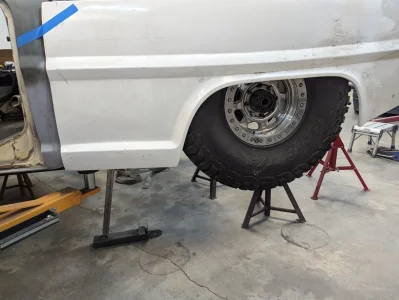
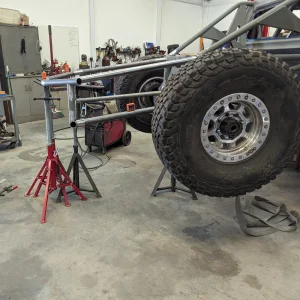
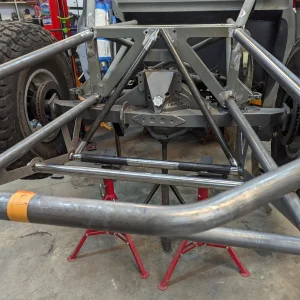
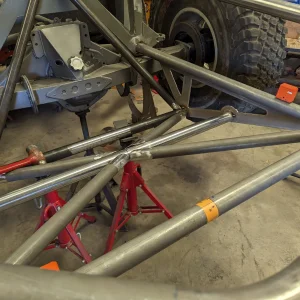
Back to work on this thing. Got a wider sway bar so I could remount it behind axle below fuel tank. Also will mount my trans cooler on the rear of diagonal down tubes behind rear axle. Bedside should sit 3-6" wider than the rear vertical tubes so no big gap between bedsides and backhalf tubing. Planning on doing some fluid container things below rear spare behind tank so rear of tank will be straight not angled tight against back bumper to keep protected from getting rear ended. It's basically same setup I had on my Tacoma and the 4x4 double cab I did but with fuel tank behind axle not storage box, since this one isn't being built as a drive 10 hrs on highway and do the prelander stuff all weekend where you'll need every possible tool and spare parts. I'll still do storage behind cab above upper links for some tools and a mount for an ice chest.


Similar threads
- Replies
- 76
- Views
- 2K
- Replies
- 5
- Views
- 311
- Replies
- 13
- Views
- 886

