Hunter_mf_
Active member
- Joined
- Apr 4, 2022
- Messages
- 62
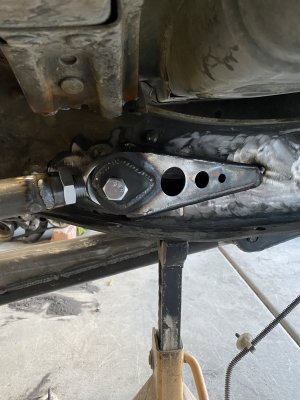
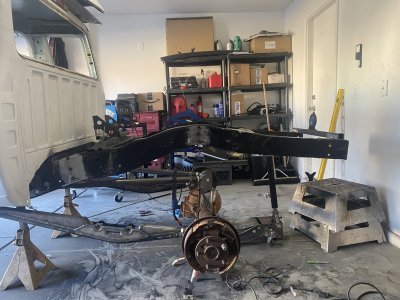
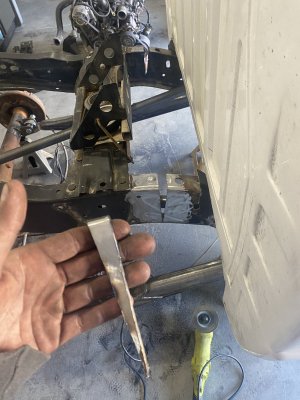
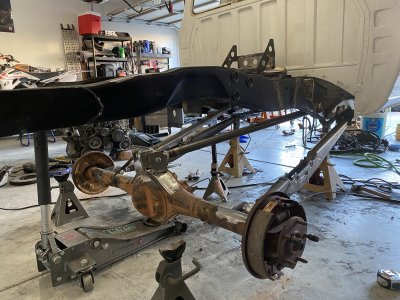
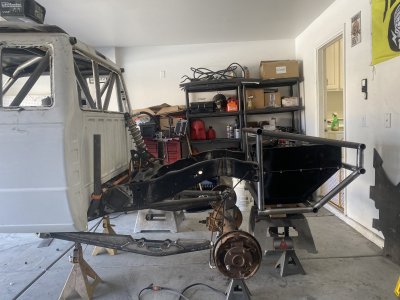
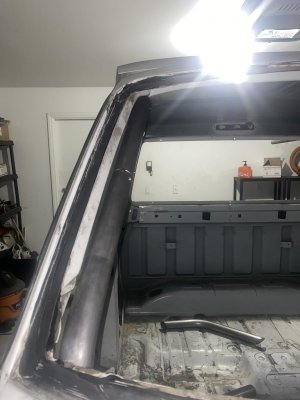
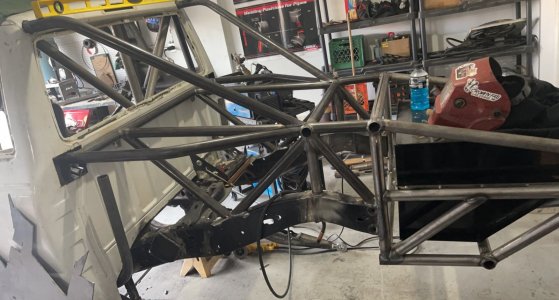
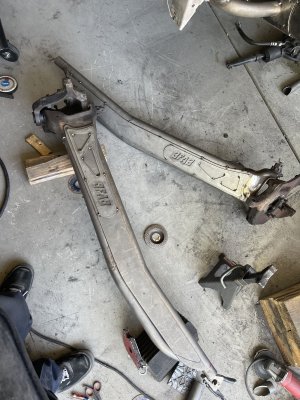
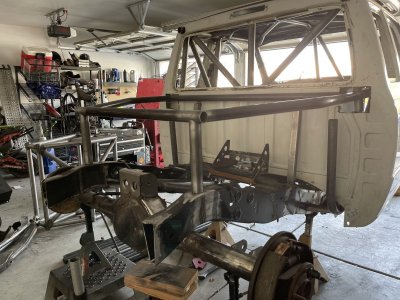
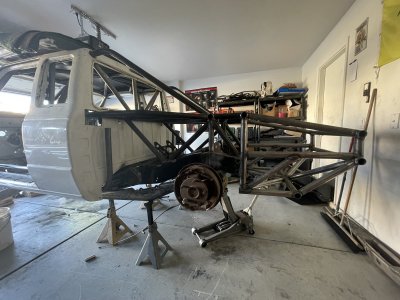
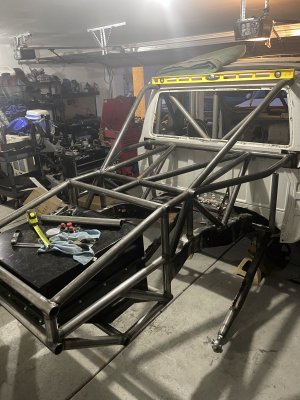
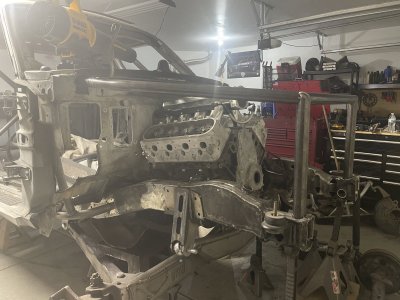
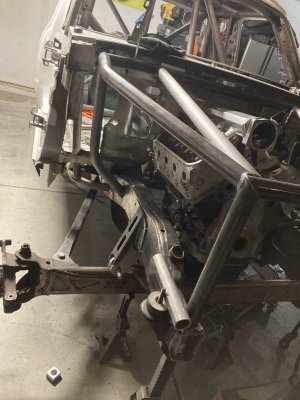
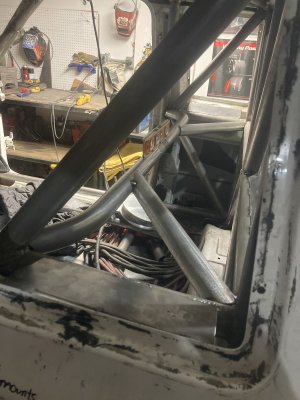
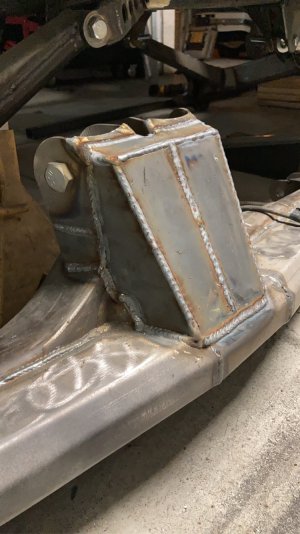
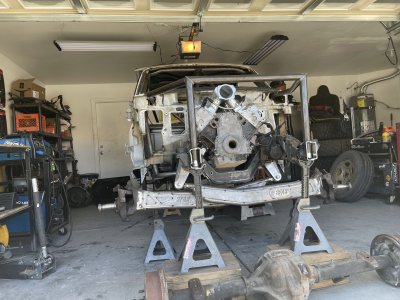
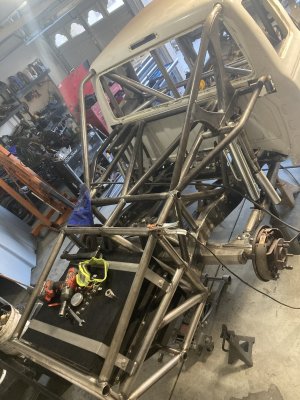
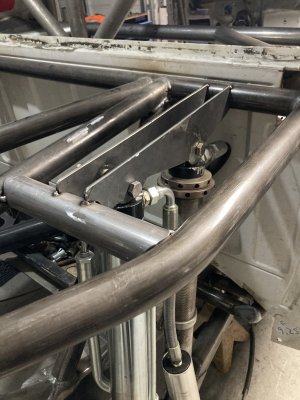
Made the stupid decision to tear my perfectly good working truck apart because I wanted to take it to “take it to the next step”
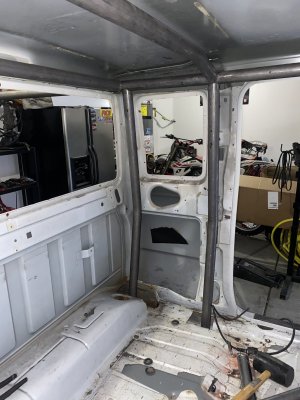
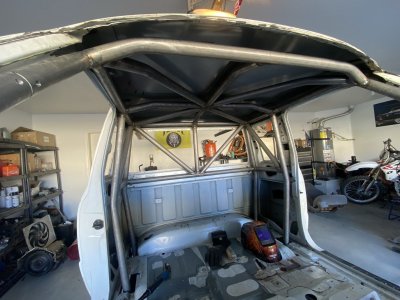
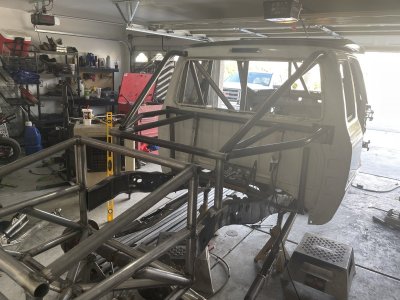
 it’s been on jackstands for a year now and I’ve slowly been chillin away at it when I can. I’ll definitely add more to this as I go as I have been working on it a ton lately
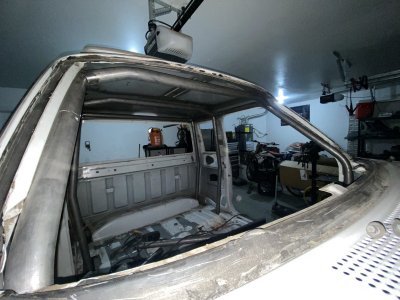
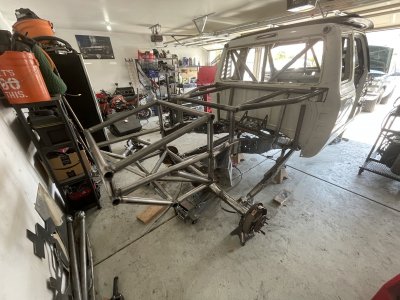
 won’t let me post all the pics I’ll try again later just tried like 4 times I’m over it hahaha
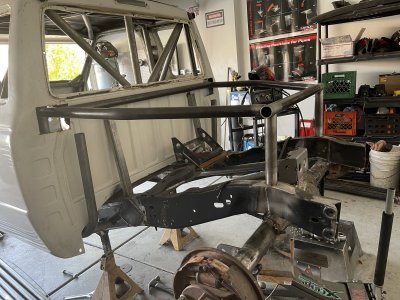
it’s been on jackstands for a year now and I’ve slowly been chillin away at it when I can. I’ll definitely add more to this as I go as I have been working on it a ton lately won’t let me post all the pics I’ll try again later just tried like 4 times I’m over it hahaha