The Grand Tracker (Retard TT)

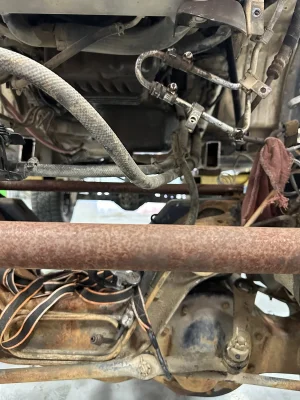
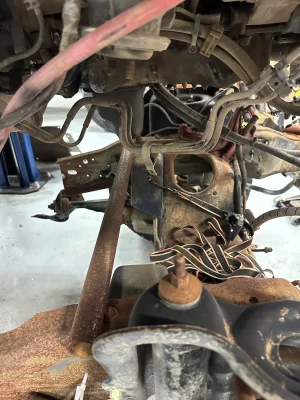
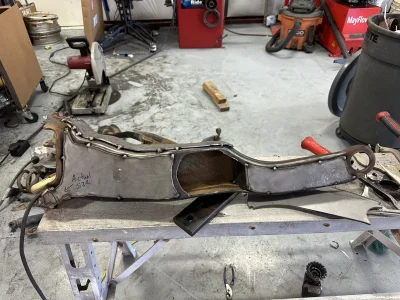
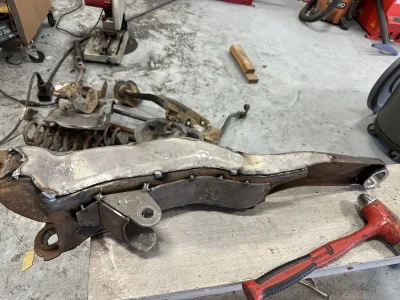
More work through the week. I have Thursday/friday off next week so I’m prepping to hammer down on this thing those 4 days. I’d like to have the frame in, radius arms in and hopefully beams plated with shocks starting to mock up. See what I can get done

Hubs drilled and rotors in with 5/8 studs.

IMG_9888.jpeg

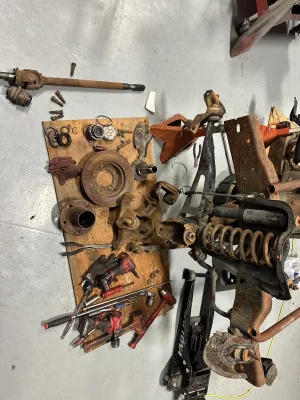
Pass side all torn apart waiting cleaning and new parts!

IMG_9889.jpeg
 

Attachments

  • IMG_9877.jpeg
    IMG_9877.jpeg
    422.9 KB · Views: 9
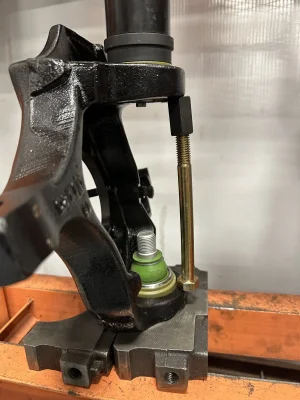
More shit box work. Busted ass Saturday to clean up all that crap, turn rotor, put ball joints in, new u-joint in axle (will need to pull the stub from the diff still), paint all the shit, drill for the 5/8 studs, install said studs, put new bearing races in, pack bearings, put seals in and make the mother fucker roll.

Can you say “flexy bitch”? That’s a 1/2” f911 bolt that was already preloaded heavy into the knuckle. Shoulda done 2 of them. Also, Dmax main cap work tits as plates for a 12 ton press.

IMG_9894.jpeg

IMG_9896.jpegIMG_9897.jpegIMG_9898.jpegIMG_9899.jpegIMG_9900.jpeg

Once rolled up, I feasted my eyes on how well this hot dog fit down this hall way. She’s like my date from prom night, tttiiiiggghhhttt. This thing will probably last longer than me though.

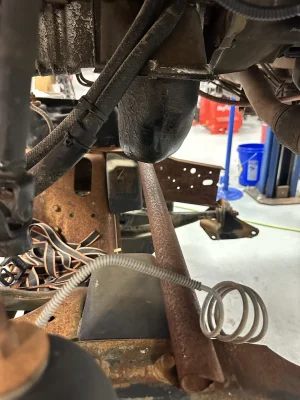
Anyhow, oil pan will be what fights me for room. Still got 2-3” to move the frame back and that’s about what the oil pan has to the crossmember. Those bronco motor mount plates will go bye bye. Might have to mod the oil pan but doable. Before we get that far though….

Need to:
Strip the shock/spring frame mounts
Cut off those tubes going across the frame
Set ride height 2” taller than stock
Roll frame back under rig and play with frame height and clearances.
 
You guys wanna see something cool?

25c466b41a533a77e9ae82df115276b1.jpg

28d492dcf2ccb5795ebd494851265a82.jpg


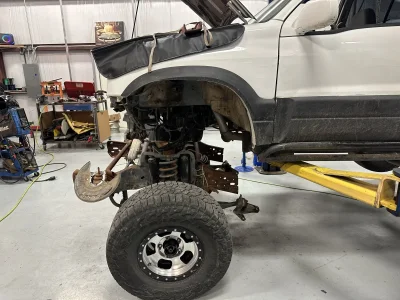
Took Thursday and Friday off to hammer on this thing. This was Thursday. Yes those jack stands are sketchy as fuck. No nuns were harmed in the process of this build. Stripped the bronco frame. Half ass held the beams in place at about what would be a 2” lift on a bronco and put the frame under the rig to see what will and won’t clear. Basically, everything clears by a nut hair. Not a cunt hair, a nut hair so slightly more clearance than what a cunt hair gives

Frame still needs to go up 1-2” and I may rake the front up to 10*. Wheel base is within an inch of what it was before

Friday:

Started out by setting beams so they were at the same spot front and back and so caster is set. Then lifted the front of frame up to put a rake in the frame. This does 2 things, lowers the ride height more (which I wanted) and closes the gap between core support and frame

3c6b67b383dbb16cbee0f308394ed28d.jpg


Muuuuuch better.

With that all set, I raised the rig back up and wire wheeled the whole top side I won’t be able to get to once welded in and painted it

Then started on motor mounts. After racking my head on this, wound up using the old bronco mounts for the tracker isolators to mount to. Driverside came out tits, passenger side I’m probably going to redo. Mount doesn’t sit flat and puts the mount at a goofy angle

9f66ab42d079c17a9b7161b8068deca2.jpg

07c0c102582ed31be3454f84a628ef56.jpg

31f4a637b33db3c1a1cdf10f8faa4d7e.jpg


Checked clearance between hood and engine after taking the engine support out letting the whole engine weight onto the frame. I raised the engine up 1” to move this frame up higher. I’ve got atleast an inch between hood and engine.

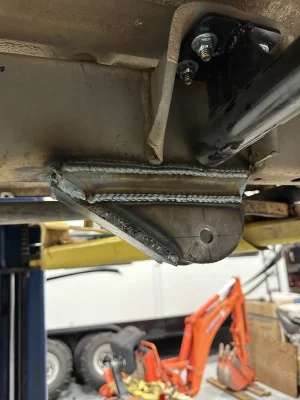
And then butt welded the two frames together, just top and side for now. Need to trim the bottom and then fish plate it all. I’ll also box the back side of the bronco frame buuuut she’s off jack stands!

17fa7a27adf6b66b4cc85e391c90cd2d.jpg


And today:

Spent the whole damn day doing the core support mounts and all the frame gussets. Did not think it would take that long, sheesh.

52cf83fbf3a7649ac48f576891f32459.jpg

0cc5f6b6d56297f20f1adac73f960350.jpg

3a08f97168bfc636af8895fa7d9bfe5f.jpg

4ae4d3f07ed91de090052d01e90c209b.jpg

aaf038093afb6128fa8826a18fd157e8.jpg

1480770ea5d874bb90b1de3a8237e7bd.jpg

45fbdaca2e8d8536b51b80ebe6e6ff87.jpg

11b125101fd9805cd47467a65e92cd6d.jpg

6e54e17a59e2360442d7e09cb73fdb17.jpg


I don’t think it’s going anywhere though
 
Radius arm day. Basically building it all from scratch. The mounts at the beams, the radius arms and the mounts at the frame

Used 2” .250 DOM for the radius arm, 7/8” heim, and front mount will use a single bolt style instead of two separate bolts on the beam. This gives me more room to add the hydraulic bump stop too. Took a piece of 1.5” solid 1045. Drilled a 3/4” hole in it and made it the through bolt for the radius arm to beam.

Starting with driverside. The 3/4” bolts I got were too short so I used a piece of .75” .120 wall tube so I could just use a 1/2” bolt for now instead.

c898d0572dec9b7ed57e02370879d410.jpg

8f7b70cf3330c74347a5b7f78169f6ee.jpg


Initial frame pivot boxes. This didn’t work out. The radius arm was too far under the frame and was hitting the frame before I was anywhere near full bump.

a347f009a76b8091a637ab2616939998.jpg

dc22dfc36a3e31e28dd3105d4b6cebbc.jpg


So I kicked the boxes outward an inch and re-tried. It’s fucking tight but shit clears. It will be bumped a little lower than this because the diff is hitting the frame at this point so no need to clearance

168bf206b6ad64ae42487aa5f110da86.jpg

17c5c865e8cdfd1b7b75b705f6497dcc.jpg

fd79902fb938f8601871462c4ebdfc07.jpg

42f91d8224386ff42886807d9fcc9212.jpg

260abbe99a9f5ed70f1c96b8aff1159b.jpg


I threw a tire on to see what it looked like and didn’t get a pic. The pic above is at full bump. Tire slightly rubs the radius arm at full turn but not much I can do about it. May throw a small spacer on the hub. Tire to fender clearance is good. Enough to fit 35’s and if I do go that route, I’ll probably go a 35x10.50r15. Helps with the tire rub on the radius arm too.

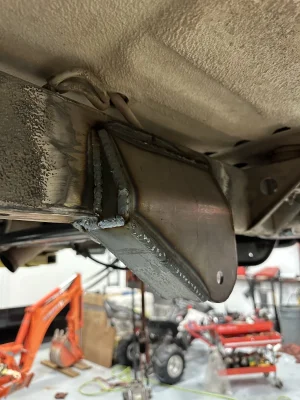
So to fix the pivot boxes, I put a break in the outer tab to go back against to the frame and added some gussets

91c840ffc8f8bb95a8f73afd753c5b50.jpg

26506f7e15f92fa714f45d4a203dff09.jpg

882bd7c53b7d491179e08431a3a9a4e3.jpg


I might add another gusset from the inner frame edge to the pivot box too. That way it grabs the stronger part of the frame since I didn’t plate the frame. Probably over kill but won’t hurt anything.

Then on to the passenger side. Rinse and repeat. Least I was building things in doubles as I went so this went far faster. Clearance is just about the same as driverside. Guess that means I centered it all well lol.

Pass full bump

821286a24a78b1bdff48e99b9b63c666.jpg

67ab46db7787a37b2d3aa9efa8daaa02.jpg

ebaac884a70377718405dbbe5cd8a12d.jpg

d917b799679857153d2d51973d50580d.jpg


Mmmmmm flat links at ride height

ad0c483df5dfca3e334a8740175b94f7.jpg

d82f793b873b9596facb2842f90f44e0.jpg
 
Yes! You're killing it! I was going to suggest adding a bend to the radius arms to allow the tire to turn more. I need to remake my radius arms and I'm going to be doing that. My steering angle is garbage.
 
Yes! You're killing it! I was going to suggest adding a bend to the radius arms to allow the tire to turn more. I need to remake my radius arms and I'm going to be doing that. My steering angle is garbage.
Can’t. Adding a bend will put the arm back under the frame and now we are back to limited up travel.

The only for sure fix is to basically hack off half of that frame plating/gusset I did so that kick isn’t there but then I’m loosing 2”+ of frame thickness. I’ll take a little tire rub over that. I may reduce the steering angle anyhow to help keep the stub shaft alive when crawling. I’ll see how it drives first

I did briefly look at seeing if I could center mount the radius arms and it looks like I have the room but that meant starting all over with trans crossmember and I’d rather get it back in the dirt sooner than later
 
Makes sense. What plate thickness are you using for the frame grafting? I did large quarter inch plates and then 1/8" overlays lol
All 1/8”. The bronco frame is just under 3/16 and the tracker frame I already had some plate left on it from the old frame chop I did so after welding the two frames, I didn’t see a reason to go thick shit again. I’ll bend the Suzuki frame before this will.

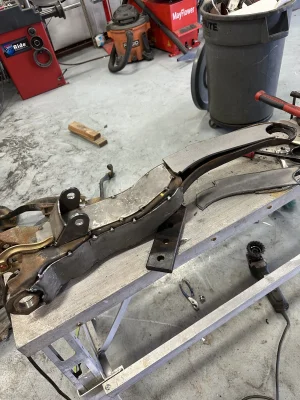
The pivot boxes are all 3/16” and the beam mounts for the radius arms are 1/4” tabs with 1/8” bracing. When I do the bump mounts I’ll probably make those out of 3/16” as they will most likely incorporate into the beam and radius arm mount. Beams im thinking 1/8” overlays and the open sections I’ll do 3/16” to box in.
 
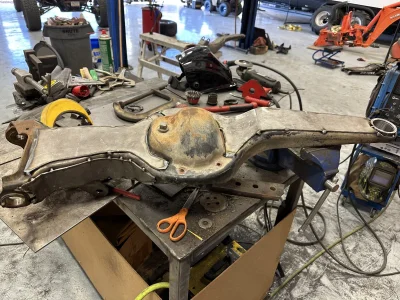
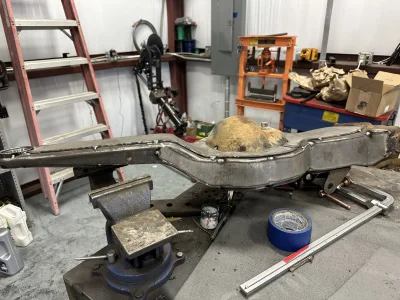
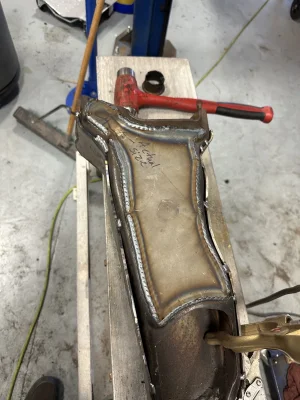
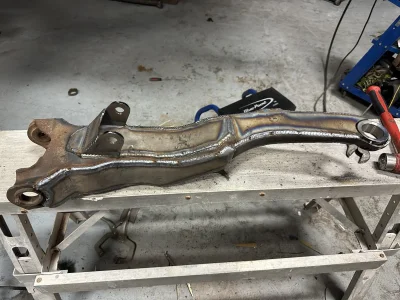
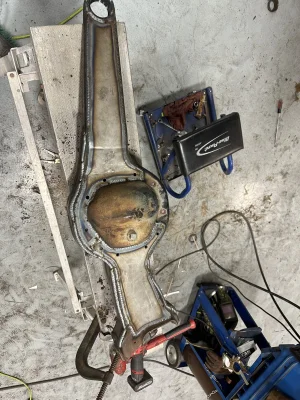
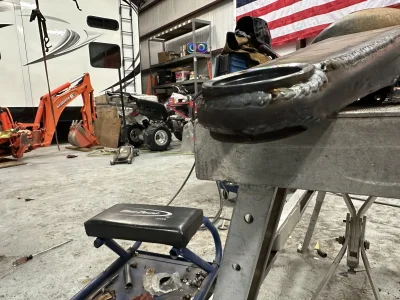
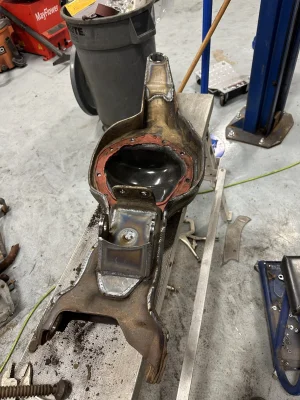
Beam day. Midget Nate came over and helped cut plates all day and tack them in place. I cleaned the bottom of the frame and painted it, welded in the pivot boxes and added a brace and got the uniballs in the beams. After he left, I finished up the plates on the driver beam and welded everything together. Probably way overkill for what this rhing will see for now. Coulda got away with two plates and ran it but atleast it’s ready for future harder abuse if it gets a v8IMG_0046.jpegIMG_0047.jpegIMG_0048.jpegIMG_0049.jpegIMG_0050.jpegIMG_0051.jpegIMG_0052.jpegIMG_0053.jpegIMG_0054.jpegIMG_0055.jpegIMG_0056.jpegIMG_0057.jpeg
 
Did you buy some of the plate work?

Some look more cleanly cut than others.

Asking because I might buy some for my Bronco some day.

Also, Cant wait to see how you like it.
 
Did you buy some of the plate work?

Some look more cleanly cut than others.

Asking because I might buy some for my Bronco some day.

Also, Cant wait to see how you like it.
lol that’s the difference in Nate cutting parts out and me. 2 plates were bought from Desolate when I got the uniball conversion but honestly the plates I made fit better than those. Nate’s learning and getting better at it. Shits like body work, all the work is in the prep before you paint lol.
 
lol that’s the difference in Nate cutting parts out and me. 2 plates were bought from Desolate when I got the uniball conversion but honestly the plates I made fit better than those. Nate’s learning and getting better at it. Shits like body work, all the work is in the prep before you paint lol.
Nice. Yeah, a couple look laser cut.

Looks good.
 
Back
Top