Long Overdue 01 Tundra Build Thread

oof dude, breaking your brack on a g-out is up there on my nightmare scenarios list.
were you haulin the mail and flew off the one side?
Hope you're recovered from that.

I wanted to ask about this comment from early in the thread. Schreiner is on my list of rear end manufactureres to choose for my build, but this is the first negative comment i've seen. Do you have strong opinions about them? any thoughts on why the seals were bad?
On the back subject we were going roughly 60-65 when I crashed. Back is all good now thanks for asking!!

As far as schreiner rear ends. My set up was the 2” snout with 31 spline gun drilled axles. The housing was not the fabbed housing but the 9” center section retubed by schreiner I think they have since upgrade those housing to a more fabricated stock style 9” center section (see the Bodj S-10) for example.With My housing I was always chasing cracks and leaks like every trip.

My rear end worked great when I had 35’s as soon as I went up to 37’s is when my hub issues started. The spindle nut lock ring is very chinsy the tab that locks into the cut out on the snout would constantly break and cause the spindle not to back out and ruin your weekend. I double stacked the rings on top of each other and never had one break again. Issue 2 the driver side snout was not reverse thread so the wheel rotation was trying to loosen it rather then tighten. Driver side broke the lock rings every time. Issue 3 (which it solvable with a lathe) is there are no crush sleeves on the hubs so the recommended torque was only like 32-flb’s unlink my Jamars that are hit the hub nut tool with a sledge hammer tight. 1 other weird problem that I found was the breather hole was to small and the housing would build enough pressure to cause the hubs seal to leak. I welded a -8 fitting on for a breather and the leaking stopped.

For the price tho you can’t really beat it. I’d recommend the bigger 3.5” fabbed housing and 35-40 spline set up if you plan on running anything over 35” tires.
 
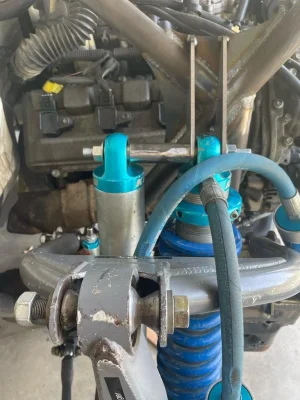
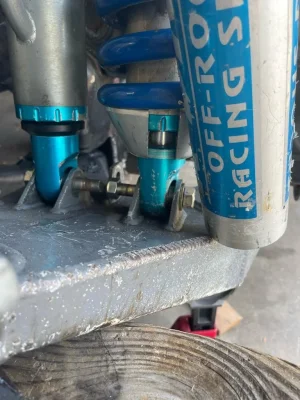
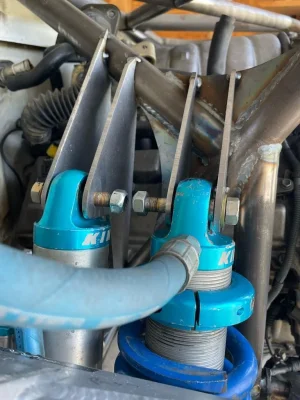
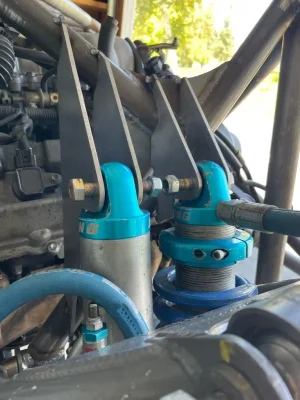
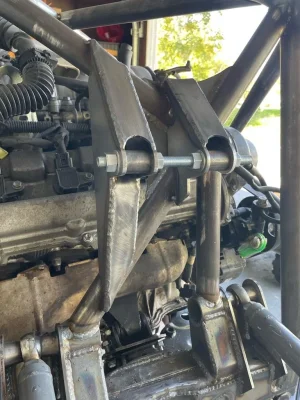
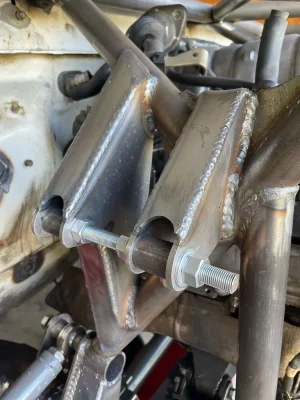
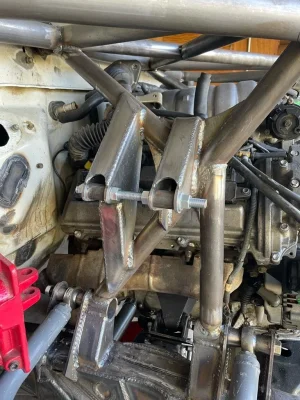
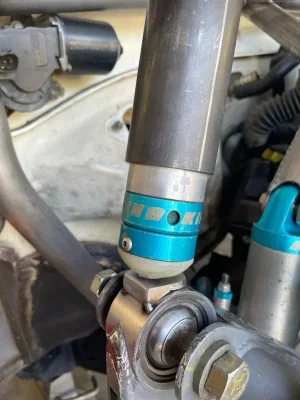
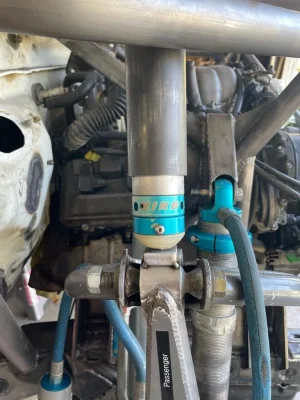
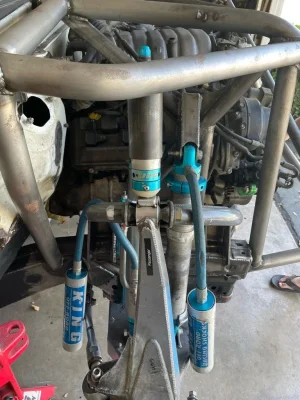
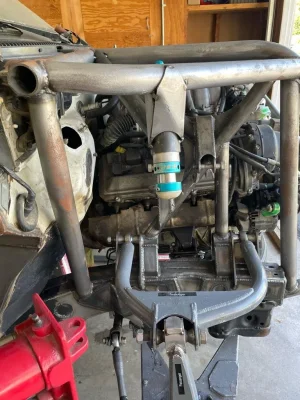
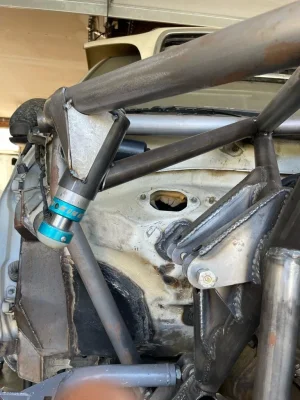
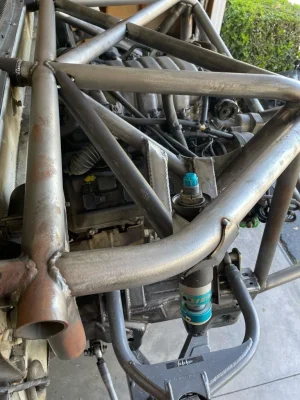
Finished up the shock mounts on the passenger side and just about wrapped up the driver side. With the extra clearance on the upper arm I was able to get the kit to cycle 18” metal to metal clean with no binding on uniballs or tie rods. I will strap it around 17”. Before the crash the kit was bumped and strapped at 15 3/4” because the truck was originally built with the inner fender core supports intact which limited bump travel.

1660077985629.png
1660078004171.png
1660078018779.png

1660078032529.png
1660078047852.png
1660078059123.png
1660078070913.png
1660078082035.png
 
105* Garage update: Set up and mounted bump stops. On the old front end the bumps were off the lower arm. On this revision I wanted to move the to bump off the spindle the “correct way” according to shock tuners. Built a small strike pad for the spindle upper uniball cup and cycled the arms to check the scrub with was minimal with baby 2”x2” bumps.

1662563593063.png

1662563602465.png

1662563613162.png

Mounting Cans…. Hopefully they don’t shrink to much I stayed below the machines lip inside the can this time.

1662563853679.png

1662563867258.png

1662563915110.png

1662563926815.png
 
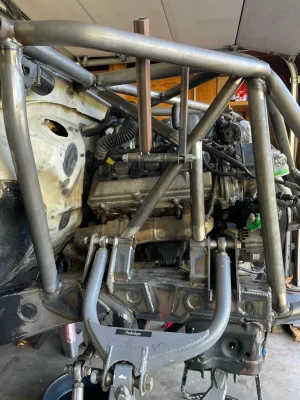
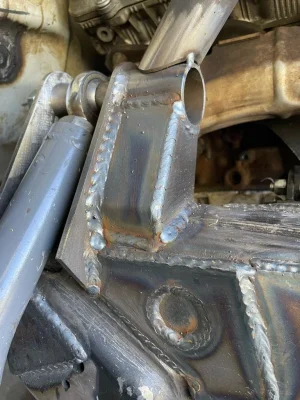
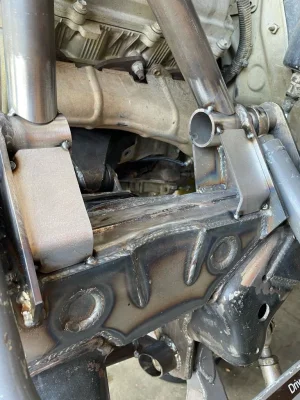
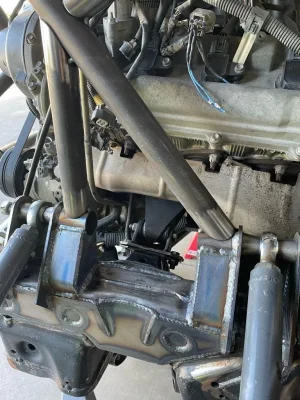
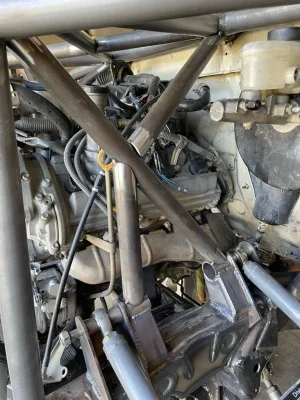
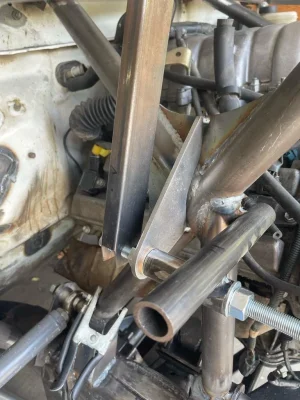
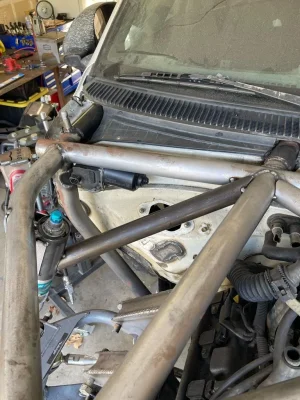
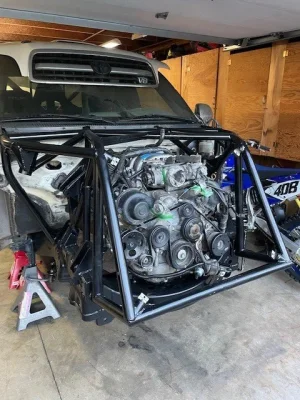
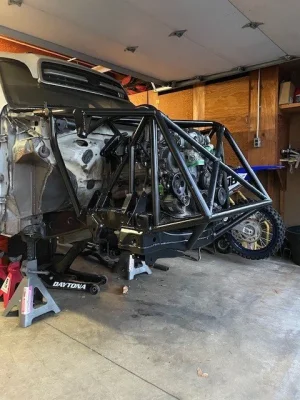
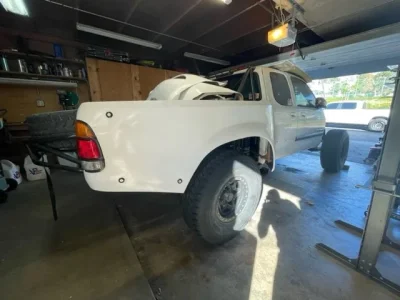
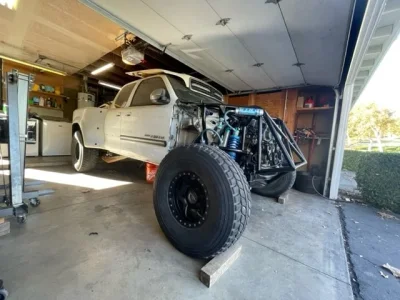
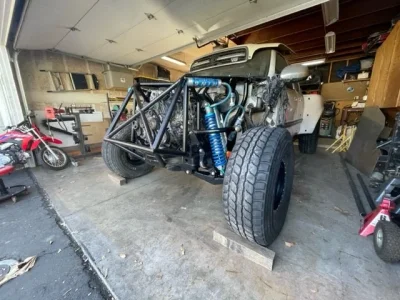
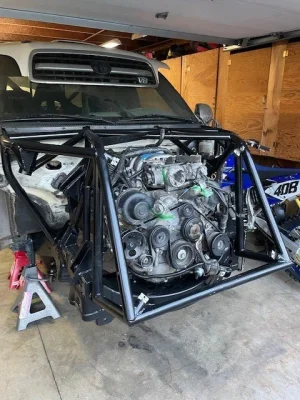
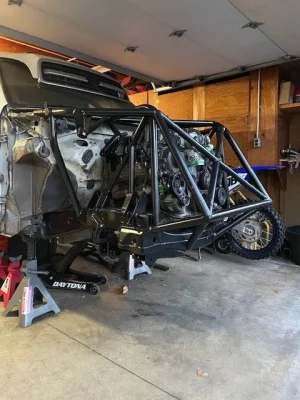
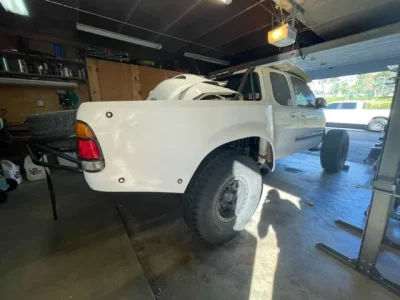
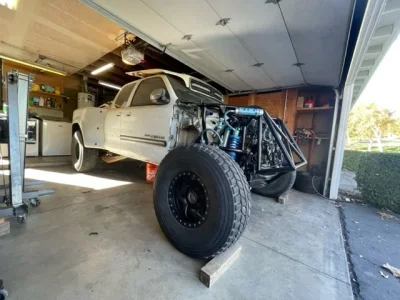
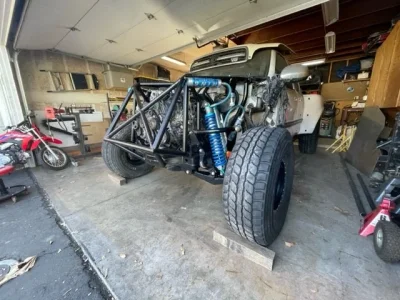
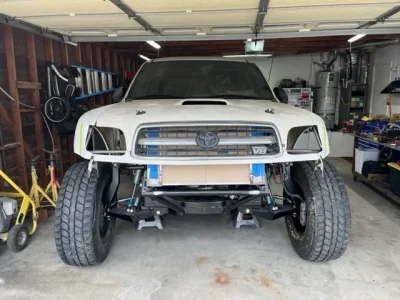
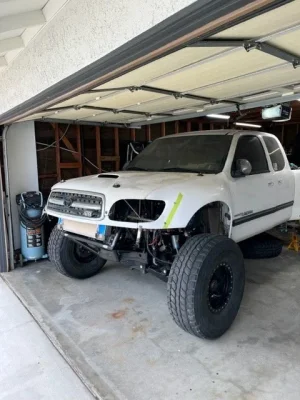
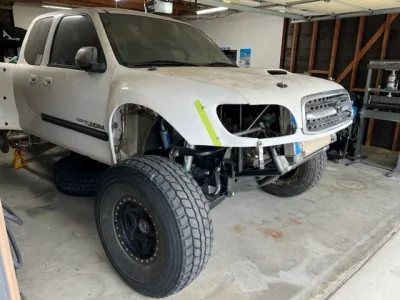
Small Update. Finish welded the entire engine cage inside and out. Put the engine and trans back in for the last time which i'm super pumped I was able to get the engine and trans bolted together to fit threw the front X that is removable. Before putting the engine and trans in tho I painted everything (rustoleum semi gloss black). I then had the control arms and uprights sand blasted to repair a few cracks on the lowers and have camburg replace the brake tab that was ripped off in the crash. Took it to Camburg because they have the fixture for the upright and it saves me from having to align it. Cost me only 100 bucks and they had it done in 30 min. I then did a full prep on the arms, uprights and front hubs. Bolted up the kit, shocks, steering rack, and everything else to make it a roller. The truck will stay in this state for a while as I just bought a house in Corona and will be moving in 20 days. Goal was to get it together enough to move it easily. Far from done tho.
 

Attachments

  • truck1.jpg
    truck1.jpg
    103.6 KB · Views: 20
  • truck2.jpg
    truck2.jpg
    90.3 KB · Views: 20
  • truck3.jpg
    truck3.jpg
    68.4 KB · Views: 14
  • truck4.jpg
    truck4.jpg
    85.8 KB · Views: 16
  • truck5.jpg
    truck5.jpg
    99.9 KB · Views: 17
Been a long while since an update: Good reasons tho I bought a house in corona at the end of november so the truck was put on hold after i got it to the point its at in the last update. Had to move the house then get the new house set up and yada yada yada and pregnant wife with boy 2 on the way also makes it hard to find time.

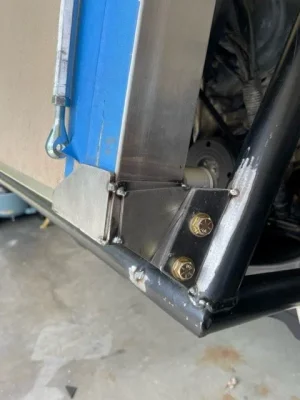
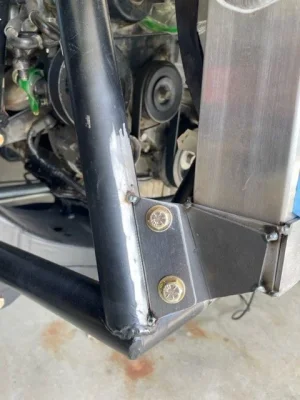
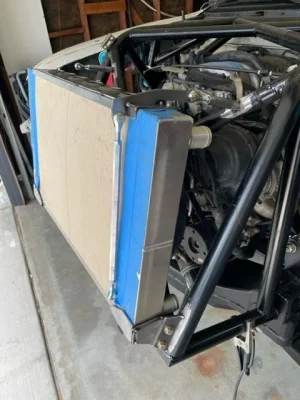
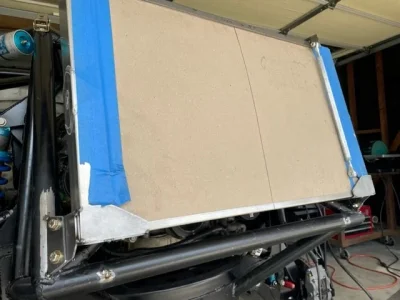
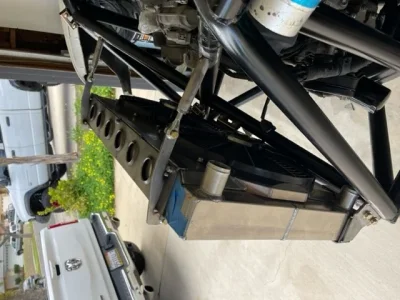
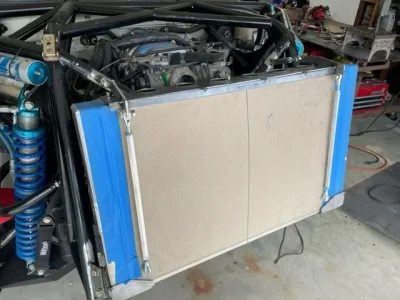
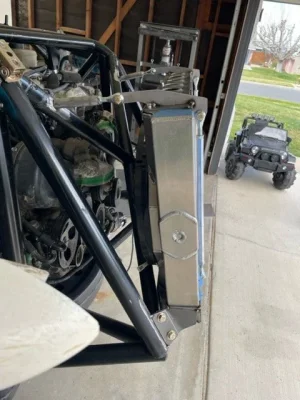
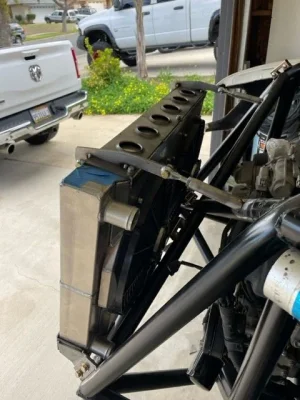
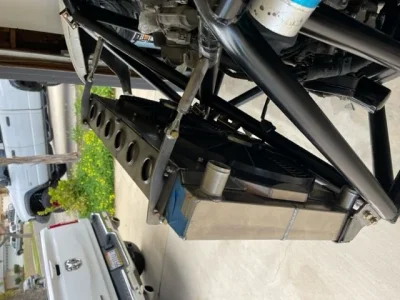
Anywho I finally mounted up the radiator its a CRB 31"x19" saw the mounts done like this on one of Ocho Fabs builds so I tried my hand at it. Very pleased with the result tho not as elegant as Cho's. I pushed the radiator as far forward and up as the hood and grille would allow to gain as much room for water lines, Intake tube, ect....
 

Attachments

  • rad 1.jpg
    rad 1.jpg
    50.8 KB · Views: 19
  • rad 2.jpg
    rad 2.jpg
    60.2 KB · Views: 19
  • rad 3.jpg
    rad 3.jpg
    69.4 KB · Views: 16
  • rad 4.jpg
    rad 4.jpg
    72 KB · Views: 17
  • rad 5.jpg
    rad 5.jpg
    84 KB · Views: 16
  • rad 6.jpg
    rad 6.jpg
    70.4 KB · Views: 15
Looking good man. Let me know when you're ready for some Evans Brewing Co.
 
Update: I got the new trailer products 6" glass trimmed and mounted. Fit like absolute shit very disappointed in the quality of this glass.

fiberglass 2.jpg

fiberglass.jpg

fiberglass2.jpg

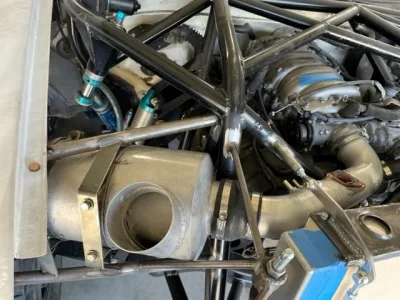
Mounted up my UMP air filter canister pretty much in the only spot I could were the tire would clear at bump and it wouldn't interferr with the headlights.

airfilter.jpg

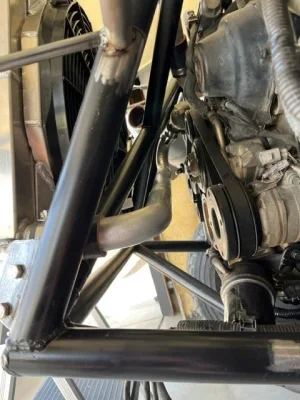
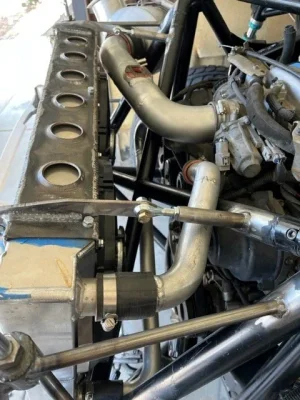
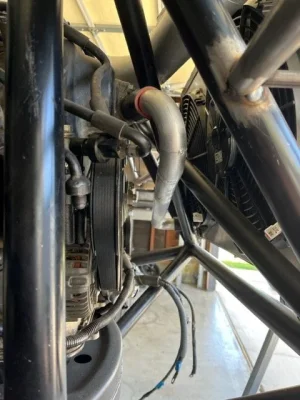
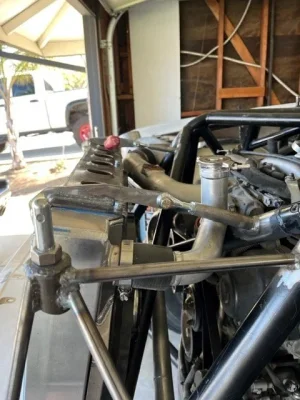
Finally I reworked my aluminum intake tube to fir the air filters new location. A buddy of mine made this a couple years ago when I built the original engine cage he made a custom boss for the factory MAS which worked out great also welded in a couple barb fittings for factory vacuum lines. I was stoked to be able to use that portion of the tube and just have to cut the bends off and rework it. Made 2 new aluminum waterlines as I am using a generic CBR radiator with the outlet on the wrong side. This was my first time tig welding thing aluminum tubing so the welds are nothing to write home about BUT I did pressure test them to 15PSI and have no leaks.
waterline.jpg

waterline1.jpg

waterline2.jpg

waterline3.jpg
 
Do you remember the approximate settings you used on the welder? I need to do some tube fab like that and have no clue where to start.
Sean
 
Back
Top