1968 Ford F-250 Prerunner Build Thread

I remember sitting really far forward in the class one and wishing the gas paddle was more up and down like that. I think it'll be nice on a truck with such a tall cab.
 
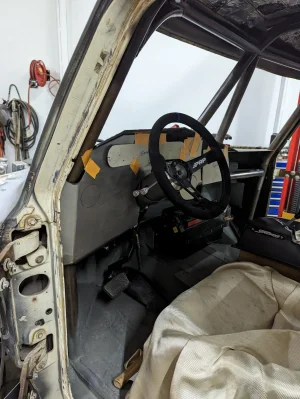
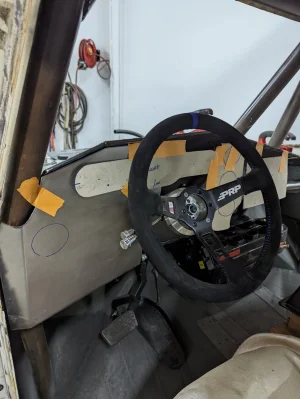
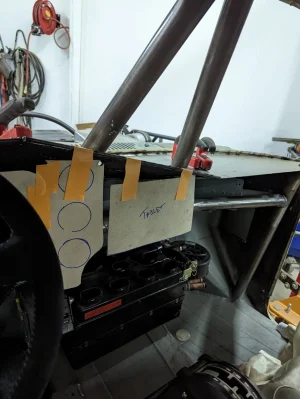
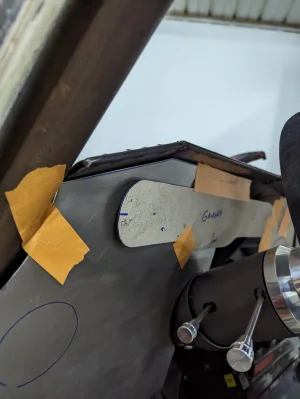
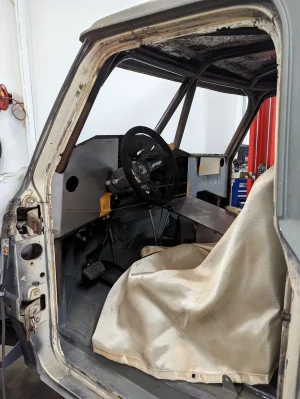
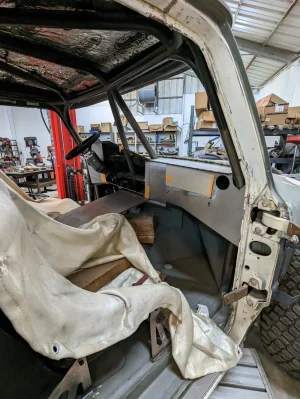
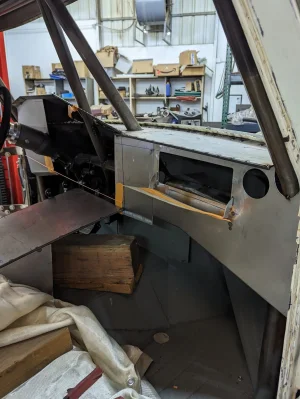
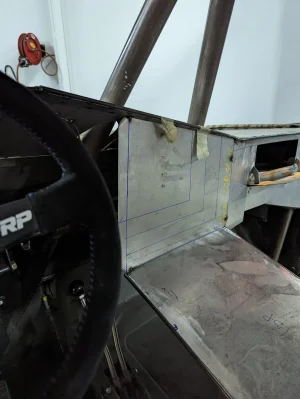
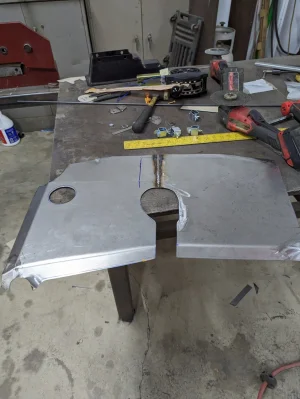
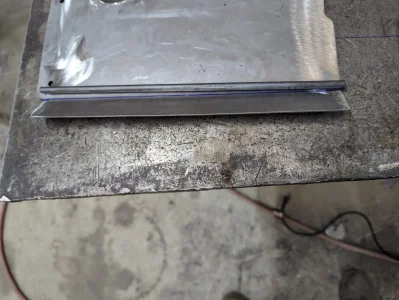
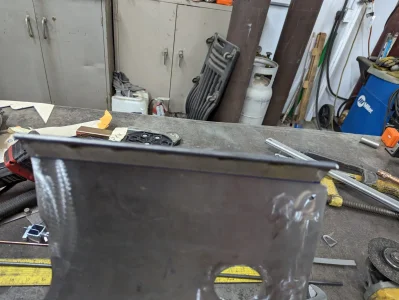
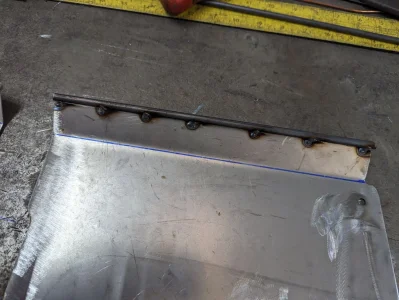
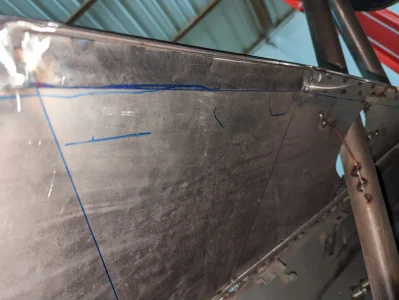
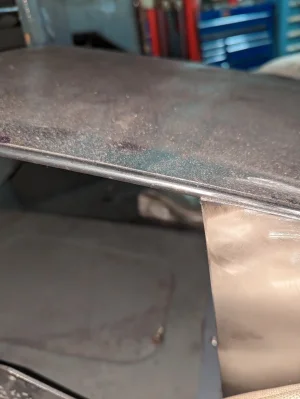
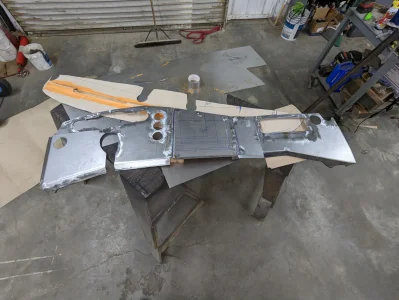
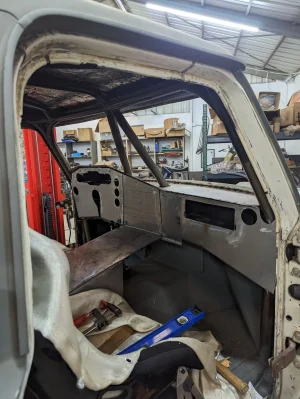
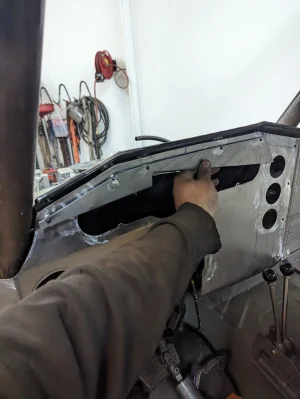
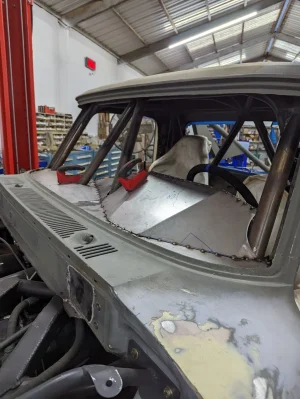
Started making a sheet metal dash for the truck. Need to fabricate the glove box and removable face panels to access wiring, AC hoses and wiper stuff. Has intellitronix 6 gauge panel along with a Trans Temp, oil temp and boost gauges next to that. Also will have a 10" tablet for my GPS and restomod AC controls, rugged radio and intercom. I used some thin sheet metal and on the top edge used some 1/4" round stock and tacked that on with a 1" wide lip on bottom edge so the gauges and everything will recessed in about 1" behind the top lip. I will me covering and spray adhesive the dash with some vinyl to give it a good finish. I left a 1/4" gap around the windshield tubes so the vinyl will get wrapped in and under the dash to keep it all in place good. Will be making a glove box compartment to keep any paperwork and stuff in place with a unge and latch. I hate not having a spot for registration and insurance and not a fan of keeping stuff in a pouch.

PXL_20230111_002816596.jpgPXL_20230111_002758423.jpgPXL_20230111_002802073.jpgPXL_20230111_002805701.jpgPXL_20230111_002808500.jpg
 
fucking amazing Tommy. you should top it all off with a footprint gas pedal. totally serious too. hah.
 
agreed having somewhere to put the paperwork besides a crusty old pouch is nice but not sure I'd want to take the time to make an actual glove box. I'm probably just going to go with a pelican case hard mounted somewhere on my truck.
 
agreed having somewhere to put the paperwork besides a crusty old pouch is nice but not sure I'd want to take the time to make an actual glove box. I'm probably just going to go with a pelican case hard mounted somewhere on my truck.

Yeah a small case would be fairly easy to do but I made a metal dash in my 85 Toyota years ago and loved the glove box I made for that thing so gonna do the same. Want the dash to be a highlight of the interior since the outside of the truck has so much to look at already, the interior I don't want to be bland at all
 
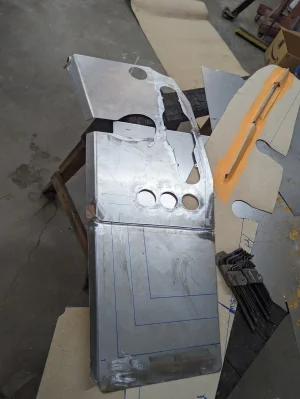
Got passenger panel trimmed and couple small tacks to hold it in place. Got glove box door hinges tacked in place and working good as well. Will cut aluminum panel for the door. Got center console main frame tacked together. This will have holes cut for shifter and center console storage box as well. Between that on passenger side I will build a removable piece that will cover the restomod AC evaporator and motor to finish that area up nicely. Driver side I will do the same around the t case shifters as well.

PXL_20230112_234838058.jpgPXL_20230112_234555905.jpgPXL_20230112_234905557.jpg
 
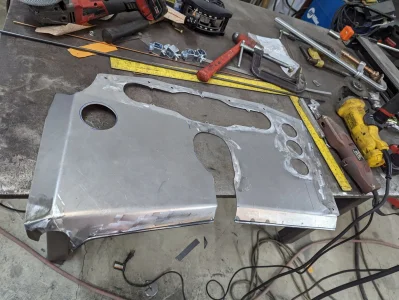
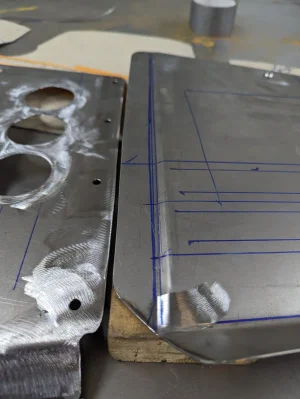
Got tabs welded onto floor for center console. Made center dash piece and last face piece of the dash. Waiting on my samples for the dash marine vinyl so I can know how much space that takes for when I wrap the panels so I can weld up more tabs to make the face of the dash fully removable and bolt in. Then layout where gauges, rest of AC vents, shifter, radio, intercom etc so I can cut holes for everything. Need to finish sanding the weld seam above the column where I put the 2 pieces together around the column. Half the dash is removed but here's a couple pics.
PXL_20230114_012155353.jpgPXL_20230114_012200438.jpg
 
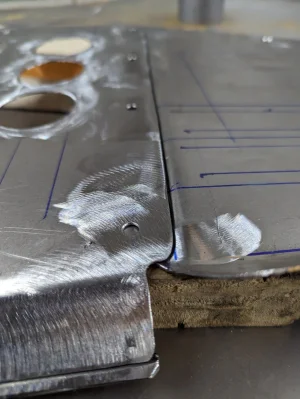
Ok not much progress today since I ran some errands to get more supplies for tomorrow. I spent way too much time cutting out the gauges cluster opening which was tricky because it had 6 1/8" bolt holes that needed to be inside the opening. So I drilled those holes and then drilled more holes on either side of that so when I used hole saw for ends and cutoff wheel, and body saw to cut it out the tabs wouldn't be cut and be strong to hold everything in place. Then played out the top holes to secure this to the dash and drilled those holes and holes on the top flanges. Once the top tabs are in place and everything is bolted up I will drill the overlapping holes so I can install rivnuts on the bottom tab. I the welded some 1/4" round stock on bottom lip so it will be all finished looking once I wrap the entire dash and all panels. Also once it's all welded and bolted together I will reinstall the AC evaporator and make the front side panels of console to finish that all off. The pass side cover panel will be a little tricky since it needs to not be a straight 90 in order to cover the complete AC and have room to hook up all the hoses. Stay tuned that will be completed next week. I also filmed some of this today so I'll put together a rushed video from half way to finish to show you the process and limited knowledge and sheet metal tools I have to finish this job.
PXL_20230114_214213891.jpgPXL_20230114_222407904.MP.jpgPXL_20230114_224121588.jpgPXL_20230114_224127597.jpgPXL_20230114_224132578.jpgPXL_20230114_224143901.jpgPXL_20230114_224153451.jpgPXL_20230114_231755200.jpgPXL_20230114_232204219.jpgPXL_20230114_232209595.jpg
 
More work on the dash. Pass side tabs were easy since I could reach around from bottom to tack tabs on back side. Driver side note so much. Got 2 tabs tacked and than made a guide with holes in same spots so I could tack other tabs in place. Did that and refit dash piece and was all good. Installed and removed the dash pieces like 10 times per piece to drill holes or trim a bit more where needed. Got it all in place and reinstalled so I can do front sides of center console next.
PXL_20230115_231113660.jpgPXL_20230115_231056785.jpg
 
looks so fucking good Tommy.

also, to you and anyone else who does this, fucking props for posting sooooooooooo many pictures of not every step but, A LOT of the steps youre taking to get to what youre making. it might just be me but, "oh just take a few pics while your working so i can see!".......... is really NOT that fucking simple. maybe physically, yeah it doesnt take much work but, to stop what youre fucking doing, pull/go get your phone out, plan the right angle/zoom of the picture, take the picture and make sure its somewhat focused, then put everything back to where it was and get back into the groove of whatever the fuck you were doing.............. idk. its a lot, and like i said could just be me and being to worried about banging mawmacitas at the same time, or very likely because im legitimately fucking retarded. but SAME SAME.
im just saying thank you!!!!!!!!!!!!!!!!!!
 
Yeah definitely takes time to stop and take photos along the way. I also started to film this process but didn't start doing that until middle of the dash build. I'm trying to get back into videos, which is hard when it's just tedious reassembly stuff.
 
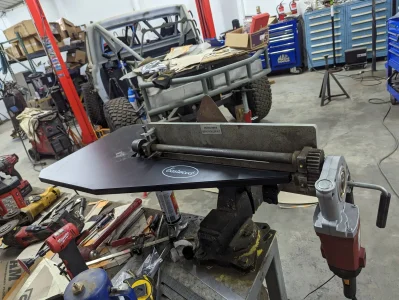
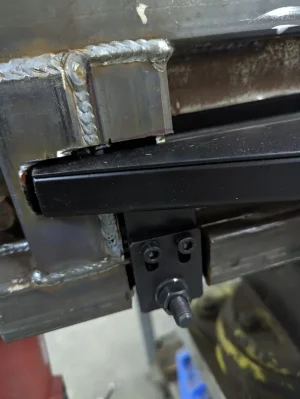
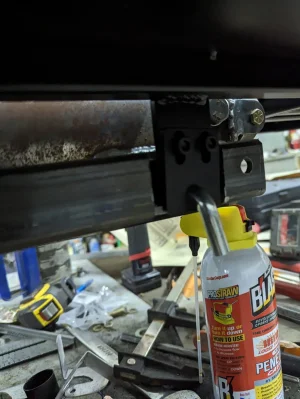
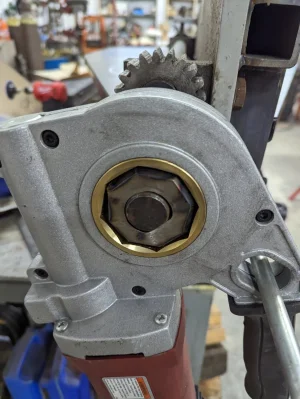
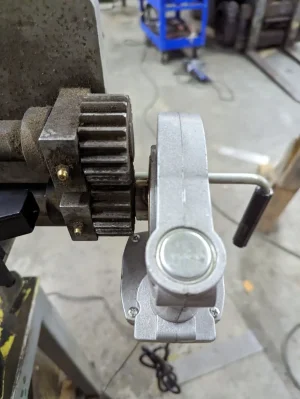
Well no updates on the dash but I did spend some time installing a eastwood beadroller table to my Woodward fab beadroller. Wasn't that easy since I added some 1.5" x .250 box tubing to the side of it to stiffen it up. Used my plasma to notch that to clear the table and mounting legs. Also welded a small piece of tubing to the hex adapter I made for the harbor freight motor I'm using. Also welded some scrap thin sheet to the hex adapter I made so I don't have to remove the snap ring inside the motor that holds the pipe dies one, since I still have used this for threading pipe about as often as I use it for the bead roller. I'm going to notch the box tubing more in the rear so I can pull the pin to swing the table down in order to change the dies without having to remove the table. PXL_20230122_012304080.jpgPXL_20230122_012308834.jpgPXL_20230122_012312869.jpgPXL_20230122_012318564.jpgPXL_20230122_012325814.jpg
 
Well laid out where everything should go and tire down the dash again so I can cut and drill holes for everything. Need to remove console to install the 2 switch pros into it and the race radio.

IMG_20230122_175450.jpg
 
What about that edge that would be by the drivers legs and cut your legs off ... I assume you will have to box that portion back in to front of cab. That looks like a tough piece to make...
 
Bottom edge has some 1/4" round stock welded onto it so no sharp edge. Pass side piece around blower motor goes to firewall and has a mounting tab welded onto that. Driver side is plenty clearance probably more than stock vehicles
 
Back
Top