You are using an out of date browser. It may not display this or other websites correctly.
You should upgrade or use an alternative browser.
You should upgrade or use an alternative browser.
The Turbo Glue Factory: Boosted Colt Build
- Thread starter turbomonty
- Start date
turbomonty
Well-known member

turbomonty
Well-known member

turbomonty
Well-known member


turbomonty
Well-known member

turbomonty
Well-known member
turbomonty
Well-known member
Ok so I made some top level choices!
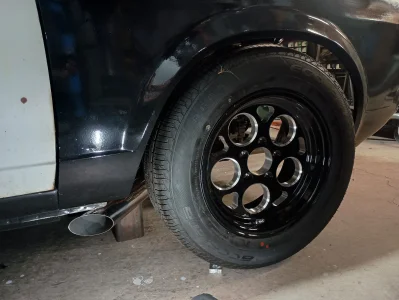
2010 CR-V rotors are cheap and huge in 15" wheel
2005 4runner front caliper is also cheap and massive in 15" wheel
4 piston love and match the rotor thickness
The rotor and no other ones have a large enough "hat" height to work turn key so I got a 1.250 wheel spacers to make up for it
2010 CR-V rotors are cheap and huge in 15" wheel
2005 4runner front caliper is also cheap and massive in 15" wheel
4 piston love and match the rotor thickness
The rotor and no other ones have a large enough "hat" height to work turn key so I got a 1.250 wheel spacers to make up for it
Attachments

turbomonty
Well-known member
look at the factory wheel to hide that caliper


Last edited:
turbomonty
Well-known member
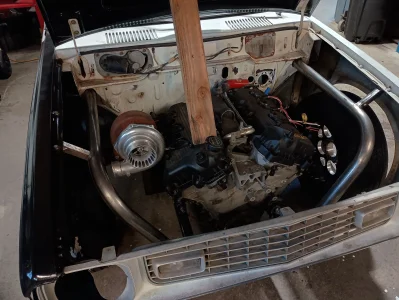
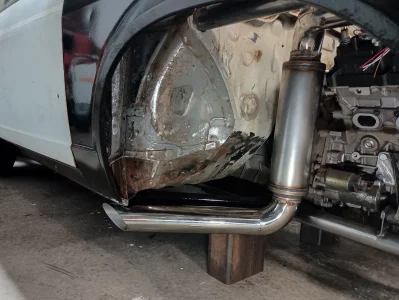
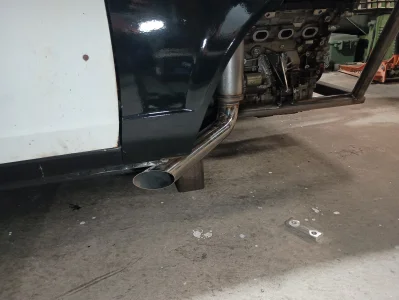
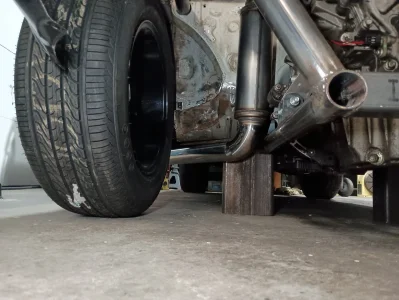
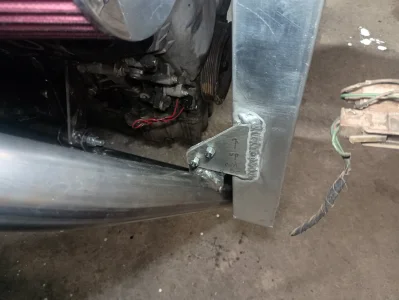
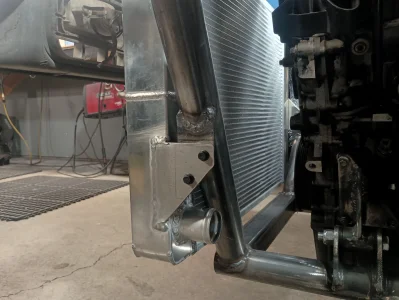
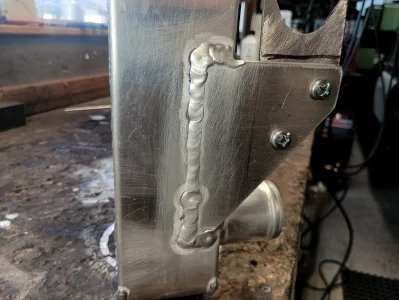
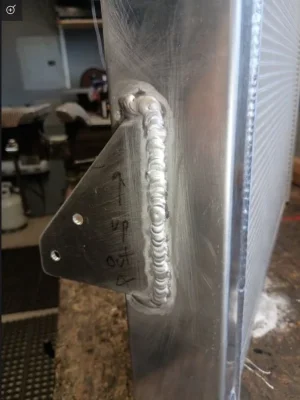
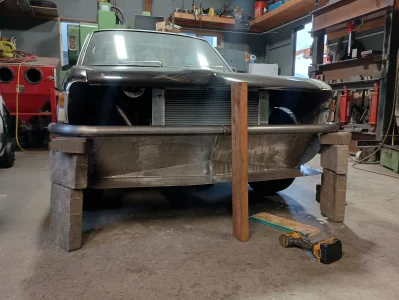
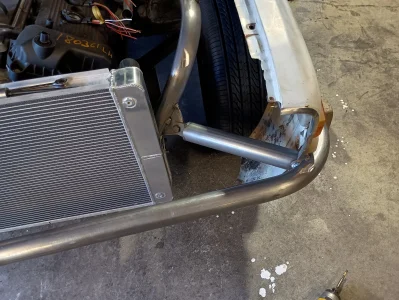
Suffered more harbor freight Tig action and got the radiator mounted. It is pretty dam solid already. Might add one more point of contact though
Attachments
-
 IMG_20251108_171622281_HDR.webp1.2 MB · Views: 7
 -
 IMG_20251108_171502334_HDR.webp1.5 MB · Views: 8
 -
 IMG_20251108_171547942_HDR.webp836 KB · Views: 8
 -
 IMG_20251108_171514030_HDR.webp1.2 MB · Views: 7
 -
 IMG_20251108_151648583_HDR.webp1.8 MB · Views: 7
 -
 IMG_20251108_151610158_HDR.webp1.3 MB · Views: 7
 -
 Capture.webp43.4 KB · Views: 13
turbomonty
Well-known member
turbomonty
Well-known member

turbomonty
Well-known member

turbomonty
Well-known member
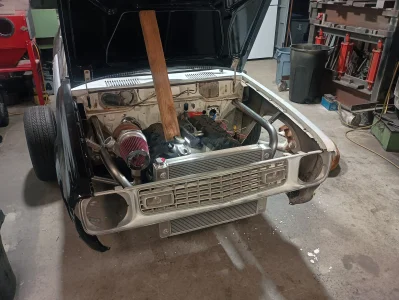
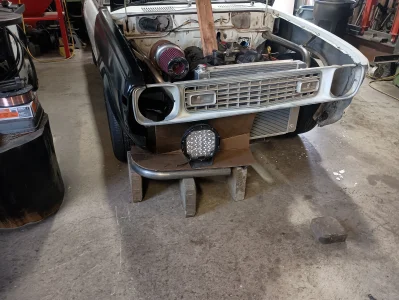
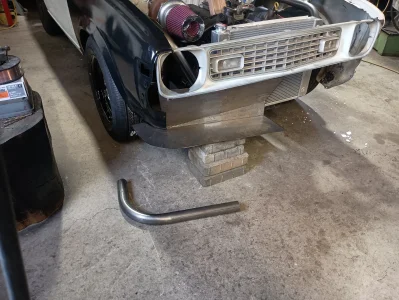
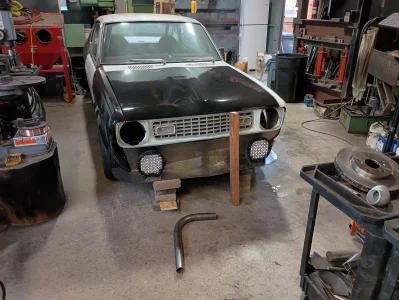
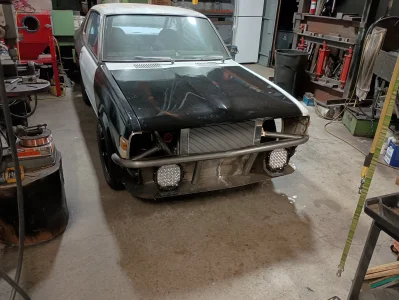
not sure where i am going with the grille/bumper yet. i like this i think....

turbomonty
Well-known member
turbomonty
Well-known member
lol, i stubbled across a picture of a wheel spacer to use 4 piston calipers too!

turbomonty
Well-known member
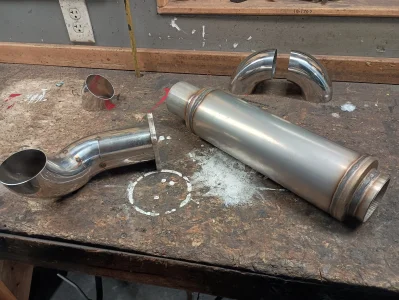
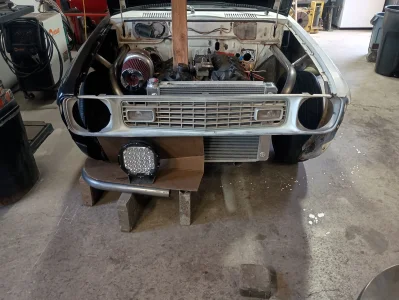
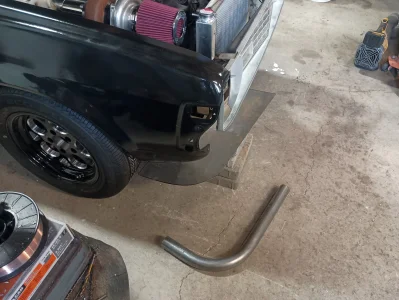
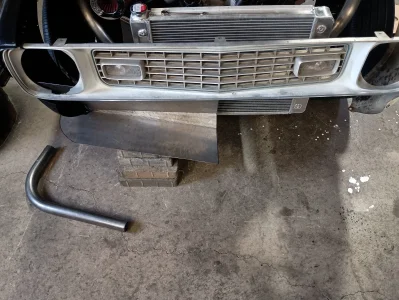
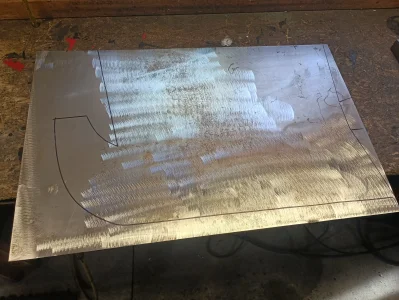
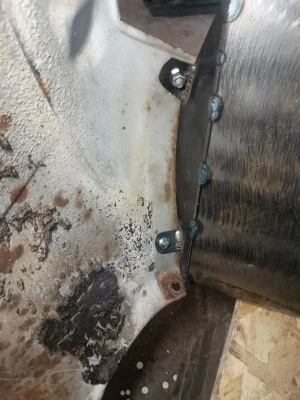
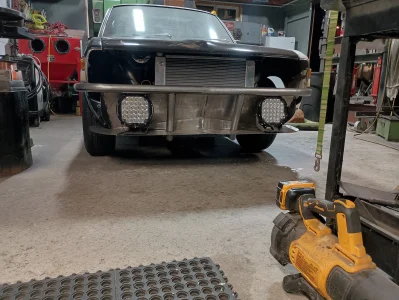
Worked on the front piece some
got two small tabs welded on each side to screw the fender to. now the fenders hold up the front piece in position
got two small tabs welded on each side to screw the fender to. now the fenders hold up the front piece in position
Attachments

Last edited:
turbomonty
Well-known member
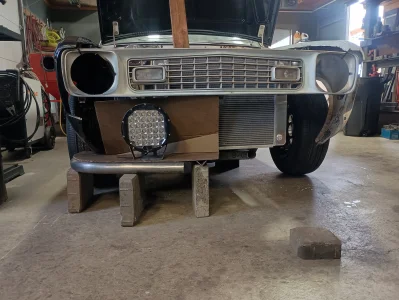
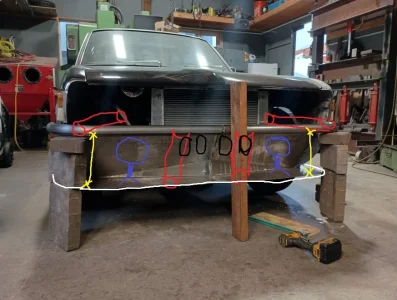
so i am liking this the more i have it completed in my mind
red are 2" tubes from frame areas
black is some louvered area to flow air for cooling
blue is the free driving lights
yellow are the super fun little turn buckles to make it look adjustable to something useful
white is the 1/4" round bar i will weld onto the lip to make it less than lethal leading edge
Attachments
turbomonty
Well-known member
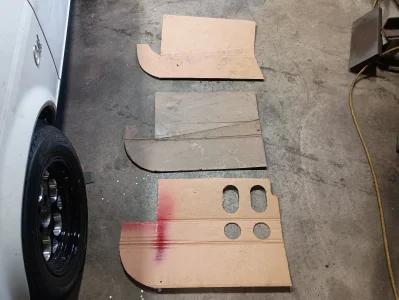
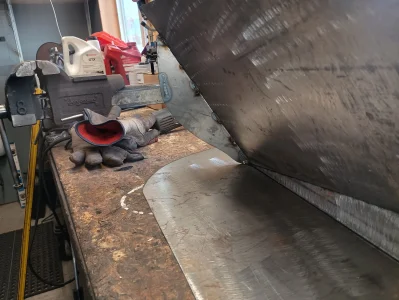
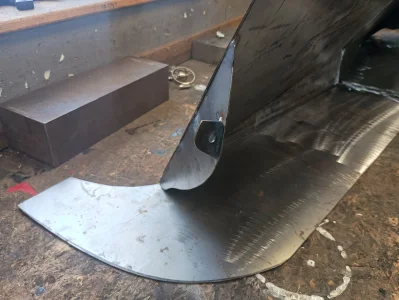
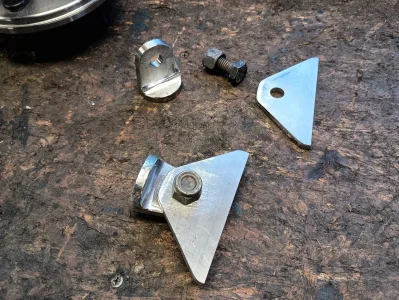
Made my removable ends
Attachments
-
 IMG_20251115_104929221.webp2.3 MB · Views: 6
 -
 IMG_20251115_110548944.webp1.3 MB · Views: 6
 -
 IMG_20251115_111228491.webp1.8 MB · Views: 6
 -
 IMG_20251115_112105153.webp2.9 MB · Views: 7
 -
 IMG_20251115_113851383_HDR.webp2.4 MB · Views: 7
 -
 IMG_20251115_144742793_HDR.webp1.8 MB · Views: 8
 -
 IMG_20251115_144746542_HDR.webp1.9 MB · Views: 10
turbomonty
Well-known member
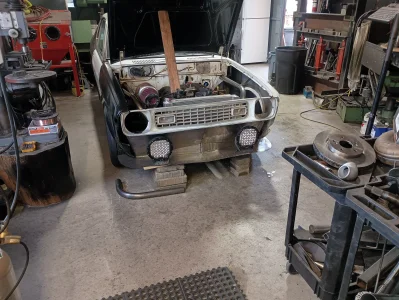
Got it mostly together today
I'll pull it off tomorrow and flatten up some areas with a straight edge clamped on and then finish weld the sheet
the lights are slightly too tall now, i might get some smaller ones but will see.
I'll pull it off tomorrow and flatten up some areas with a straight edge clamped on and then finish weld the sheet
the lights are slightly too tall now, i might get some smaller ones but will see.
Attachments

turbomonty
Well-known member
i have been simmering on some Maserati control arms up front

Similar threads
- Replies
- 2
- Views
- 503
- Replies
- 34
- Views
- 931