THE NUCLEAR UNICORN

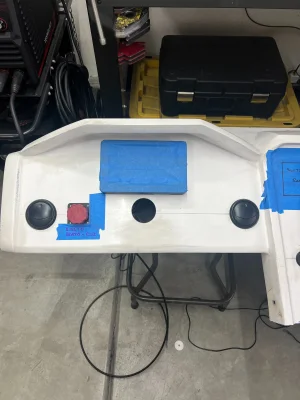
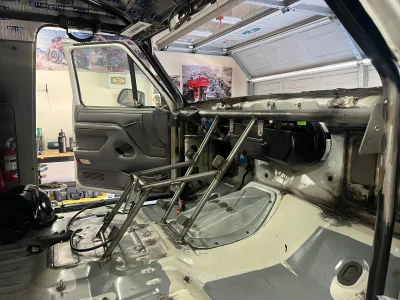
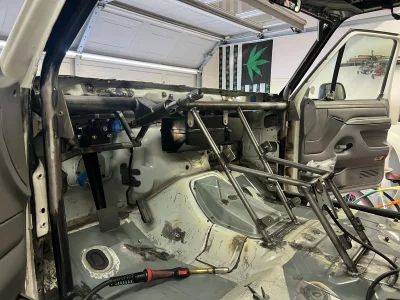
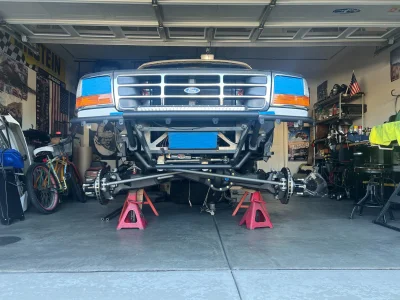
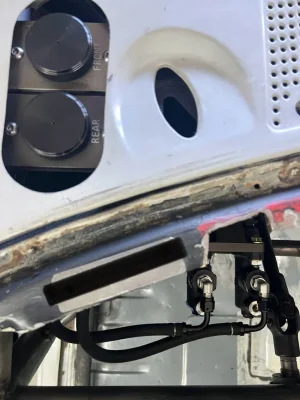
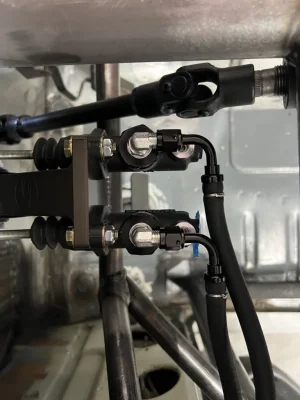
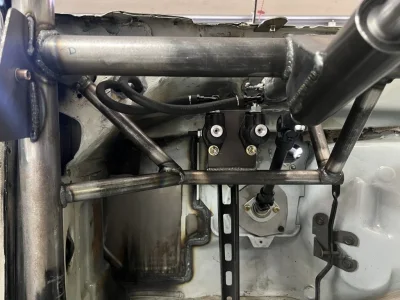
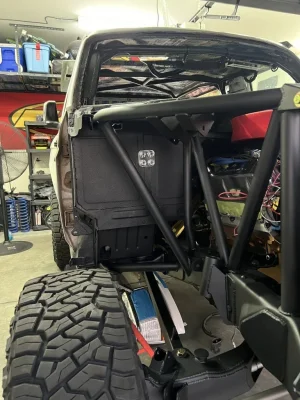
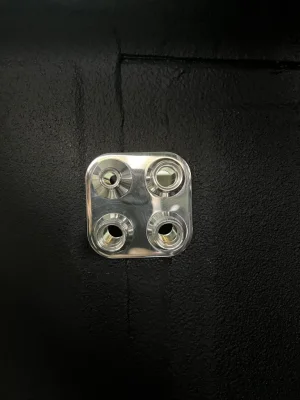
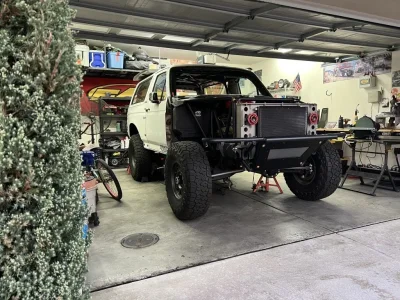
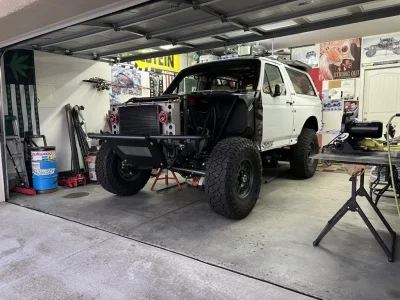
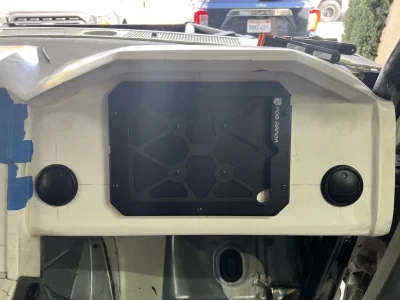
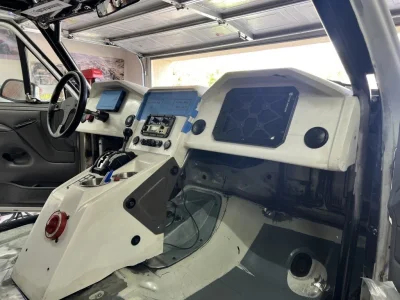
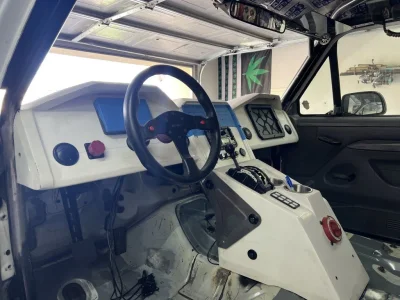
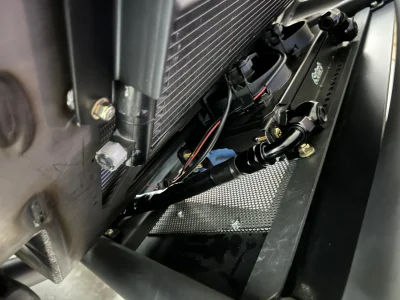
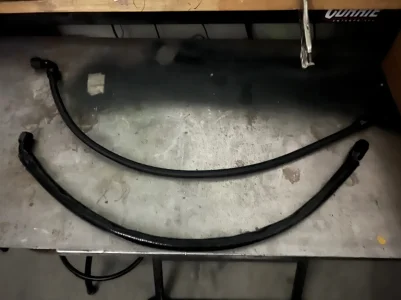
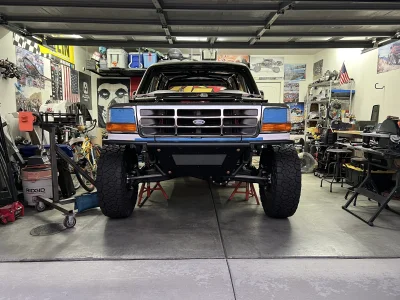
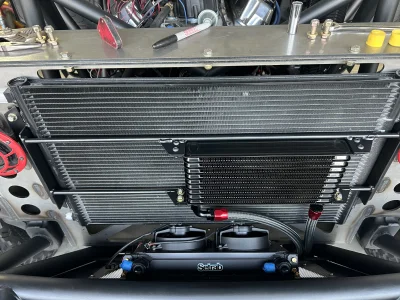
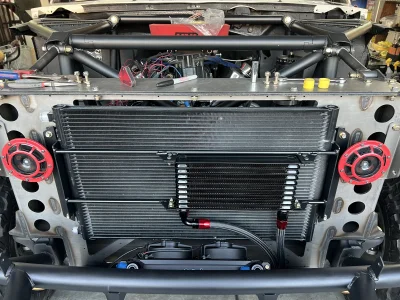
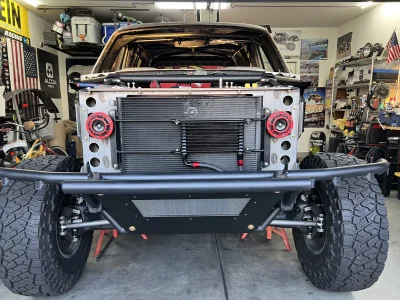
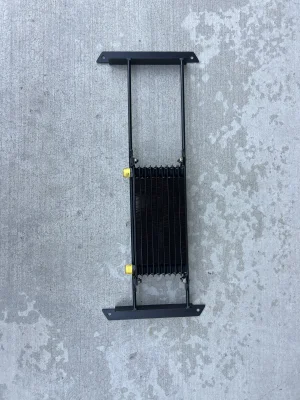
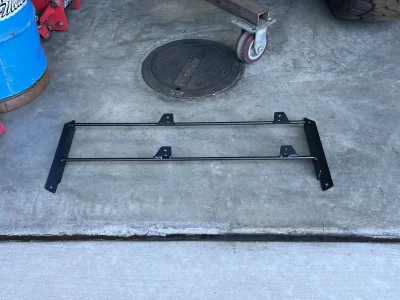
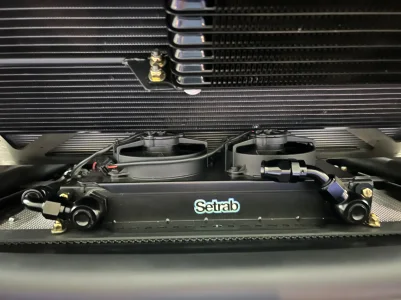
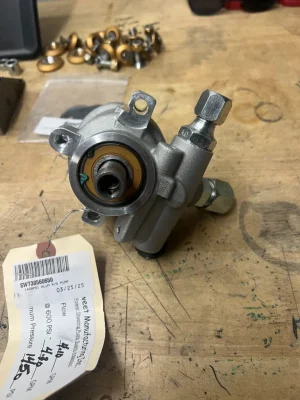
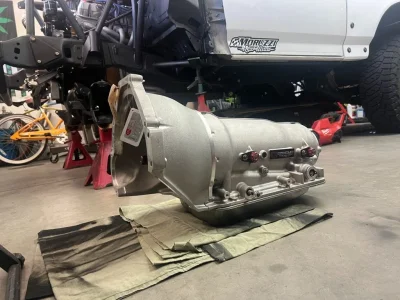
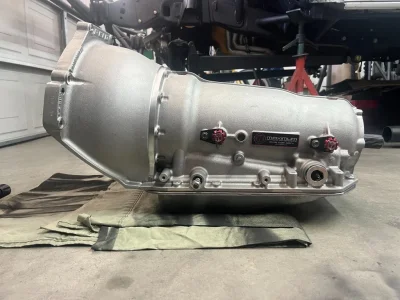
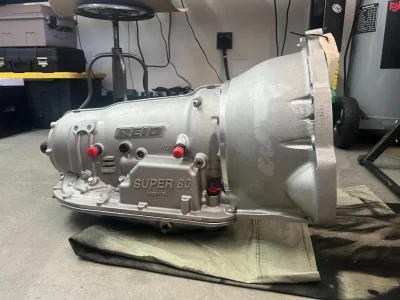
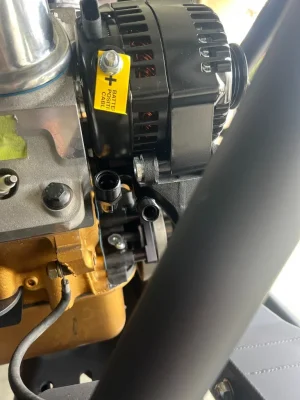
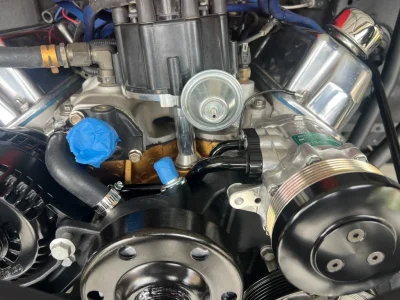
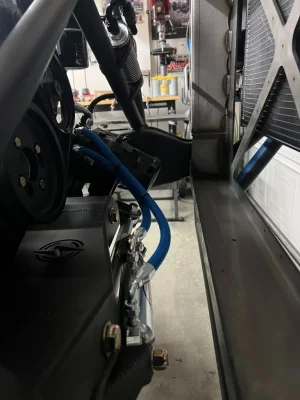
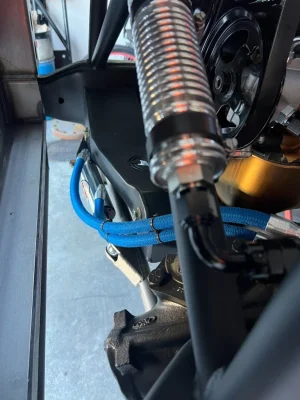
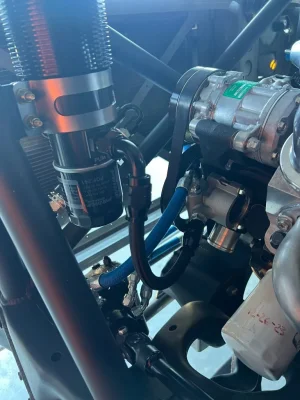
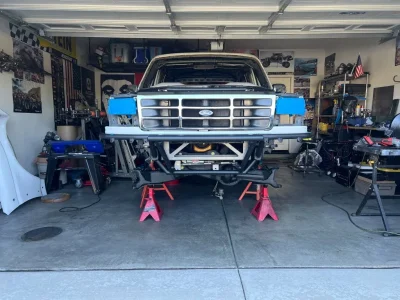
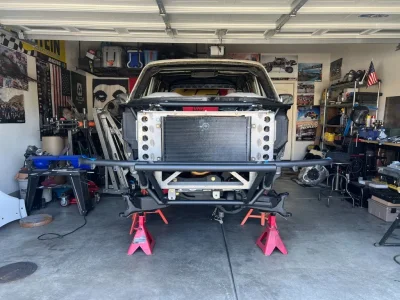
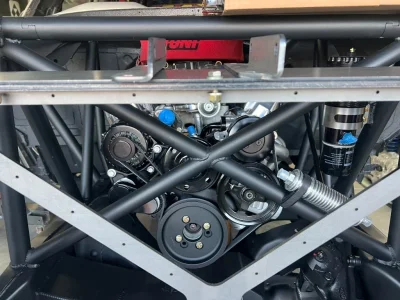
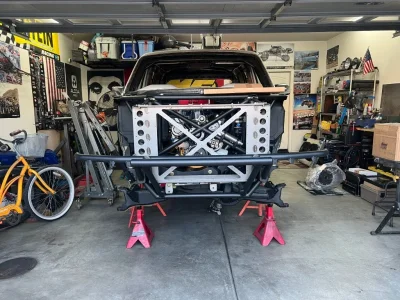
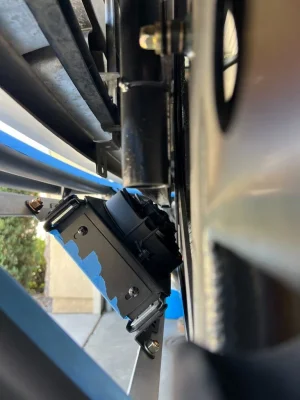
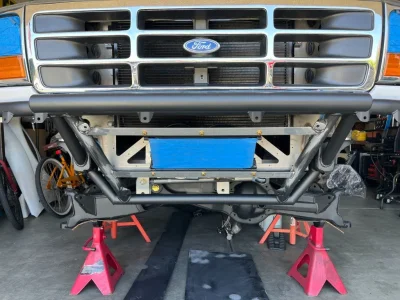
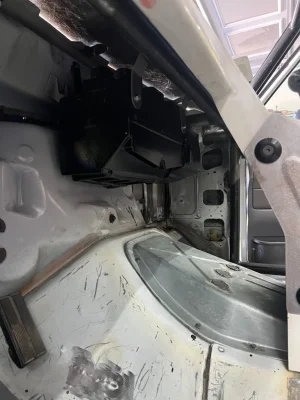
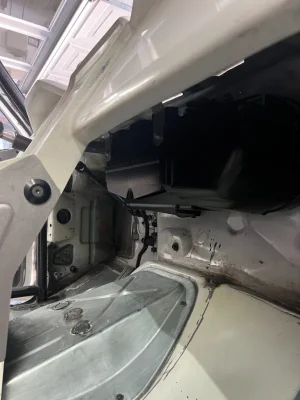
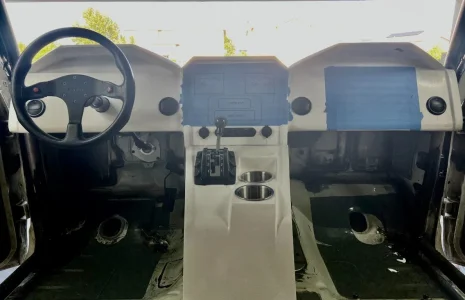
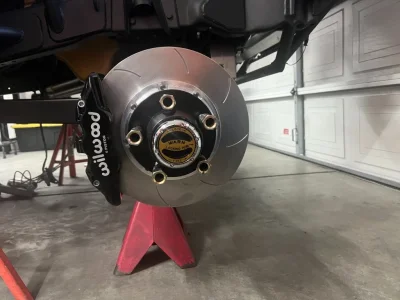
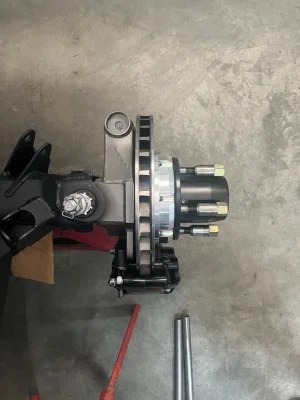
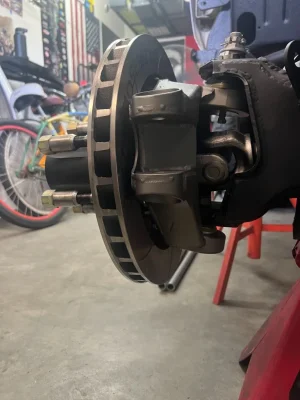
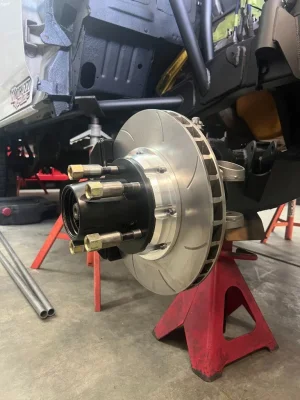
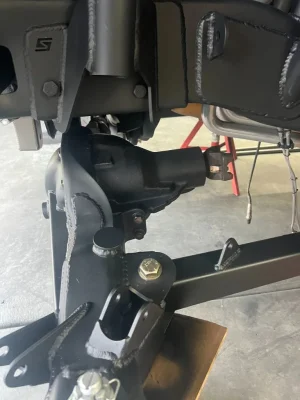
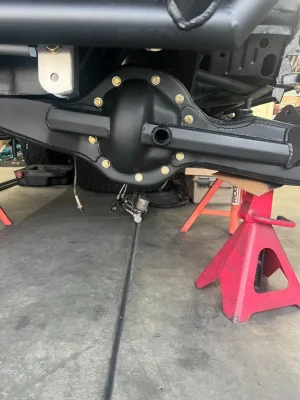
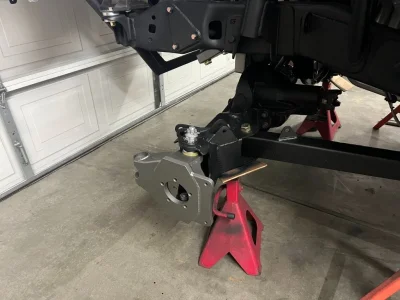
Some more updates! Picked up the 4L80 Reid case from Maximum transmission. Installed the 1450 psi Sweet GM pump, Mounted the Howe Ram, Built and installed the power steering lines, Installed a Holley mid mount front engine accessory drive kit on my Moruzzi 383SBF, AC condenser installed, Vintage air evaporator installed, Trans cooler installed, And i started installing the dash accessories. Moving along slowly, but i'm still moving along!
 

Attachments

  • IMG_4277.JPG
    IMG_4277.JPG
    154.5 KB · Views: 72
  • IMG_4381.JPG
    IMG_4381.JPG
    171.3 KB · Views: 59
  • IMG_4380.JPG
    IMG_4380.JPG
    175.2 KB · Views: 42
  • IMG_4379.JPG
    IMG_4379.JPG
    164.4 KB · Views: 41
  • IMG_4376.JPG
    IMG_4376.JPG
    126.7 KB · Views: 42
  • IMG_4375.JPG
    IMG_4375.JPG
    184.9 KB · Views: 43
  • IMG_4373.JPG
    IMG_4373.JPG
    175.1 KB · Views: 44
  • IMG_4650.JPG
    IMG_4650.JPG
    127.6 KB · Views: 39
  • IMG_4648.JPG
    IMG_4648.JPG
    140.3 KB · Views: 37
  • IMG_4647.JPG
    IMG_4647.JPG
    133.5 KB · Views: 35
  • IMG_4646.JPG
    IMG_4646.JPG
    132.9 KB · Views: 33
  • IMG_4486.JPG
    IMG_4486.JPG
    191.9 KB · Views: 42
  • IMG_4484.JPG
    IMG_4484.JPG
    209.5 KB · Views: 42
  • IMG_4483.JPG
    IMG_4483.JPG
    170.4 KB · Views: 45
  • IMG_4482.JPG
    IMG_4482.JPG
    239.3 KB · Views: 43
  • IMG_5090.JPG
    IMG_5090.JPG
    107.8 KB · Views: 42
  • IMG_5088.JPG
    IMG_5088.JPG
    184.5 KB · Views: 41
  • IMG_4658.JPG
    IMG_4658.JPG
    138.2 KB · Views: 39
  • IMG_4656.JPG
    IMG_4656.JPG
    115.8 KB · Views: 36
  • IMG_E5094.JPG
    IMG_E5094.JPG
    131.2 KB · Views: 43
Update! Got the knuckles back from being stressed checked and updated for the new brake and rotor package. (managed to get one side installed) I also had time to service, clean, and install the front differential.
 

Attachments

  • IMG_5343.JPG
    IMG_5343.JPG
    122.2 KB · Views: 20
  • IMG_5337.JPG
    IMG_5337.JPG
    130 KB · Views: 20
  • IMG_5336.JPG
    IMG_5336.JPG
    116.6 KB · Views: 18
  • IMG_5335.JPG
    IMG_5335.JPG
    147 KB · Views: 20
  • IMG_5334.JPG
    IMG_5334.JPG
    126.3 KB · Views: 18
  • IMG_5332.JPG
    IMG_5332.JPG
    118.5 KB · Views: 22
  • IMG_5331.JPG
    IMG_5331.JPG
    157.3 KB · Views: 22
  • IMG_5325.JPG
    IMG_5325.JPG
    98.1 KB · Views: 23
  • IMG_5323.JPG
    IMG_5323.JPG
    144.4 KB · Views: 37
Few more updates! Beams and Steering are pretty much wrapped up. Dash structure is pretty close to being done, need to add a few more tabs. And installed an EJECTO SEATO knob. ;)
 

Attachments

  • IMG_5382.JPG
    IMG_5382.JPG
    1.7 MB · Views: 27
  • IMG_5377.JPG
    IMG_5377.JPG
    2.3 MB · Views: 33
  • IMG_5376.JPG
    IMG_5376.JPG
    2.2 MB · Views: 31
  • IMG_5356.JPG
    IMG_5356.JPG
    2 MB · Views: 49
Love this build. Thanks for all the updates. Question - you mentioned you went wider with the Camburg rear housing... how much wider did you go and did you match the track width with the front?
 
Love this build. Thanks for all the updates. Question - you mentioned you went wider with the Camburg rear housing... how much wider did you go and did you match the track width with the front?
Thank you!
The rear housing WMS to WMS is 72” and the front WMS to WMS is 74”. The last housing was 69.5”. The Bronco tracks a lot better now.
 
A few more progress pics.! After the Off-Road Expo on Saturday, I got pumped to work on the Bronco and get a few more things knocked off the never ending list of things to do. lol

Mounted/Installed:
She's a roller!
Mob Armor iPad GPS case for the wifes navigating area.
Vintage Air Bulkhead
Jamar Remote Brake reservoir to Master Cylinders
 

Attachments

  • IMG_5457.JPG
    IMG_5457.JPG
    112.5 KB · Views: 23
  • IMG_5455.JPG
    IMG_5455.JPG
    154.8 KB · Views: 27
  • IMG_5451.JPG
    IMG_5451.JPG
    177.9 KB · Views: 28
  • IMG_5450.JPG
    IMG_5450.JPG
    141.1 KB · Views: 29
  • IMG_5449.JPG
    IMG_5449.JPG
    243 KB · Views: 28
  • IMG_5448.JPG
    IMG_5448.JPG
    224.4 KB · Views: 23
  • IMG_5447.JPG
    IMG_5447.JPG
    217.5 KB · Views: 22
  • IMG_5442.JPG
    IMG_5442.JPG
    110.7 KB · Views: 22
  • IMG_5441.JPG
    IMG_5441.JPG
    156 KB · Views: 23
  • IMG_5440.JPG
    IMG_5440.JPG
    153.1 KB · Views: 25
  • IMG_E5461.JPG
    IMG_E5461.JPG
    117 KB · Views: 23
I liiiike. Very nice.

But, to be an efabber extraordinaire... was there no way to get that bulkhead on the nice flat part of firewall panel? (plumbing options constrained my install for sure)
 
I liiiike. Very nice.

But, to be an efabber extraordinaire... was there no way to get that bulkhead on the nice flat part of firewall panel? (plumbing options constrained my install for sure)
The Bulkhead was placed in that position due to paneling. It’ll be nice and protected once the paneling is finished inside the engine bay. It actually sits on a flat surface in the photo. It can’t be seen due to the angle the photo was taken. As far as plumbing constraints. I’ve already test-fitted fittings and hose layout for the AC plumbing. The AC plumbing should all be finalized in the next week or so.
 
Back
Top