BROmanian
Well-known member
- Joined
- Aug 16, 2023
- Messages
- 187
Sorry Fuck, you forgot Fucks yelledI don’t see dates, hours, beers consumed, LaCroixs consumed, cost, materials lists, or music in these fucking reports.
This is fucking bullshit. Do better.

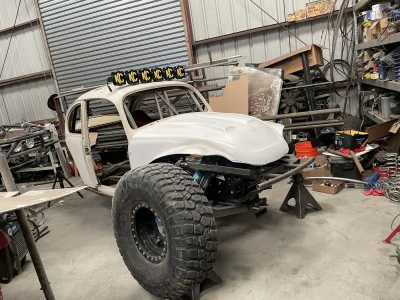
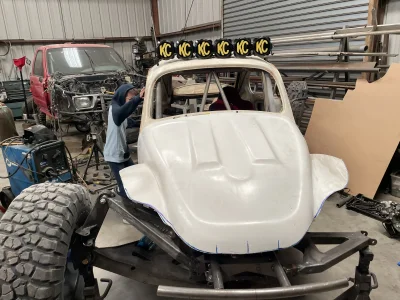


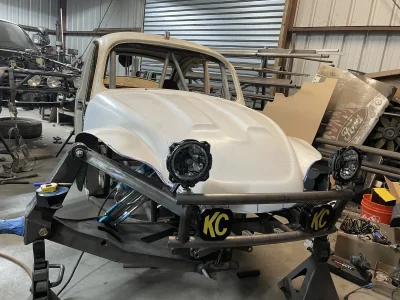


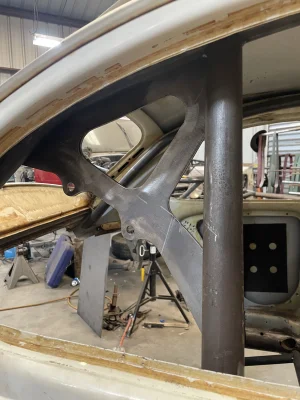
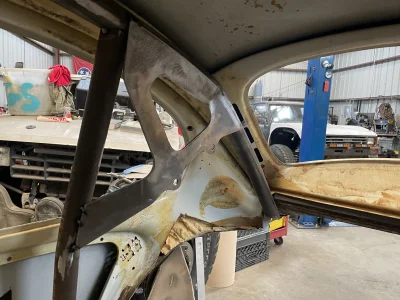


 what did you build it out of 3/16 chromo?