Project 69

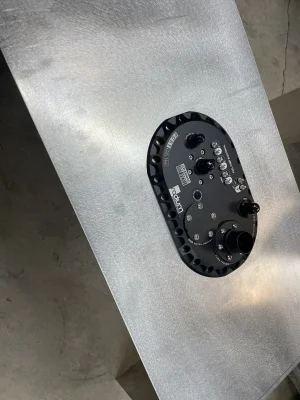
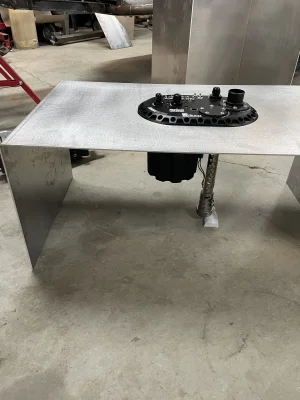
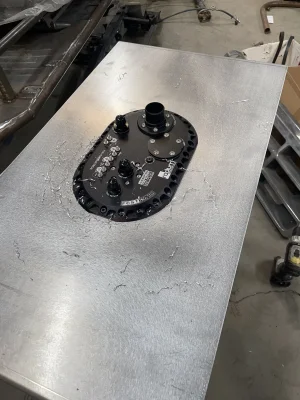
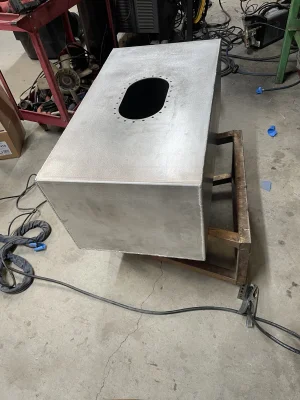
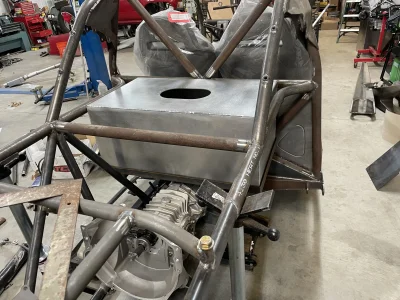
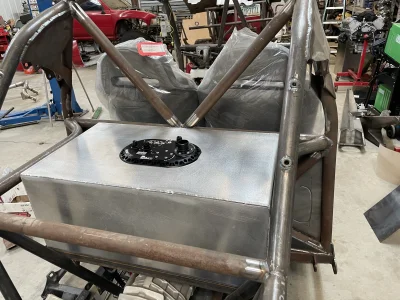
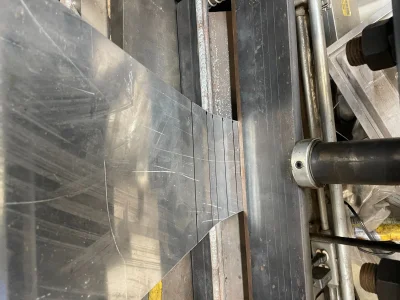
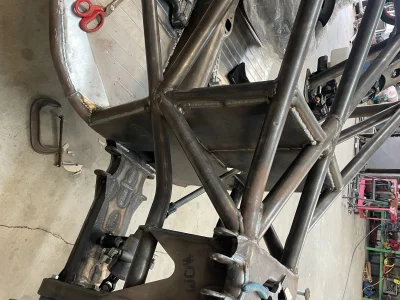
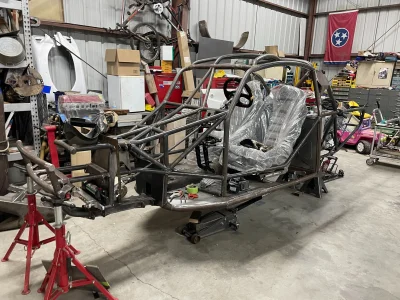
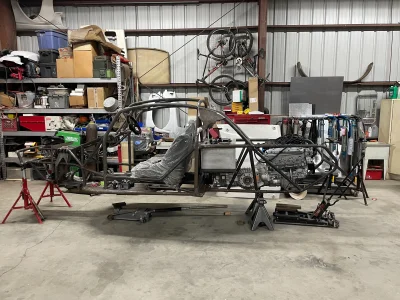
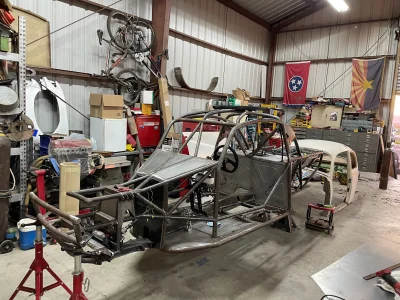
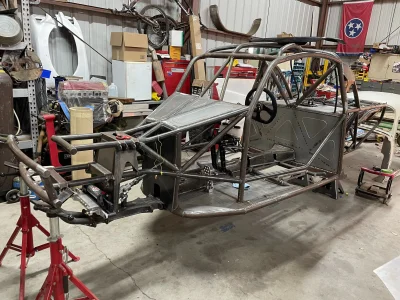
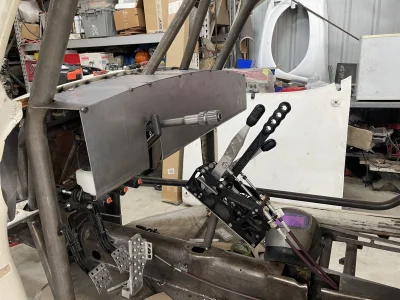
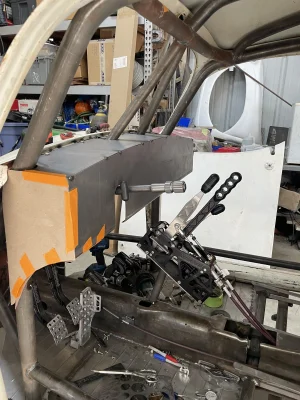
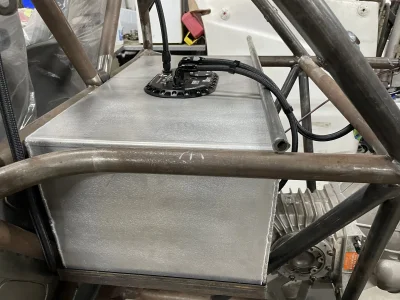
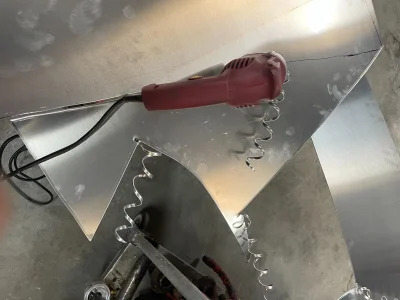
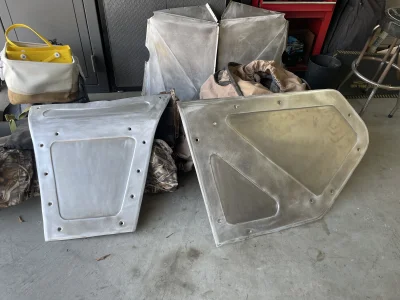
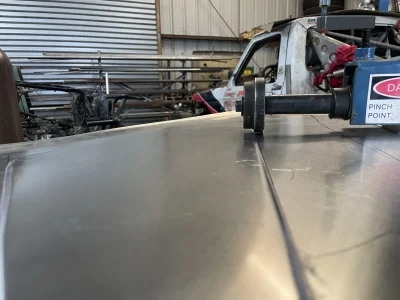
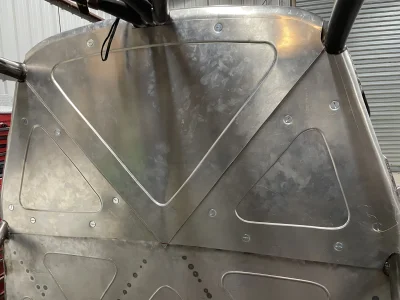
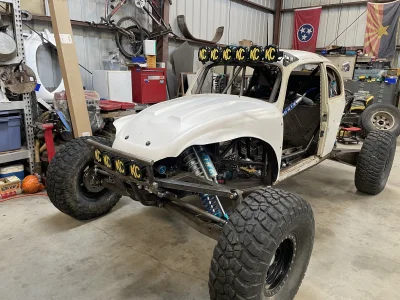
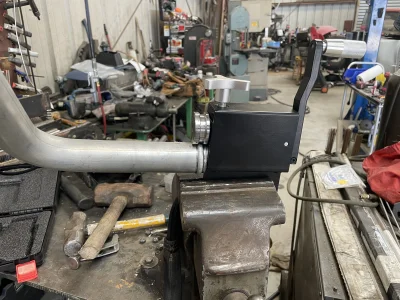
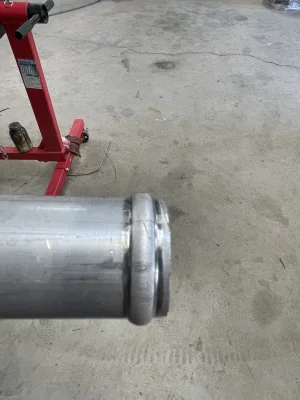
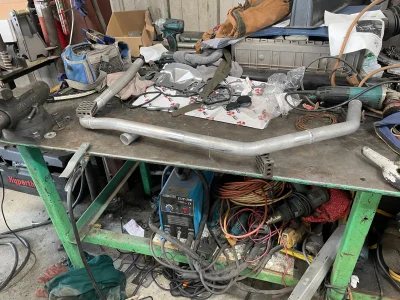
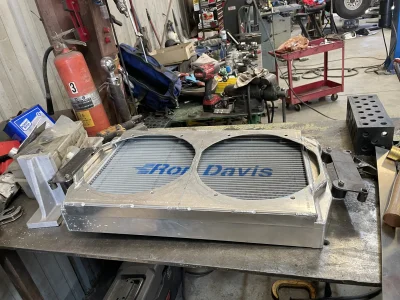
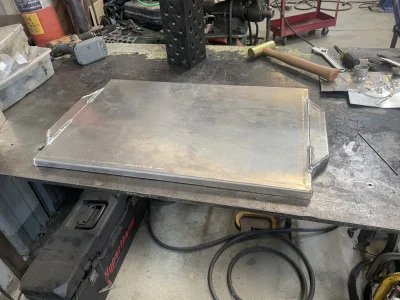
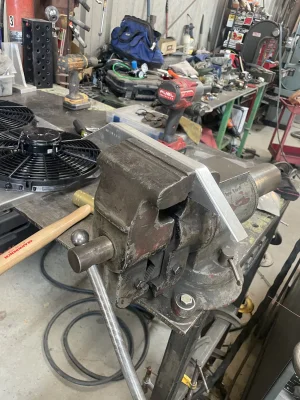
Designed this super intricate (not) fuel tank made out of 1/8 5052 aluminum, cut it on the laser and bent it on the bender. Lots of welding but after a few hours we have a functioning fuel tank. Fits like a glove, the bottom frame is 1.5 x 1.5 angle iron that I welded to the frame. Top will have removable tubes.
 

Attachments

  • IMG_7410.webp
    IMG_7410.webp
    1.8 MB · Views: 16
  • IMG_7411.webp
    IMG_7411.webp
    1.5 MB · Views: 14
  • IMG_7412.webp
    IMG_7412.webp
    1.8 MB · Views: 7
  • IMG_7420.webp
    IMG_7420.webp
    1.6 MB · Views: 8
  • IMG_7421.webp
    IMG_7421.webp
    1.3 MB · Views: 9
  • IMG_7422.webp
    IMG_7422.webp
    1.5 MB · Views: 11
It's time to work on the engine before it goes in the frame for the last time (lies). Since I'm rotating the intake from factory I needed to relocate the oil pressure sensor. ICT billet to the rescue (kinda) the valley cover was easy to install but when I was installing the pressure sensor adapter I found a surprise, those little balls from the tumbler would have destroyed my engine. Anyways after yelling Fuck and few times I removed the balls and installed it. I also installed the clutch and flywheel.
 

Attachments

  • IMG_7454.webp
    IMG_7454.webp
    1.1 MB · Views: 13
  • IMG_7453.webp
    IMG_7453.webp
    871.8 KB · Views: 12
  • IMG_7452.webp
    IMG_7452.webp
    1.5 MB · Views: 11
  • IMG_7451.webp
    IMG_7451.webp
    992.9 KB · Views: 10
  • IMG_7449.webp
    IMG_7449.webp
    1 MB · Views: 10
  • IMG_7455.webp
    IMG_7455.webp
    1.3 MB · Views: 14
Decided to make a skid plate for the front. I was able to bump form it on the press, not to shabby.
 

Attachments

  • IMG_7417.webp
    IMG_7417.webp
    1.3 MB · Views: 11
  • IMG_7415.webp
    IMG_7415.webp
    1.4 MB · Views: 11
  • IMG_7414.webp
    IMG_7414.webp
    1.3 MB · Views: 13
Had this material laying around so we decided to use it as a firewall or as I would like to call it bullet proofing the front of the car.
 

Attachments

  • IMG_7473.webp
    IMG_7473.webp
    1.4 MB · Views: 19
Decided that the top is also getting closed up so I made these plates and welded them in.
 

Attachments

  • IMG_7604.webp
    IMG_7604.webp
    1.7 MB · Views: 16
  • IMG_7603.webp
    IMG_7603.webp
    1.5 MB · Views: 17
Made this beautiful dash.
Turboyota: I hate it looks shitty.
Me: What the fuck, it looks great.
Turboyota: It needs to be more swoopy
Me: How the fuck do I make it more swoopy, it's plenty swoopy.
Turboyota: It's to square, the corners are square.
Me: Shitballs
 

Attachments

  • IMG_7981.webp
    IMG_7981.webp
    1.2 MB · Views: 16
  • IMG_7982.webp
    IMG_7982.webp
    1.2 MB · Views: 16
How about now biatch?
Turboyota: I like it
Me: I live to serve
He might haver been right but we are not going to tell him that. Also picket up a Holley Pro dash, this will work great with my holly Terminator X. It looks ginormous in there.
 

Attachments

  • IMG_8024.webp
    IMG_8024.webp
    1.2 MB · Views: 14
  • IMG_8026.webp
    IMG_8026.webp
    1.7 MB · Views: 17
Started running the fuel lines. Amazon to the rescue here, super easy to work with and you can make it as custom as you want it. I just bought a random fuel kit and it had everything I needed to finish up my whole fuel system.
 

Attachments

  • IMG_7615.webp
    IMG_7615.webp
    1.3 MB · Views: 15
  • IMG_7609.webp
    IMG_7609.webp
    1.3 MB · Views: 16
The joy of preparing the Dzus fasteners. Got this pneumatic rivet gun on Amazon, worth every penny.
 

Attachments

  • IMG_7889.webp
    IMG_7889.webp
    1.9 MB · Views: 15
Went on to making the rear engine panels and the front close out panels. The rears were easy since they are flat but the front were a bitch with all the weird bends. Also, I love this nibbler when it comes to cutting sheet metal panels, my go to tool, this and the bandsaw.
 

Attachments

  • IMG_7890.webp
    IMG_7890.webp
    1.1 MB · Views: 14
  • IMG_7891.webp
    IMG_7891.webp
    1.1 MB · Views: 8
  • IMG_7971.webp
    IMG_7971.webp
    1.2 MB · Views: 8
  • IMG_7756.webp
    IMG_7756.webp
    1 MB · Views: 8
Made some more panels, this time closing out the back of the cab. These are easily removable even with the seats installed so that I can get to the shock for service or if I have any electrical issues. Even swapping fuel pumps if needed.
 

Attachments

  • IMG_7825.webp
    IMG_7825.webp
    1,016 KB · Views: 16
Put the body back on for the 666th time so that I could finally install the roof lights. Installed the suspension just so that I could see how the final product will look like and of course now I have something to trip on. Or more importantly I get to hear Turboyota walk into stuff and yell Fuuuuuuuuuuck.
I was going to make light bar brackets but then I saw K3fab on Instagram had made these for his buggy so I messaged him to see if he would be interested in making a set for me. Short story long, we have lights installed. Super cool dude to deal with and he makes an amazing product, highly recommend.
Also the new plan is to run the 2 outer light on the front bumper as daytime lights (low beams) because I can dim them with the switch pros. What better use of money is it than to buy really expensive bright lights just so that you can dim them down to 50% and not use them to their full potential. Makes perfect sense to me.
 

Attachments

  • IMG_8683.webp
    IMG_8683.webp
    1.6 MB · Views: 15
  • IMG_8685.webp
    IMG_8685.webp
    1.8 MB · Views: 16
Last edited:
Bought this tube bead roller of Amazon so that I could roll the ends of my coolant lines. Works like a charm and super easy to use.
 

Attachments

  • IMG_8406.webp
    IMG_8406.webp
    1.2 MB · Views: 14
  • IMG_8407.webp
    IMG_8407.webp
    1.1 MB · Views: 16
After rolling the tube ends I was able to make the lines and install them. I tacked them on the car removed them and welded them. Before welding I cleaned up the area and made intricate welding fixtures like the professional that I'm. Well kinda, I did the only right thing and it was to with a single smooth motion just push everything on the bench just enough over to fit what I was working on. Used anything within reach to hold the tubes from moving and to weld town I went. I mean, you can't argue with results, it worked.
 

Attachments

  • IMG_8410.webp
    IMG_8410.webp
    1.7 MB · Views: 14
  • IMG_8409.webp
    IMG_8409.webp
    1.8 MB · Views: 14
  • IMG_8408.webp
    IMG_8408.webp
    1.2 MB · Views: 16
Turboyota had these brackets laying around so I used them. They are 1.75 dia tube that he put a groove in on the lathe for the hose clamp and cut them in half. Genius, works well and best of all I didn't have to make them.
 

Attachments

  • IMG_8412.webp
    IMG_8412.webp
    1.3 MB · Views: 17
Now when the fuel system is done and coolant lines are made, it's time to start on the brake system. Purchased bunch of an3 fittings, 12 inch soft lines and a hydraulic flaring tool from Amazon. From McMaster I got the brake lines and went to town with my handheld tube bender.
I might have already finished the hydraulic steering system already and forgot to take pictures.
 

Attachments

  • IMG_8413.webp
    IMG_8413.webp
    1.3 MB · Views: 22
Now when the brakes are done, time for the dreaded radiator fan shroud. Ron Davis was trying to sell me the shroud for $600 and with the fans included it was like $1,100 so naturally I was like, I can make that in a few hours for way less. After some careful measuring with the trusty tape measure I bent up a nice little rectangle pan and some angles for the ends. Picked up some 13 inch fans from Kartek and I traced out their future home. Made the end brackets by pounding them into submissions and welded them on. Next I bolted the fans on and traced out the inner holes to be cut with a sharpie. Cut the holes with extreme precision using the trusty jigsaw, installed the fans and feast your eyes on the finished product.
 

Attachments

  • IMG_9012.webp
    IMG_9012.webp
    1.7 MB · Views: 16
  • IMG_9010.webp
    IMG_9010.webp
    1.7 MB · Views: 12
  • IMG_9009.webp
    IMG_9009.webp
    1.6 MB · Views: 11
  • IMG_9008.webp
    IMG_9008.webp
    1.3 MB · Views: 11
  • IMG_9007.webp
    IMG_9007.webp
    1.7 MB · Views: 12
  • IMG_9006.webp
    IMG_9006.webp
    1.5 MB · Views: 12
  • IMG_9014.webp
    IMG_9014.webp
    1.6 MB · Views: 15
Back
Top