Hunter_mf_
Active member
- Joined
- Apr 4, 2022
- Messages
- 62
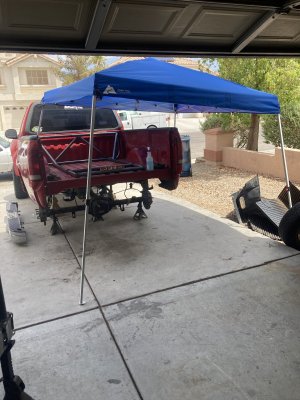
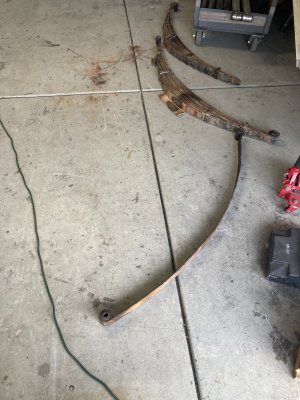
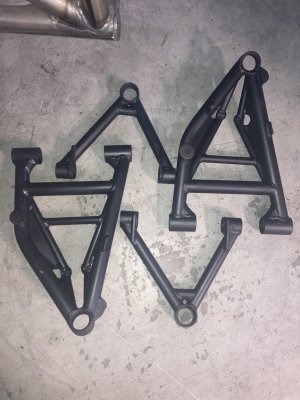
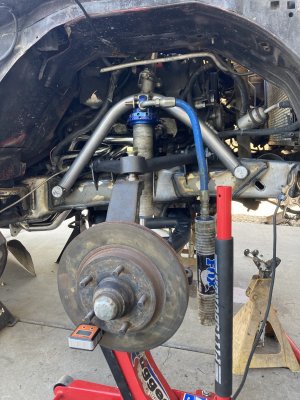
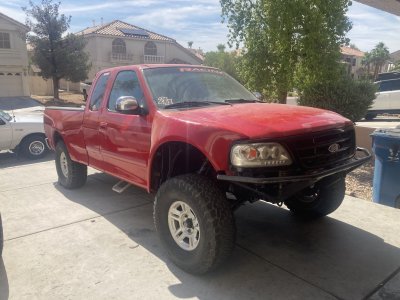
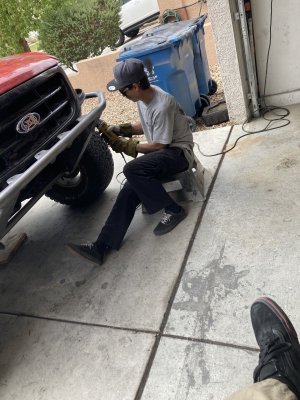
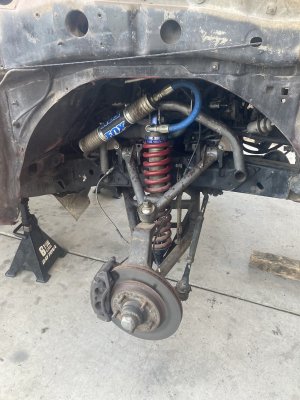
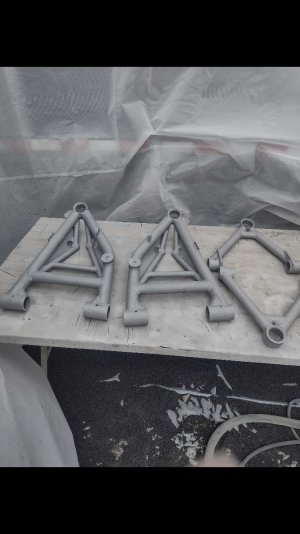
Fresh 150 my helper Jon and I have been working on, truck had been gettin beat on for god knows how long so we practically refreshed the entire front end.
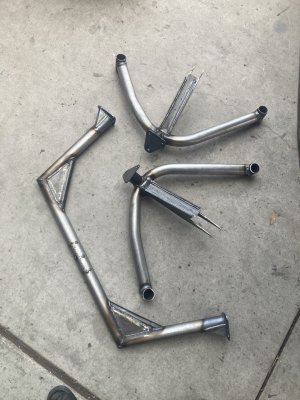
Started with removing everything… so we removed the cst kit, and dropped that off to get sand blasted, then cut off the cst hoop due to someone thinking it was a good idea to stack plates to fill the gap between the frame and the tube stand off…. So that was a good time

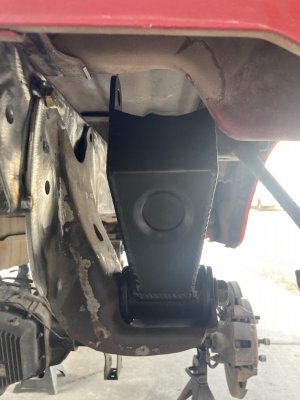
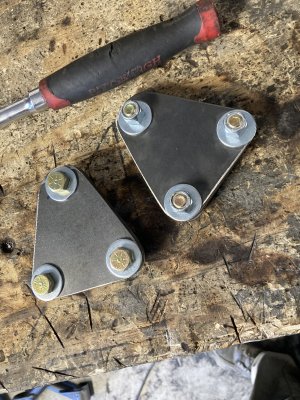
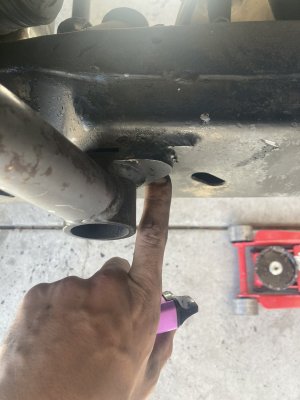
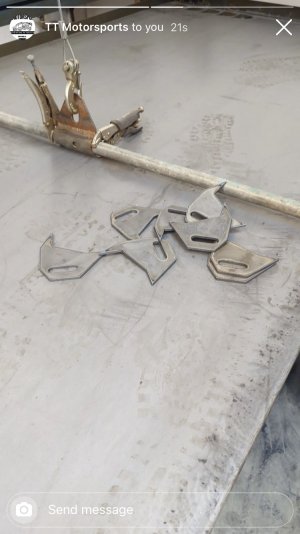
After inspecting the upper control arm tabs I noticed they had already been repaired, and yet again, needed more love. So I decided we would cut off the oem tabs, and I designed some slotted tabs based off the oem tabs to replace them. First thing I’ve ever designed on computer and brought to life. Definitely was a cool feeling lol
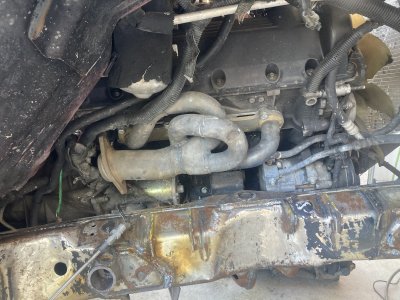
Then we moved on to cleaning up the frame rails getting them ready for all the new/refreshed parts. Just a little bit of elbow grease and help from our trusty DA sander lol if there isn’t a huge pile of shit, they aren’t clean enough..
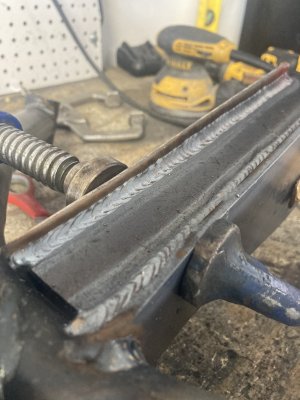
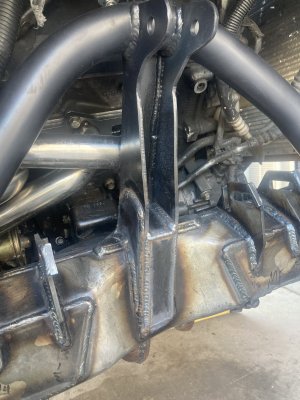
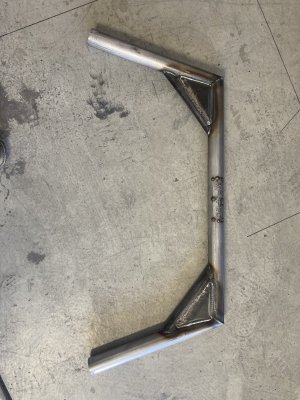
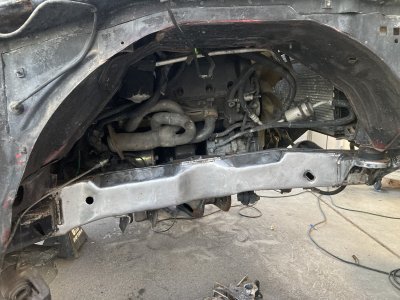
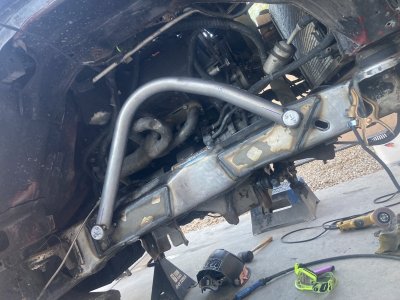
After that We moved onto the shock hoops, kept it clean and simple, after that started on the engine cross over, im a big fan of miters where they are acceptable, so I ran some miters with partitions/boxed gussets because I thought it looked sick, and it does indeed look pretty sick lol
Tossed some steel it coatings on the cst kit just to clean it up, and so my customer can wipe down the kit and respray it in the future after skme Offroad miles
Pulled everything out to finish weld/spray some steel it on the backsides of the hoops where it’s typically impossible to paint once installed, then reinstalled everything and added a few gussets where I thought there where needed then started getting ready to toss er back on er own weight
My boy Jon got out here and handled cleaning/painting the bumper even with his fucked up knee, something about this work shit is addicting came out super clean
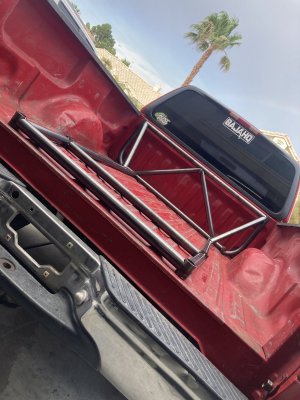
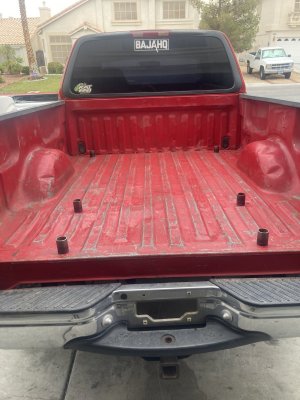
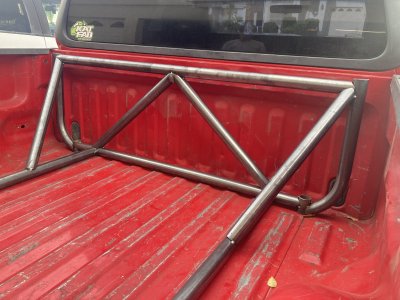
Next up is the bedcage, have some really cool plans with that so definitely be on the look out if you care to see it haha
Started with removing everything… so we removed the cst kit, and dropped that off to get sand blasted, then cut off the cst hoop due to someone thinking it was a good idea to stack plates to fill the gap between the frame and the tube stand off…. So that was a good time
After inspecting the upper control arm tabs I noticed they had already been repaired, and yet again, needed more love. So I decided we would cut off the oem tabs, and I designed some slotted tabs based off the oem tabs to replace them. First thing I’ve ever designed on computer and brought to life. Definitely was a cool feeling lol
Then we moved on to cleaning up the frame rails getting them ready for all the new/refreshed parts. Just a little bit of elbow grease and help from our trusty DA sander lol if there isn’t a huge pile of shit, they aren’t clean enough..
After that We moved onto the shock hoops, kept it clean and simple, after that started on the engine cross over, im a big fan of miters where they are acceptable, so I ran some miters with partitions/boxed gussets because I thought it looked sick, and it does indeed look pretty sick lol
Tossed some steel it coatings on the cst kit just to clean it up, and so my customer can wipe down the kit and respray it in the future after skme Offroad miles
Pulled everything out to finish weld/spray some steel it on the backsides of the hoops where it’s typically impossible to paint once installed, then reinstalled everything and added a few gussets where I thought there where needed then started getting ready to toss er back on er own weight
My boy Jon got out here and handled cleaning/painting the bumper even with his fucked up knee, something about this work shit is addicting
Next up is the bedcage, have some really cool plans with that so definitely be on the look out if you care to see it haha
Attachments
-
 B24AA5E9-B248-4E0D-8475-BFA16C64B37B.jpeg297 KB · Views: 14
 -
 E8BB5309-42C9-4D8A-98C5-B6F2BE49A1A4.jpeg305.7 KB · Views: 13
 -
 18C0C321-A87D-44F1-8EDD-AA6156BD64CF.jpeg393.9 KB · Views: 12
 -
 B1731150-83F9-4DB7-8ECF-EF39BABFC82C.jpeg273.4 KB · Views: 11
 -
 666923F4-A140-4671-BF24-11F2C3F2AAC8.jpeg381.2 KB · Views: 12
 -
 CD9B0F04-1F9A-4823-8BB0-C901BD6B2125.jpeg327.4 KB · Views: 13
 -
 D98A70BF-83C0-4CC5-998F-A9B251E8D884.jpeg320.7 KB · Views: 13
 -
 DA498691-C539-4ED6-A3BE-4280A774B4ED.jpeg283.9 KB · Views: 11
 -
 364F2FDE-6BB9-492B-B6A2-16C9BFEDA8F0.jpeg398.2 KB · Views: 12
 -
 00AB5E0B-5EB7-4534-B1C1-28B6E9483D25.jpeg403.8 KB · Views: 11
 -
 AE12AE65-DBAC-4C05-8E94-A6B28047F6D4.jpeg284.4 KB · Views: 11
 -
 A1C595B5-A6F4-4E09-9FCE-87F9117AA199.jpeg498.8 KB · Views: 11
 -
 2BB7E13F-F804-42A6-B702-0FB8E77A7343.jpeg224.4 KB · Views: 11
 -
 A5C28BA2-A1C3-4A3C-8166-B6F0C69C6648.jpeg332.5 KB · Views: 9
 -
 8D4294AC-F2D5-4235-BFDA-B84BAA882D55.jpeg147.4 KB · Views: 9
 -
 34E7E72C-02F1-4EBA-BBFF-1F620041EC0A.jpeg379.4 KB · Views: 9
 -
 FE67E055-35BC-478C-AF35-AEAD85C68DA8.jpeg373.9 KB · Views: 9
 -
 81EB7D6F-A423-4E64-BE9E-F3763319F0D5.jpeg250.3 KB · Views: 9
 -
 64728D9F-67F9-4089-878B-0BBCC5966F47.jpeg344.6 KB · Views: 10
 -
 153CD146-349B-436C-BBA1-FDBA7E703CD7.jpeg331.5 KB · Views: 14

