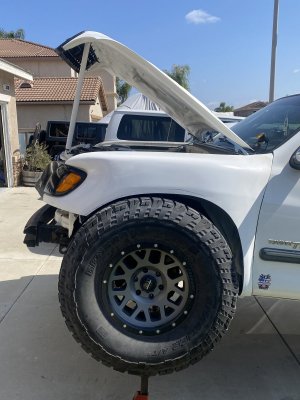
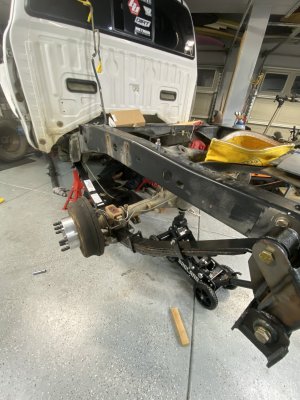
another white 1st gen

tunde.tanner

New member
Joined
Jun 1, 2023
Messages
8
Location
Winchester ca
what's up guys it's probably time for me to sit down and start this thread.
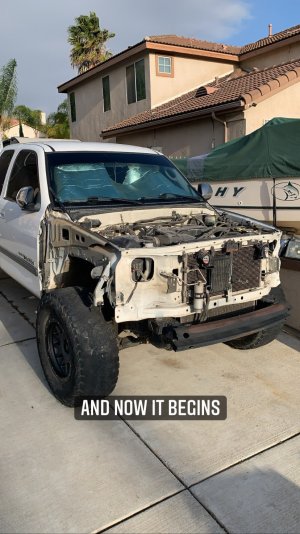
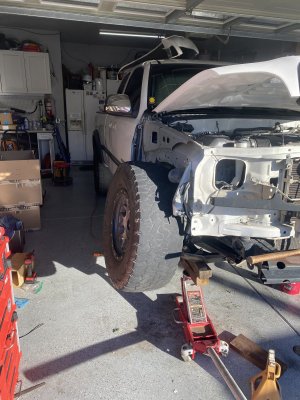
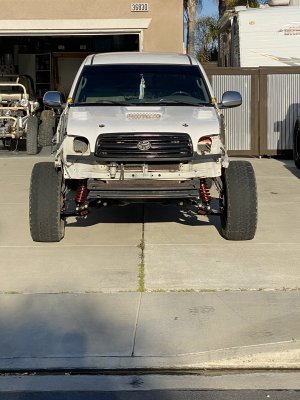
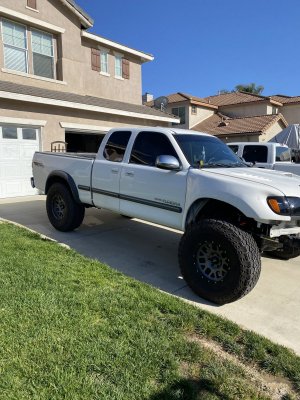
So, with that being said I have a 2002 tundra extra cab that I got from one of my buddies for a grand, it was in rough shape for sure, but I couldn't say no to the deal. mechanically the truck was near perfect, but it was in a front-end accident the fender was destroyed and the hood was slightly folded, it did not throw alignment at all so perfect truck to start "building". the truck had a 2-inch spacer lift and some 35s, I flew out to Colorado in December of 2020 where the truck was located (originally a Cali truck) and drove the fucker all the way home not one hiccup missing fender and bumper.

JANUARY 2021.
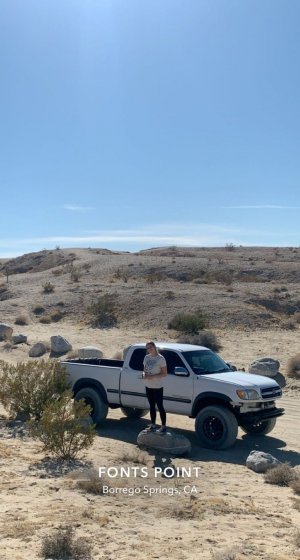
Decided to take it out for the day to fonts point w/ the lady, defiantly pretty fun on bald 35s until I hit any bump. 😂 the suspension was fucked at the time it was binding and clunking but the truck ended up being my daily for the next year and a half.
IMG_1807.JPG
0A13FD49-65B2-4FF8-8F2E-4FA8ADF5F429.JPG
im just now realizing all of my picture are of the good side lol.
 
Last edited:

JANUARY 2023
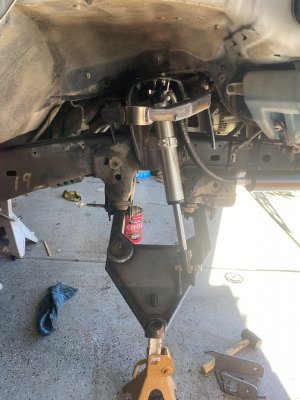
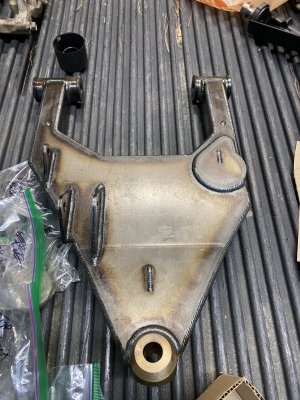
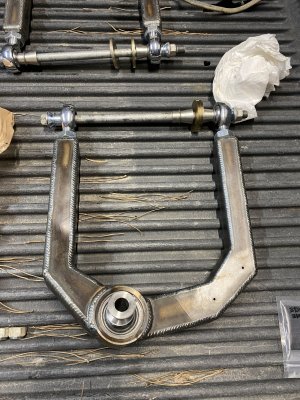
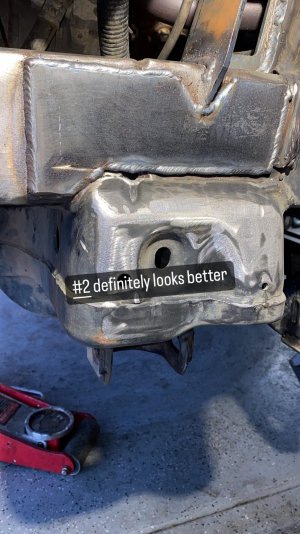
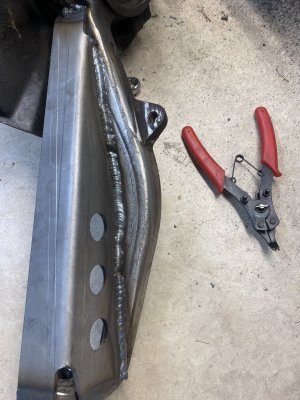
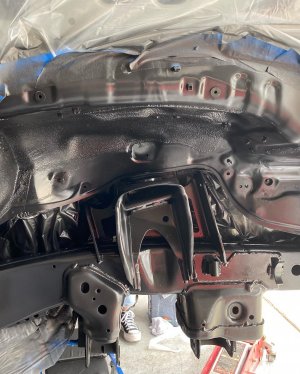
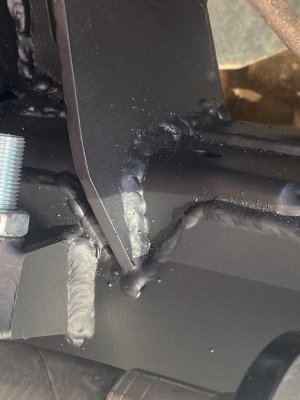
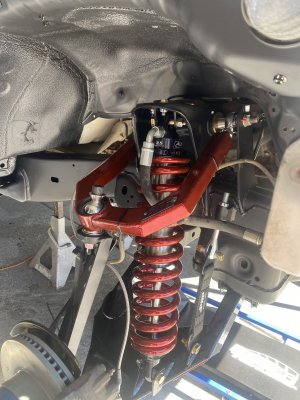
my front kit came in and I'm stoked, I went with the BTF fab bolt on front kit in raw and i opted for the boxed and heimed uppers, i really wish I could have gotten away from the stock Toyota lower ball joint but I could not justify the 8k for the Camberg kit (I'm sure I will regret). i pulled the truck in the garage and started tearing it all apart. this is my first build that i will be welding on and learning all of my fab shit so pls take that into consideration, once i got all of the stock shit off the front i prepped the frame and i plated the frame in front of the coil bucket where i have my limit strap clevis mounted, i should have plated the rear section but im a dumb ass. i did total chaos Double sheer on the upper control arms as well as the spindle gusset then finished it off with some steel-it. the kit im going to get powder coated at some point, i just really wanted to get it mocked up with a tire on for my 10 YO self. the welds are not perfect but i will take it for my first welds ever on a chassis.
69654576387__6DF41E15-28AC-49FC-9D8E-758DDFD41F57.jpg
i had a set of 2.0 x 8s FOA that were sitting in my garage so i just mocked them up

IMG_0438.jpg


IMG_0439.jpg

69655521779__258B4623-BB05-4204-977C-E761B5BB5CC9.jpg

BEC7E898-1ACB-45DD-8A15-2B74A8BFB4B0.JPG

69690922872__00022C24-5491-47F2-B5DA-514D3D8F1BBF.jpg

A3163CC5-14F3-4081-8A97-0F2A9F4664DD.JPG

steel it sprays so damn clean!

70173933623__44AFD738-52A2-421A-8FE9-3F94C91B9DBC.jpg
 
Last edited:
MARCH 2023
i got the kit powder coated and it came out perfect
IMG_0480.jpg
so as soon as i got the front kit on i got a set of ADS coilovers for a good deal, got them rebuild and they were ready to party, just had to get my "smog" figured out because of my long tube headers then it was ready for daily duties.
IMG_0505.jpg
I got my McNeil hood on and its actually coming together at this point. tires are defiantly needed 😂


IMG_0535.jpg
i really didn't want to run 37s because of the stock lbj but i couldnt pass up the deal i got from the guys at @socaltundras
so this is how it sat for about 6 months, just used it for around town. still needs alot until first trip out.
IMG_0788.JPG
had to trim alot of these fenders to "clear" the tires defiantly will have to clearance the firewall.
 
JANUARY 2024
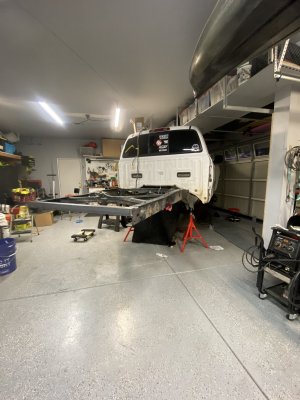
now time for the rear, LEAF SPRINGS fuck yea I'm keeping it leaf sprung. i decided to take off the whole bed and do tube back half on stock frame rails. i got a set of @locked 2.5 18 bypasses for the time being until i can afford some big boy @ADSRACINGSHOCKS. i went with the Deaver c27hd pack because I'm planning on running 2 full size 37s and a 32-gallon jeep speed cell behind the axle. i got a set of BBM shackle and hangers, and i got all of my spring perches and plates / shock mounts on ruff stuff. i still need to get a slip yolk installed on the rear section of my driveshaft and do all of the tube work.
IMG_1717.JPG
all i will say is fuck toyota rivets
72368785199__5FA2B38F-8114-47BA-A466-C27DB43D7848.JPG72368710047__24B13556-87F6-426F-956E-F8EC6BC1D975.JPG
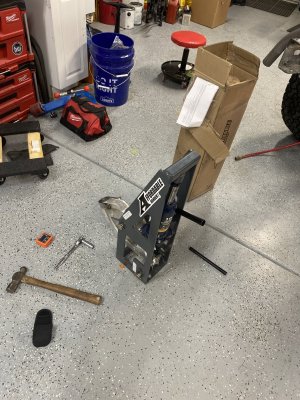
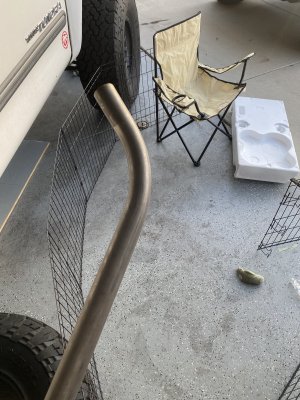
picked up an affordable bender and did my first bends just figuring out how it works.
72464091164__D1C33DEF-729F-4CF6-AD06-2F4934E18351.JPG
hangers are beafy i left the studs of the rivets just for mock up
IMG_1799.JPG
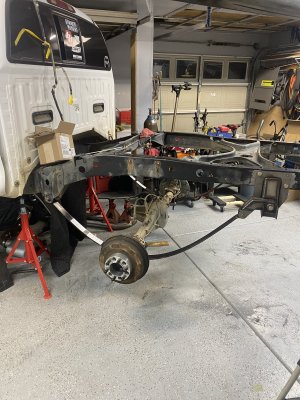
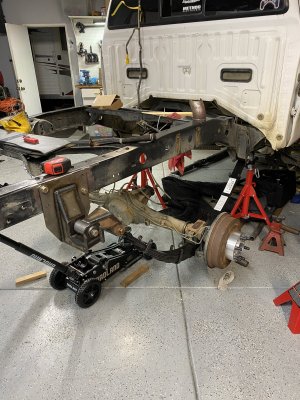
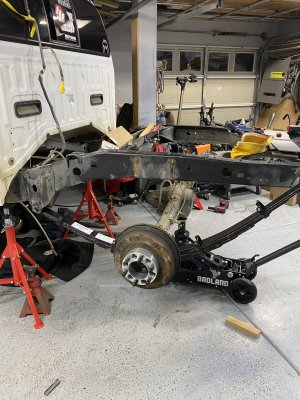
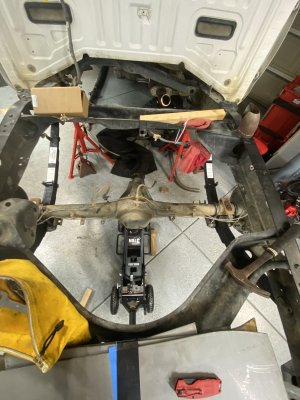
this is how the truck is sitting as of now. i fucked up by taking the leaf apart before setting pinion angle so i will be putting leafs back together this week and put the truck on its own weight with a shit ton of weight in the rear so can set the pinion, if anyone has some other ideas for setting pinon angle it would be much appreciated.
 
Just put it at your approximate ride height and set the pinion angle to match the angle of the shaft coming through the carrier bearing. If no carrier bearing match the output shaft of the trans.
 
Be careful with the C27 pack going into to much negative arch. My old truck had that back and went about 2" into negative and would snap main leafs about once a year. I had a full tube back half, single 37 and fuel cell behind the axle. Imo try and keep the pack flat at bump. Also put some heavy compression valving into the bypasses that pack is a little under sprung for the way you plan on setting the truck up.
 
Be careful with the C27 pack going into to much negative arch. My old truck had that back and went about 2" into negative and would snap main leafs about once a year. I had a full tube back half, single 37 and fuel cell behind the axle. Imo try and keep the pack flat at bump. Also put some heavy compression valving into the bypasses that pack is a little under sprung for the way you plan on setting the truck up.
I went with the C27HD pack hoping that I could get away the extra weight out back, as far as the negative arch in the pack I will bump out the rear to see how it is. What shackle and hanger were you running on your truck. I was thinking about doing a c-notch but from what it sounds like I would be smoking through main Leafs.
 
Total chaos makes a bolt on lower ball joint replacement now that uses a uniball.

Solo also makes a uniball conversion setup but I think theirs uses a new spindle.

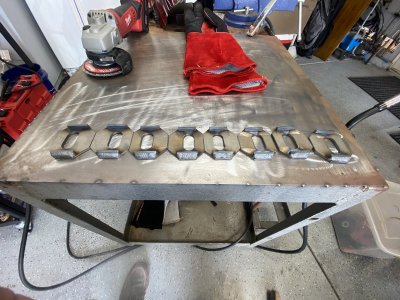
I would for sure pick up a lower alignment cam tab kit from solo though, they use these little octagon tabs and grade 8 3/4" bolts for the pivots. Even on 34" tires, my alignment would drift from time to time.

Sean
Yes sir, i forgot to add that to my thread. I don't have them installed yet I was planning on going back to my front end to do finishing stuff, plating the rack mounts, lower cams and bypass hoops3CD09C85-029B-4882-8723-8DE6C6110D87.jpeg
 
I went with the C27HD pack hoping that I could get away the extra weight out back, as far as the negative arch in the pack I will bump out the rear to see how it is. What shackle and hanger were you running on your truck. I was thinking about doing a c-notch but from what it sounds like I would be smoking through main Leafs.
I don't know if mine where an HD pack I doubt it. You'll probably have better luck with those. I ran the stock front hanger and giant motorsport shackles and hangers that come with the 64 kit.
 
I did about a 3" c notch it really wasn't needed because that was pretty much all negative arch getting into it. If you do a c notch add overlays and box the frame. I cracked my frame on my first go around because I didn't brace around the C notch enough.
 
JANUARY 29TH 2024
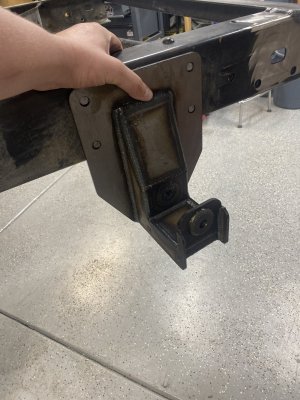
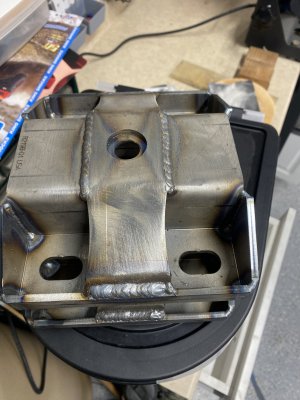
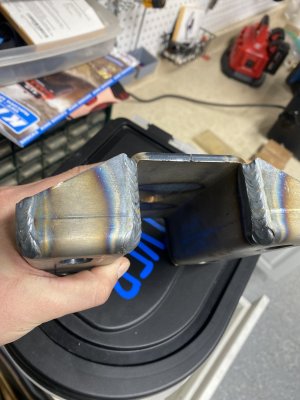
well today I got some time to get out in the garage and make a little progress on the truck. I got the ruff-stuff spring perches and u bolt plates all welded up and I'm actually pretty stoked on how they came out. I don't think I'm going to do a c notch I cycled the rear up to bump when I had the Leafs apart and at bump the leaf is flat so any more up travel I'm going to be putting negative arch on the pack.
I'm starting to trust my welds....I think.
72815639668__2C1E1CF2-D83E-4518-8FE0-20C379FFFE49.JPG
72815642635__F01C7B35-0295-4449-97EA-BB9095DAA045.JPG

I put my leaf springs back together so I can hopefully get it on the ground this week to set the pinion angle. I still am not 100% on how I'm going to do it but I figured I should put the Leafs perches and U-bolts all together, I will be installing the center support bearing tomorrow. do I need to get my driveshaft done before I set pinion angle, or can I do it without the driveshaft? I also drove to Norco on Saturday to pick up some frame plates from RMZfab to box the frame from the cab back once I remove all of the crossmembers. I'm pretty stoked on how it's all coming out.

IMG_1818.JPG
IMG_1824.JPG
IMG_1825.JPG
IMG_1826.JPG
hopefully this weekend it should have tires on and on the floor. then I can load the rear end up with a good amount of weight to get it close to ride height to set pinion angle and weld on spring perches. I just want to get to the tube work already!!
 
You don't need a drive shaft to set pinion angle. In fact I'd set the pinion angle then have it measured for the new drive shaft. To set the pinion angle find out what degree the out put shaft is angled downward ( I pulled the yoke off the trans tail shaft and set up my angle finder right off the back of it) if I remember correctly mine was 4.6 degrees angled down. Then go to your pinion and set it to match the degree of the of the output shaft but pointed up (in my case 4.6* up). don't worry about the carrier bearing or drive shafts just match the output shaft to the pinion. Then weld the perches. This is how I was taught and set up mine this way with leafs and links and had no issues.
 
Unlike the other Tundra (and former Tundra owners you traitor @Brett_408) owners, I’ve had zero issues with alignment with the stock cams, ball joints, and my C27. For the alignment, make sure you torque the lowers before and after every trip (150 ft-lb). For lower ball joints I’ve been running the same Moog parts for at least five years, but my front end is properly limited on both ends. My C27 have not seen Deaver since I bought them 8 years ago. As Brett said, don’t let them go negative and you’ll be good.

With the power these trucks make and the front end you have, there is no need to squeeze every last bit of travel out of the rear. Keep it simple, spend some cash with @DialedShockPrep to have your shocks valved, and drive the truck.
 
What Mullen said! I like to throw 2 small tack welds on each alignment cam to keep them locked in place. Ball joints I’ve only ever used oem toyota BJ’s from the dealer and have never had an issue, just make sure your front end is properly bumped and strapped. BJ’s will outlast uniballs when properly installed and not over extended in any direction. As far as the c27 pack; again what Brent said. I don’t have a c-notch either and my deavers have never broken a leaf or been back to deaver since I bought them 10 years ago.
 
Back
Top