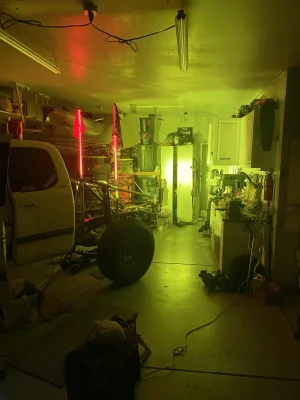
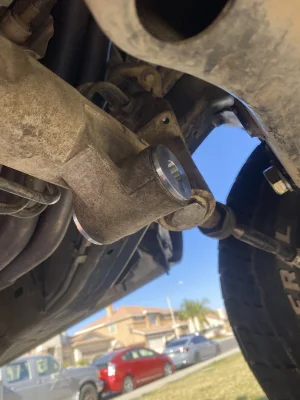
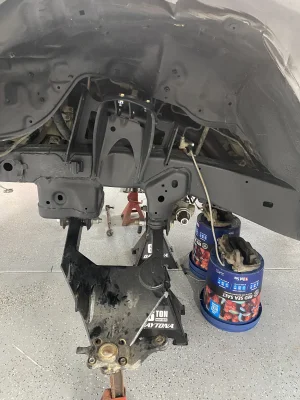
another white 1st gen

Haha! The only issues I had with my Tundra was the exhaust falling off every trip. I do miss that truck.
yea most definitely, I cracked my stock manifold in half, now I'm running long tubes but the rubber exhaust hangers are hanging on their last leg haha. I will be redoing the exhaust before the maiden voyage.
 
JULY - CURRENT
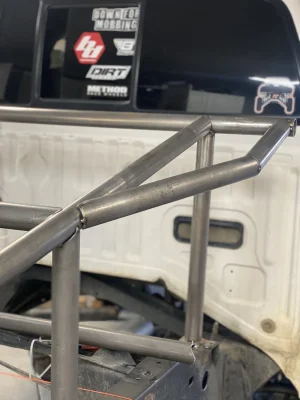
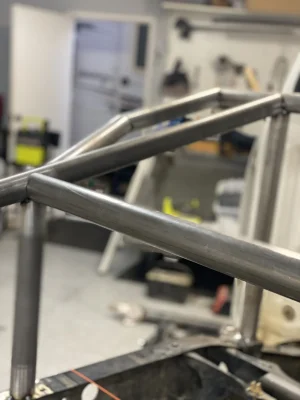
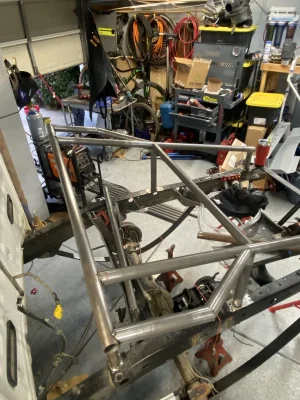
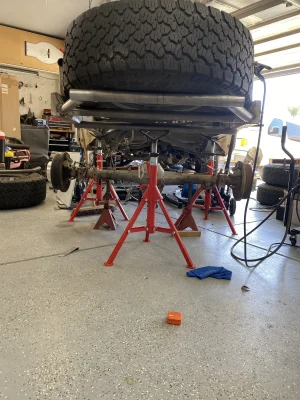
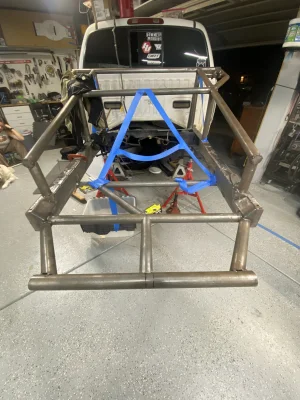
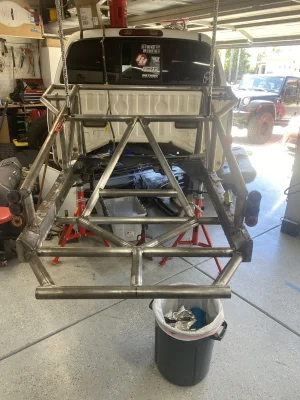
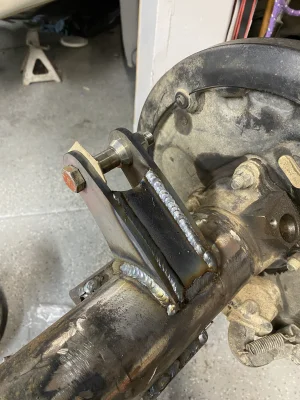
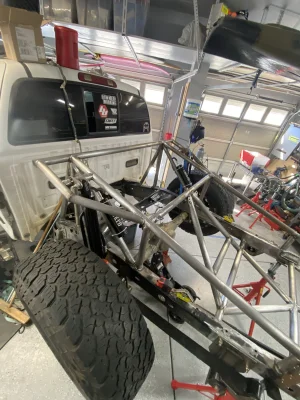
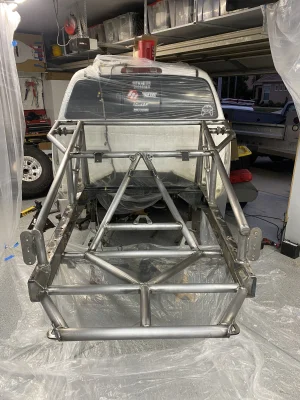
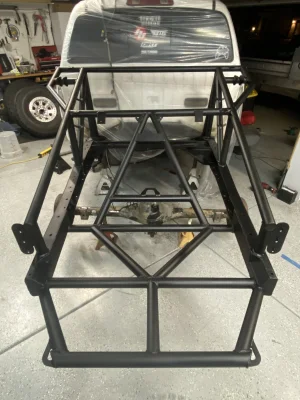
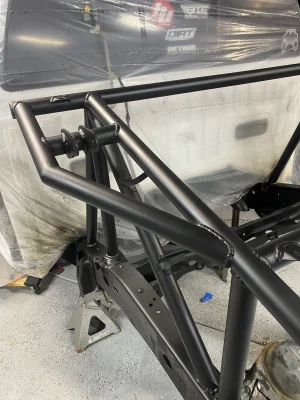
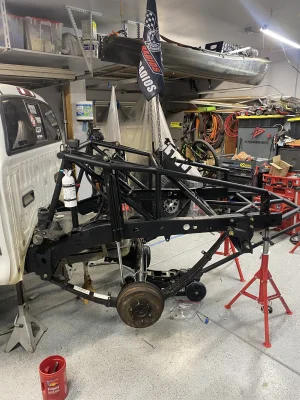
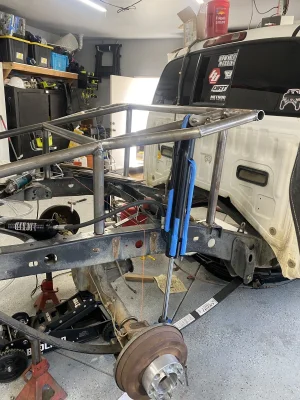
little update on the truck, this is how it is sitting as of now most of the tubes are just tacked in. the shock setup is exactly where I want it, it is at 87* at full droop and 79* at bump with 19" of travel metal to metal. still need to do the upper shock mounts on the driver side. I'll be pulling the axle to cut off the old spring perches and shock mounts.
IMG_2504.JPG
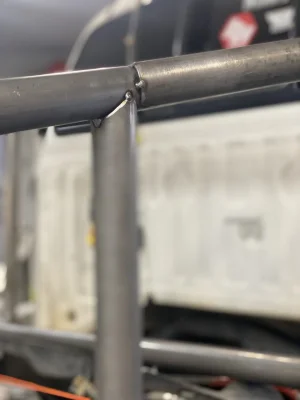
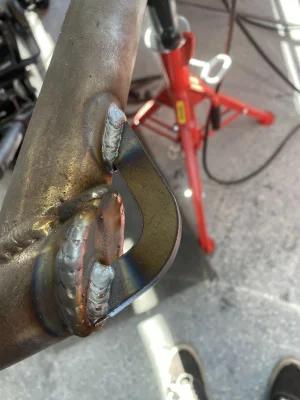
not perfect but ill take it for my first ever tube work.

IMG_2410.jpg


IMG_2411.jpg
IMG_2415.jpg
IMG_2409.JPG
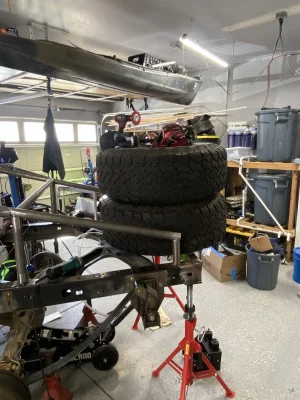
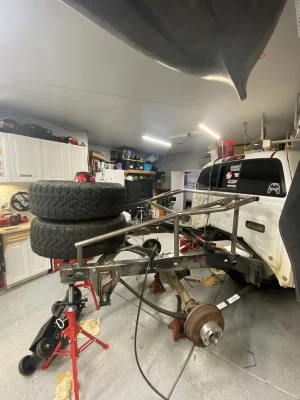
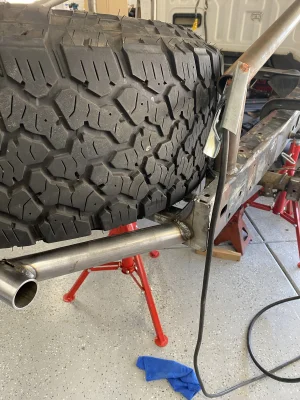
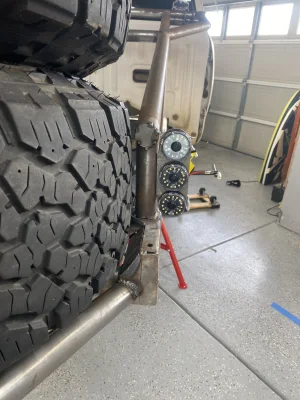
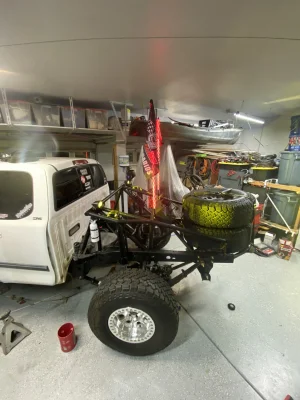
so as of now I'm not quite sure on what I'm going to do as far as the spares. I know for sure I'm going to be running 2 full size 37s, I'm leaning towards stacking them and doing a simple rear bumper around. i set them on the rear crossmember for mock up and they sit a little high for my liking.
IMG_2508.JPG
IMG_2466.JPG
I'm planning on cutting out the crossmember and making a tube crossmember that I can run off the bottom of the frame rails to also support the tires. I want to get the tires about 3 or 4 inches lower. I'm just worried about the future when I do a cell it will be low due to dropping tires between frame rails.
ANY TIPS WELCOME!! IF YOU SEE SOMTHING INCORRECT CALL ME A DUMB ASS I WON'T GET BOOTY TICKLED
 
Tube figment looks good! And nice job holding off from welding stuff before it’s all tacked up. I’m rarely able to do that, and it has made a lot of work for me in the past when I find something I need to undo.

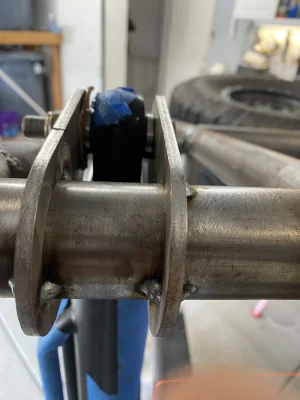
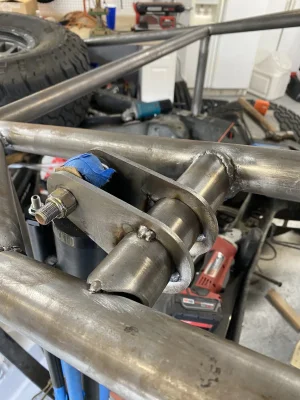
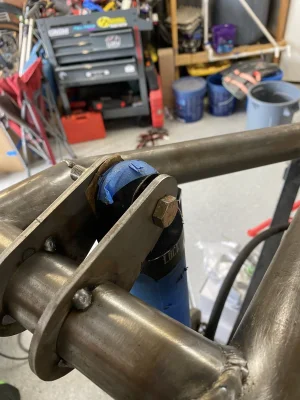
Side note, watch those upper shock tabs as they like to rip off the tube when mounted like that. Add plating connecting the tabs to the tubes on the sides of the shock
Thanks man, im really taking my time on this as its my first time and i just want to make sure it is a some what proper build. I didnt post any pictures of the shock mounts, originally i just had just a basic shock tabs for 1 3/4 tube but once i figured out where the shock needs to sit it was to high for my liking.

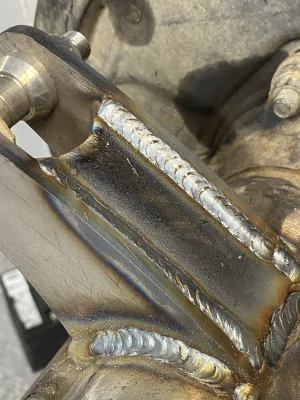
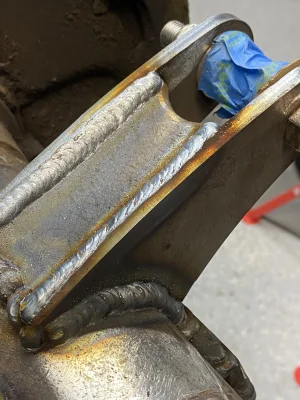
Here are some pictures of the final shock mounting choice i feel like it should be more than enough.
IMG_2519.jpegIMG_2518.jpegIMG_2520.jpeg
 
Crank up the wire feed speed and probably the juice on your welder - looks like the welds are just sitting on top of the parent material. Cage looks great.
 
well it has been some time since I've updated my thread;

SEPTEMBER 2024,
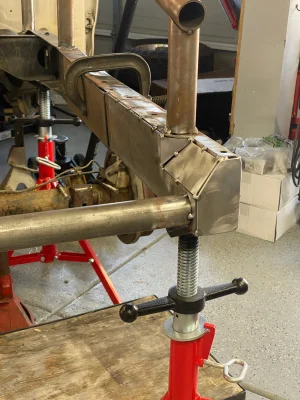
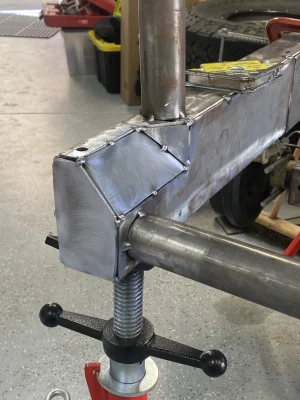
I ended up cutting the rear cross member out to get the spares to sit a little lower, I wanted to to something simple and sleek but still strong to keep the frame rails squared up, I ended up having to notch the rear 6 inches of frame to get a 37" tire to fit between the rails. it honestly turned out pretty good. at this point I had all the upper shock mounts all done I just needed to continue to throw tubes at it.

IMG_2597.JPGIMG_2596.JPGIMG_2602.JPGIMG_2632.JPG
once I put the tire there I was not sure how I was going to run the y strap, not sure why that didn't cross my mind at all during this process.
IMG_2634.JPG
at this point its really starting to coming together.
IMG_2684.JPG
at this point all the tubes that I was planning on adding are in, now just y strap tabs and tabs for jack.
IMG_2740.JPG
 
OCTOBER 2024
I have a trip planned for the end of November, im determined to "finish" this thing for then.

time to finish my lower shock mounts, I ended up using some tabs from ruff stuff and im pretty stoked on how it all came out, seems like it should be strong enough......hopfully
IMG_2864.JPGIMG_2867.JPG
IMG_2868.JPG

now that the axle was all done welding wise I went back and tabbed the bed cage for a jack mount as well as y strap tabs for my spare, that should be the last of welding...for now.

ITS ALL PAYING OFF. THESE WHEELS HAVE A VERY WEAK OFFSET EVEN WITH BIG SPACERS, ITS STILL TO TIGHT FOR MY LIKING, TIME TO ORDER WHEELS!!
IMG_2794.JPG
THIS IS THE Y STRAP TABS ON THE REAR END, I LIKE HOW ITS TURNING OUT.
IMG_2876.JPG
 
NOVEMBER 2024
TIME TO WIRE AND PAINT
DESERT T MINUS 12 DAYS
I ended up getting a gglighting 12 gang switch panel to run all of my accessories, I got a killer deal at the Offroad expo.
lighting;
rear
- gglighting gp 20 chase lights
- whip tech led whips (I know im gay)
-kc cyclones wired as brake lights and turn signals
front
- baja design s1 fog lIghts
-gg lighting gp40 on the pillars

the plan is to run 4 baja designs lp6 on the bumper (thats not there) but that is the least of my worries right now, I need to get this wired so I can get some paint on all the tubes.

I HAVE RED AND AMBER COVERS ON THE WAY
IMG_2650.JPG
IMG_2848.JPG
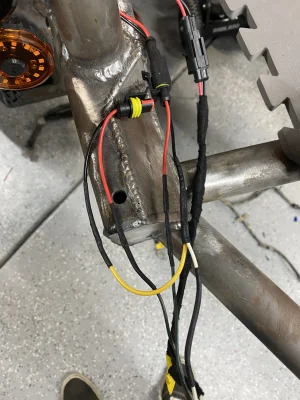
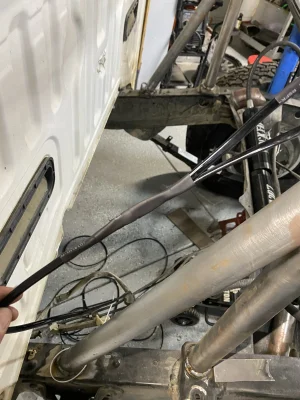
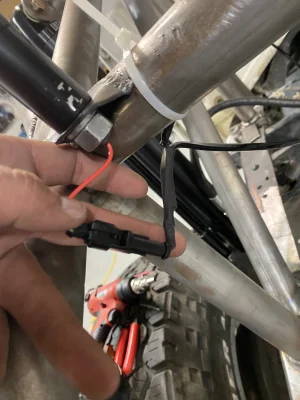
IM TRYING TO WIRE THIS AS CLEAN AS POSSIBLE
IMG_2849.JPG
IMG_2850.JPGIMG_2837.JPG

now time to pull strip it and paint,
scotch brite party
IMG_2899.JPG

peep the new wheels.
IMG_2901.JPG
IMG_2903.JPG
TIME FOR FINAL ASSEMBLY
 
THIS IS THE NIGHT BEFORE I LEAVE FOR OCOTILLO, THE TRUCK STARTED FOR THE FIRST TIME FOR A YEAR THE DAY BEFORE ITS MAIDEN VOIAGE. LONG STORY SHORT IM FUCKIN STOKED I DID THIS.IMG_2924.JPG
IMG_2929.JPG
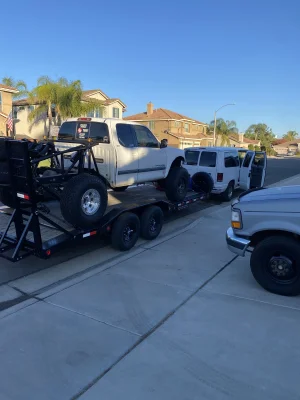
AND WE ARE OFF, PICKED UP THIS TRAILER A WEEK BEFORE THIS TRIP, ALL THE HOURS IN THIS TRUCK ARE ALRADY WORTH IT SEEING THIS MOMENT.

IMG_2934.JPG
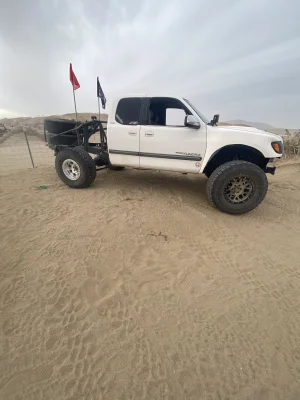
for the first trip out I drove it on a known whoop section near camp hit it about 3 times continuously faster, for no shock running, no bumps and some right pedal it. was a fuckin party!! until I cracked the old 270k mile radiator, drove to Brawley got a radiator and drove the truck the entire weekend, I did end up breaking the motor mounts on Sunday morning but fuck it ill take it.

IMG_2946.JPG
 
so now that we are current, from here on out if im working on the truck im going to be updating the thread day by day as I finish tasks. now that summer has begun im going to start doing a offseason prep and some upgrades, my question is, what are some of your go to prep products / technics? im going to start on the front end, what grease do you guys use for your polyurethane bushings?, do you guys run dry lube in heims?
any specific anti seise work better than others? those are just some of my prep questions. im going to start pulling everything apart tomorrow after work hopefully I will update as I go.🤟
 
MAY 13 2025
I was able to get some time in the garage after work, i wanted to get the front end pulled apart to start the prep. I havent done shit with it since the install 2 years ago as far as maintenance, honestly there is 3 desert trips and about 6k miles on it since the install but i figured i might as well prep to see how shit is holding up.

PULLED IN READY TO GO
IMG_3477.jpeg

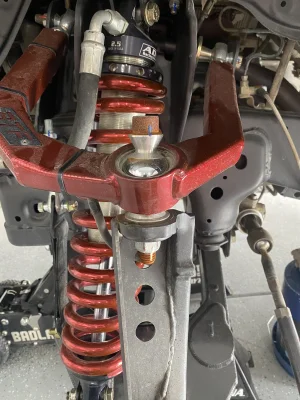
Visual inspection was good other than the upper control arm to spindle bolt had a shit ton of surface rust that will be getting changed out to a grade 8 unit now to tear it down.
IMG_3478.jpeg

I got the driver side all stripped off besides the lower thinking i would keep them on to get a ball park length for making my tie rods with heims. Come to find out the lowers are not going to help me at all, i will need to make tie rods when its all going back together.


IMG_3481.jpeg

next on the list will be to pull the lowers and steering rack, then start with the upgrades. I have solo motorsports cam tabs that i have pictured earlier in the thread i need to install those, i have plate from SHP fab out of corona to plate the crossmember where the rack bolts onto to hopefully keep the rack from ripping the mounting material.
I did find when pulling my upper control arm that the bolt on the driver side is bent, do any of you Toyota guys know if i can buy a grade 8 bolt
for up there. Im also looking to run the total chaos lower uniball conversion, just not sure its worth the 1000$!! Other than that everything looks as it should especially with only 6k miles.
 
MAY 13 2025
I was able to get some time in the garage after work, i wanted to get the front end pulled apart to start the prep. I havent done shit with it since the install 2 years ago as far as maintenance, honestly there is 3 desert trips and about 6k miles on it since the install but i figured i might as well prep to see how shit is holding up.

PULLED IN READY TO GO
View attachment 37774

Visual inspection was good other than the upper control arm to spindle bolt had a shit ton of surface rust that will be getting changed out to a grade 8 unit now to tear it down.
View attachment 37775

I got the driver side all stripped off besides the lower thinking i would keep them on to get a ball park length for making my tie rods with heims. Come to find out the lowers are not going to help me at all, i will need to make tie rods when its all going back together.


View attachment 37776

next on the list will be to pull the lowers and steering rack, then start with the upgrades. I have solo motorsports cam tabs that i have pictured earlier in the thread i need to install those, i have plate from SHP fab out of corona to plate the crossmember where the rack bolts onto to hopefully keep the rack from ripping the mounting material.
I did find when pulling my upper control arm that the bolt on the driver side is bent, do any of you Toyota guys know if i can buy a grade 8 bolt
for up there. Im also looking to run the total chaos lower uniball conversion, just not sure its worth the 1000$!! Other than that everything looks as it should especially with only 6k miles.
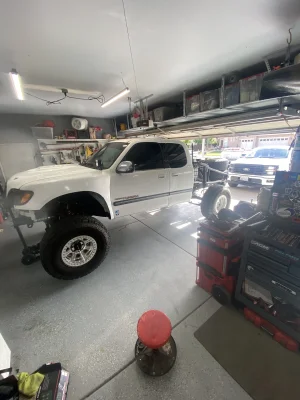
Looks good dude! The uniball conversion is pricey butttt, if you delete a lower ball joint at speed you will be more thank likely well over $1000 in repairs... 🤷‍♀️
 
I'm obviously biased, but While the conversion is expensive, its not cheap to make at all. What I always tell people is what Eliot said. If you break a LBJ then you are going to have a much more extensive and expensive list of things to fix: knuckle, fender, upper arm/joint, axle (if its a 4x4) etc etc.

Also since you don't have a TC kit its super important that when you install the uniball conversion that you MAKE SURE that the tapered misalignment that comes with the kit seats perfectly into the tapered hole in the end of your control arm. We build all of our arms to perfectly match the factory Toyota taper and thickness which is what we match our tapered misalignment to. I have seen other companies control arm tapers that don't match the the factory taper so the misalignment doesn't seat properly and if its not addressed this puts way more load on the through bolt that was designed and if there is a bolt failure it looks like the TC part is flawed when in fact its the arm taper that is the culprit. Basically make sure that the shoulder of the misalignment sits on top of the arm when the taper seats. If it sticks up, you can buy a ball joint tapered reamer that matches the factory taper (7.15° or 1.5" per foot) and ream it to size making sure the taper is correct. The main one I've seen is Solo but there have been others as well. Also make sure that you use red locktite on the Metric bolts. Sorry for the tangent, but the uniball conversion is like my baby lol.
Its part number 85020 on this site

https://www.chadwickreamers.com/ball_joint_ream.php
SOLD!!! I really appreciate that information. I will definitely be buying the uniball conversion. Maybe you can work some magic on my leaf springs🤨🤨i heard you are the guy.
 
Back
Top