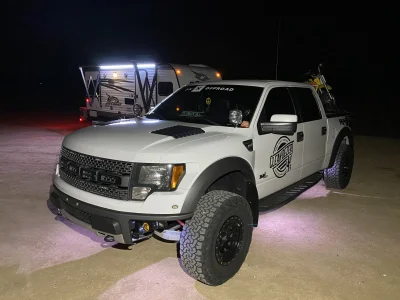
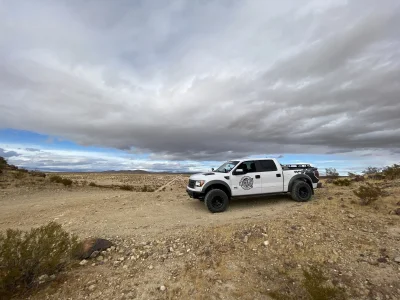
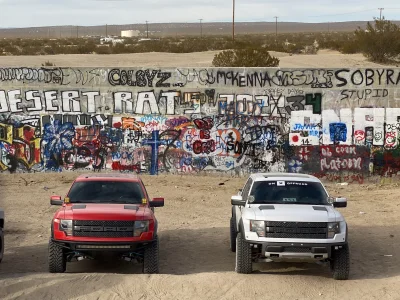
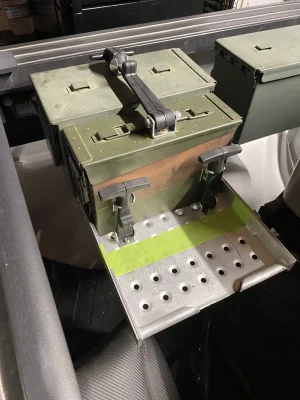
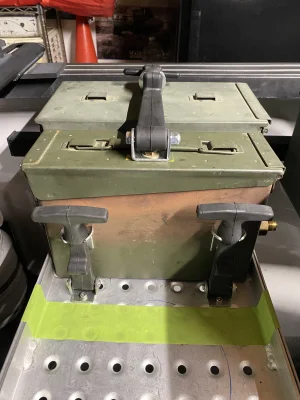
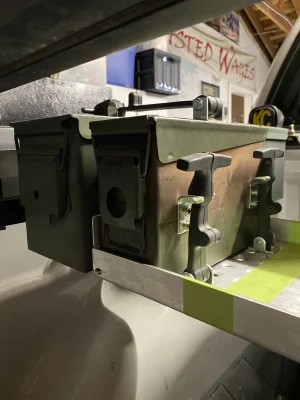
Roger The Raptor

Looks great dude.

Was I wrong in seeing that their was still a clear wrap under the black vinyl?
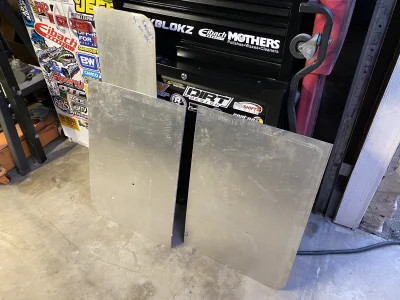
 
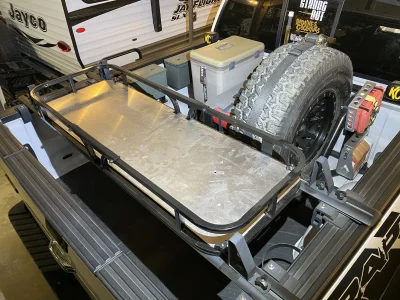
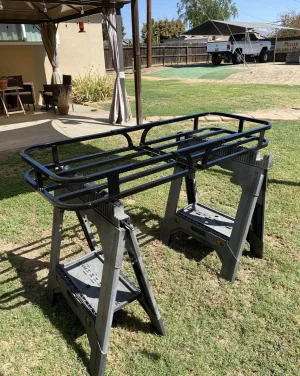
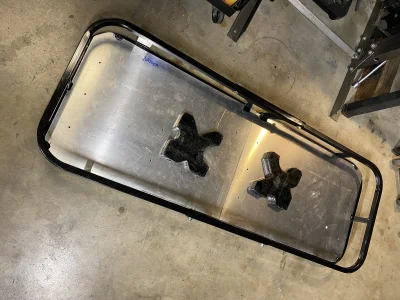
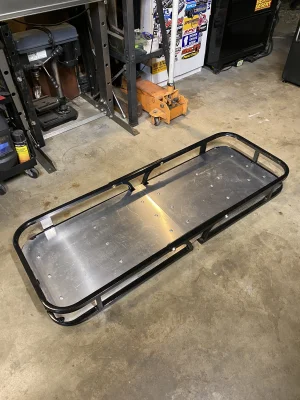
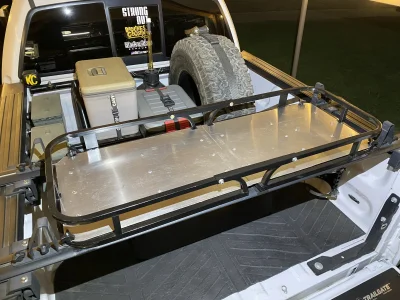
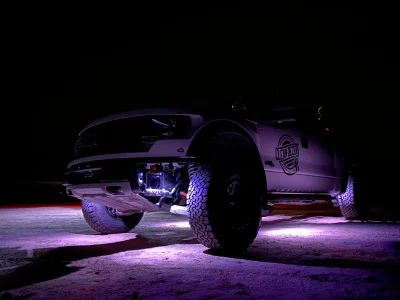
Had a 3x3’ aluminum road sign laying around and decided to put a floor in the storage rack. It had to be two pieces with the sheet I was using. Did a bunch of notching and trimming to make each piece fit. I think it’s turning out pretty good so far. My reasoning was to try to keep as much debris from falling through into the bed as possible (for trash at clean ups and firewood). Plus it could make for a good work table. I wanted to plate around the walls of the rack but realized my dust lights would be blocked so just the floor it is. Next is to pull the rack off, drill some holes and rivet the floor pieces on. I love fun little stuff like this.

IMG_5243.jpeg

IMG_5244.jpeg

IMG_5245.jpeg
 
Painted the rack, did some measuring, drilled some holes and riveted both aluminum pieces on. It turned out really good. Not bad for an old Harbor Freight cargo rack and a road construction sign. If you see the 2 random rivets it was to fill some holes that were already in the aluminum from it’s road sign life. My OCD doesn’t like it but I gotta look past that lol.

IMG_5290.jpeg

IMG_5285.jpeg

IMG_5286.jpeg

IMG_5288.jpeg
 
Nice. FWIW my Sosche magic phone mounts work just fine offroad. People told me they wouldn’t but they are fine 99% of the time and I love them.
 
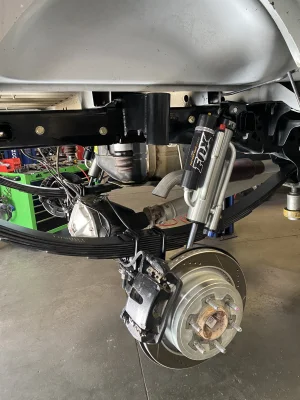
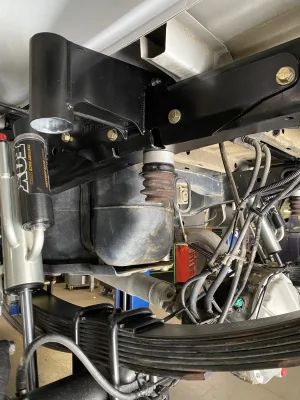
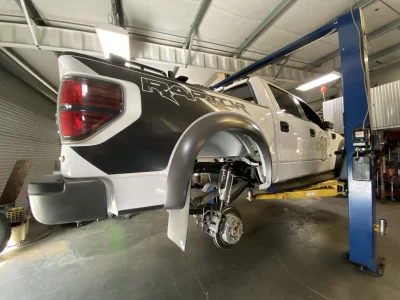
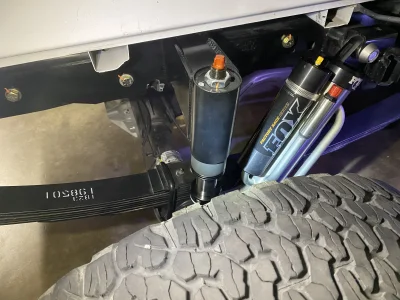
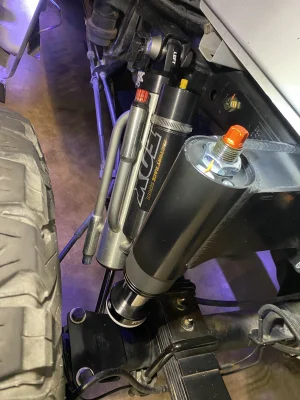
Got the OG ReadyLift rear bump stop/frame brace kit installed (minus bumps) after what seemed like a year. Fit like a glove. It’s so hard to justify $800+ for brand new bump stops though! The sad thing is I have a brand new set sitting here in the garage that I ordered through work with the agreement that I was just going to pull measurements and send them back. My original plan was to make bump stop slugs and run beltech bump stops in their place. Basically a factory style bump stop in the hydro bump can. Not sure the route I’ll take as of yet but for now I’m still running the OEM bump stop that works with the frame brace.

IMG_5380.jpeg

IMG_5373.jpeg

IMG_5375.jpeg

IMG_5376.jpeg

IMG_5403.jpeg

IMG_5371.jpeg
 
Got the OG ReadyLift rear bump stop/frame brace kit installed (minus bumps) after what seemed like a year. Fit like a glove. It’s so hard to justify $800+ for brand new bump stops though! The sad thing is I have a brand new set sitting here in the garage that I ordered through work with the agreement that I was just going to pull measurements and send them back. My original plan was to make bump stop slugs and run beltech bump stops in their place. Basically a factory style bump stop in the hydro bump can. Not sure the route I’ll take as of yet but for now I’m still running the OEM bump stop that works with the frame brace.

View attachment 29982

View attachment 29984

View attachment 29985

View attachment 29986

View attachment 30008

View attachment 30009
Looks soo clean!
 
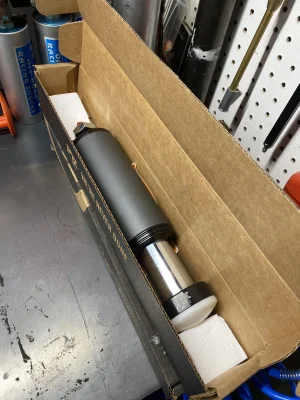
Bit the bullet on the new FOX 2.5x2.5 bumps to have before thanksgiving since I already had them in my possession. Funny thing is I put all my tickets in for the Locked Offroad bump stops at the Clean Dezert event a couple weeks ago not knowing the size and I won them! But what I won wouldn’t work unfortunately. Hoping to sell those to help with the cost of the new FOXs. Nut and bolt check complete tonight and should be ready for next weeks thanksgiving shenanigans.


IMG_5645.jpeg

IMG_5646.jpeg

IMG_5647.jpeg

IMG_5648.jpeg
 
Any updates from your Thanksgiving trip? You test out the new bumps on any sweet jumps?
 
Any updates from your Thanksgiving trip? You test out the new bumps on any sweet jumps?

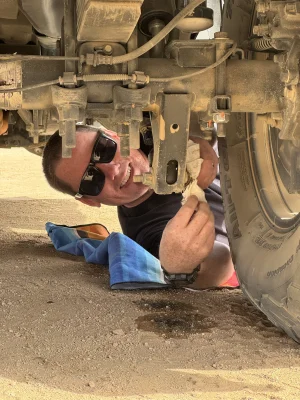
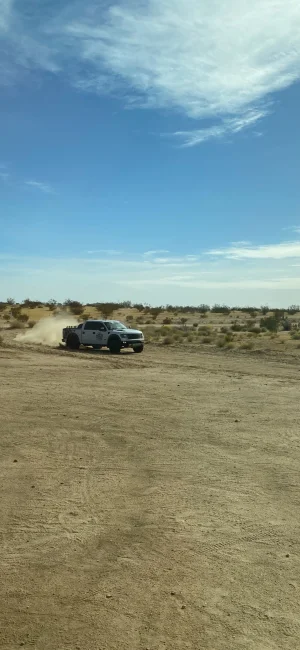
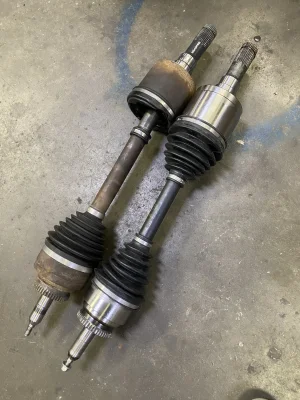
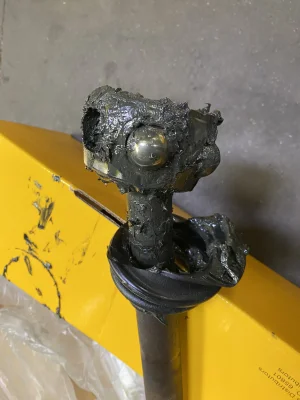
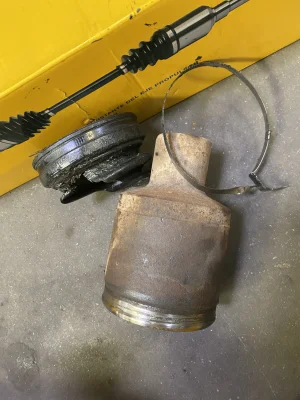
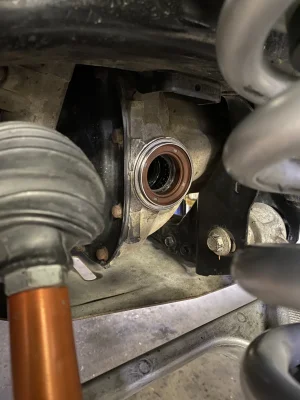
Haha no sweet jumps, but a lot dirt miles down some fun sections I found out in Cal City. The bump stops were a huge help. I feel I need to lower the psi in the bumps to see if it’ll help with the low speed slapping. The bump pads are only about an inch away from the striker at ride height so it’s a little annoying going slow. Everything cycles good so I can’t really mess with where the bump sits. Unfortunately half way through the trip I noticed I completely blew out my right rear bypass. (Good thing I know a guy lol) and when I got home I realized my front left inner CV boot is completely gone lol. But overall I’m happy with it. I have a new set of shafts at home already and a seal kit on the way. Time to prep for the next one!


IMG_5838.jpeg

IMG_5839.jpeg

IMG_5941.jpeg

IMG_5705.jpeg

IMG_5712.jpeg

IMG_5720.jpeg

IMG_0268.jpeg

IMG_5804.jpeg

IMG_5814.jpeg

IMG_7908.jpeg

IMG_5943.jpeg

IMG_5828.jpeg
 
Back
Top