You are using an out of date browser. It may not display this or other websites correctly.
You should upgrade or use an alternative browser.
You should upgrade or use an alternative browser.
Carly's 96
- Thread starter HTO
- Start date
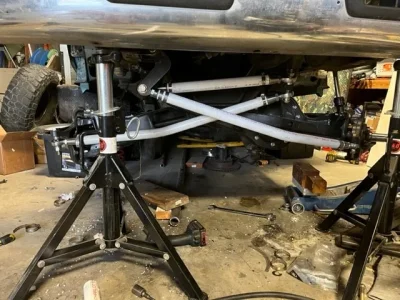
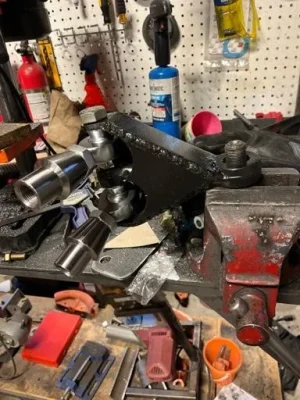
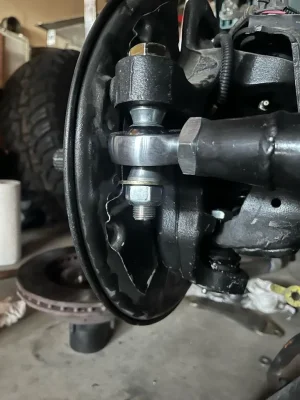
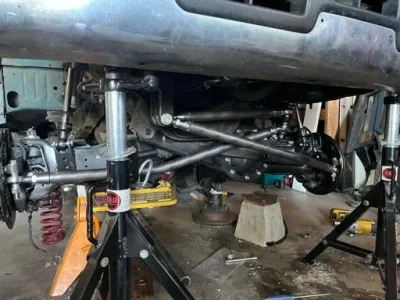
Setup my tie rods. I found out afterward i have 1.25 tube to sleeve since the 1.5 is .120 wall so ill remake the two long ones. Its close. Next will be the drivers bump then figuring out the guts ive flopped around in the engine bay. I picked up a cardone 20-7272 power steering pump. I figured 225k miles and 3 turns on 35s and it wouldve shit the bed. Also picked up a power steering cooler. All grade 8 hardware in the steering. 3/4” bolts all except the knuckles. 5/8” bolts with bronze oilite bushings just in case the knuckle ears take a beating. Its easier to replace a bushing than find an abs knuckle. Oh and ill be keeping the abs and putting it on a switch. All in all i only lost 1/8-1/4” of turn radius. Not bad. It cycles 12-13” travel but its clean and no stress to parts.

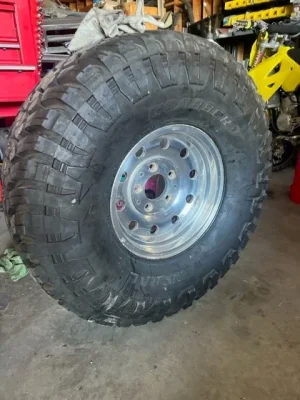
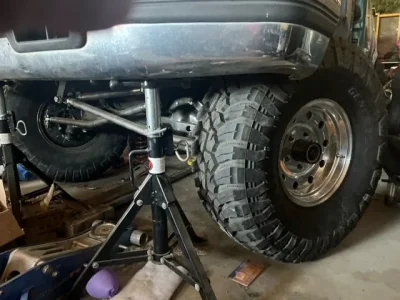
Again the girls' racing has taken time, but I have been quietly, slowly moving forward. I found a set of what was classified as Q80 springs, but I believe they are altered J40 springs. Either way for 600.00 I wasn't angry. Also, I finally got 2 tires and wheels mounted. I still enjoy the alcoas. I'm going to rough align it to verify tie rod length, then continue to reassemble the front. I have one bump can mount to finish, and random brackets for stuff like the intake tube, and the fuse box. Hoping to get started on that soon too. We are close to a two month break, so I am hoping to have the front end squared before the season restarts.



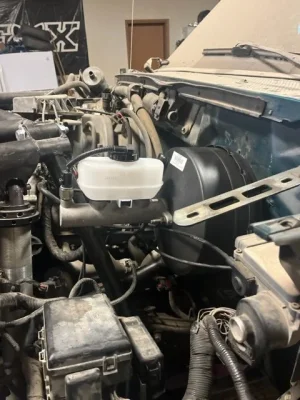
Okay finished a few more things. Upgraded power steering pump, new lines, cooler (not the stock one), and switched to the 1 ton booster and master. Im hoping to see good results and also help with a brake upgrade later. Also ran new brake lines on the driver side so they will run down the radius arm. I wore a hole in a nose once with extended lines.

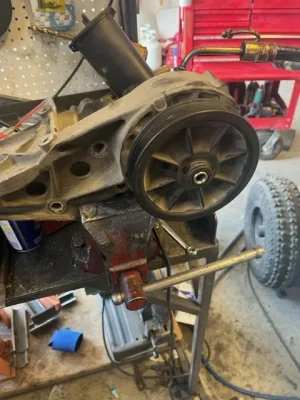


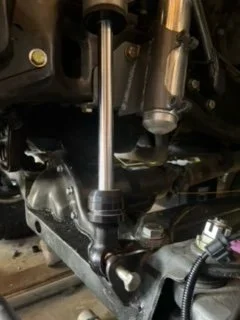
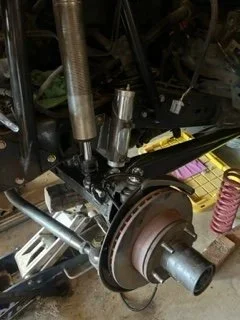
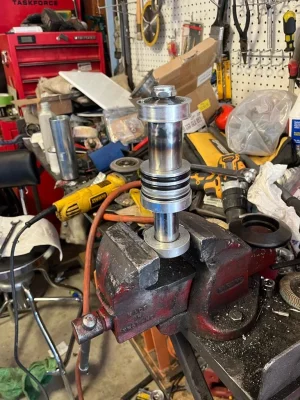
Well the limit strap is hung, and the bump has been converted to a 2" bump. It is now in it's place with new seals and good oil. Getting a bit closer. Hopefully I can have this side done here next month. Still have to finish brake lines and bolt back up the fender and inner liner. I did get this side clearanced, so the engine bay should stay cleaner.

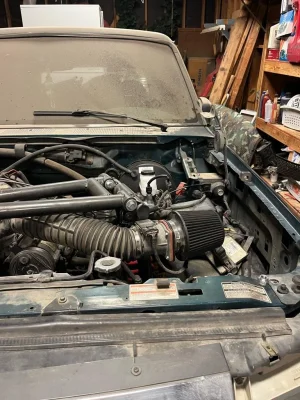

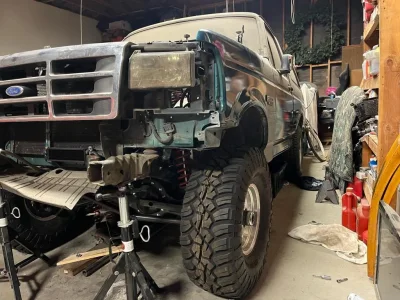
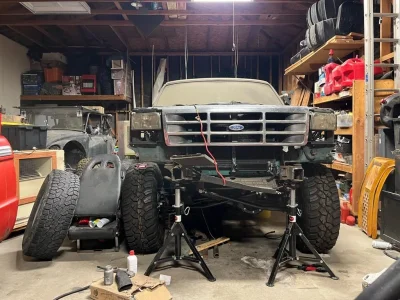


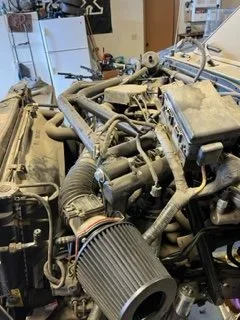
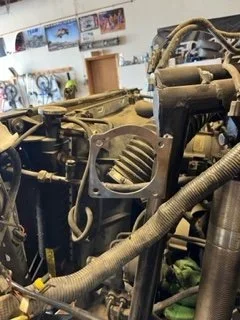
Its back under its own weight after 4 years. It sid drop when i sawed the wheel so the cut and turns should be good. I need to finish passenger brake lines then redo vacuum lines. Silicone intakes has the same stuff i used last night. Then the headers don’t quite align with the y pipe so need to fix that. Getting closer though.


Finished the silicone vacuum lines, smog equipment put back, and continue to try to keep the spaghetti an organized chaos. Cleaned up and repainted the battery box and support, stipped away over 20 years of brake dust off 2 rims and continued to put bolts where i think they go. Almost ready to be spun around.


The girls are now racing 2 series. 170s and sprint carts BUT we finally rear end parts! I ended up ordering a complete rebuild kit from yukon on amazon. Turns out its a pretty nice kit for under 600.00. I forgot to order a crush sleeve eliminator kit so that will need to be ordered.


Alright i got the rear end pulled from Carly’s bronco. First off, a bumper jack is an amazing tool. It saved me a boatload of time getting it out. Second, I shot it with degreaser and pressure washed it. Its now drained with the axles out of it. Close to pulling the posi out and measure shim stacks. I will say, 224,000 miles, the spider gears are trashed in it. Luckily we ordered all new stuff. Its drained and ready to be disassembled further. Also check out the hump in the lead spring. I was sideswiped before it was torn down. That was a hit.


Dropped the new diff and gears in it. I heated the gear and tone ring so it went on easy. I measured the stock shim stacks and dropped those in just so i dont lose it. When i get a chance ill move around the shims per the marking and see what the pattern looks like.
ss


ss


Pinion is a bit shallow so tomorrow ill throw .005 at the pinion and take another pattern ready. Bl was correct so not too bad this far. Hopefully tomorrow I can find the right spot and finish up the gears. Perches will be here this week so the only thing left is to pick out a diff cover.


Some more progress. Clearanced the cab support underneath and will reinforce. Leafs are in and rear end is underneath and will get the leaf spring perches welded in hopefully this weekend. Also started the rear shock mount. Only 20+ more holes to drill. The rear mount will be 3/16 plate with a 3/16 overlay then slide the shock bar through both sides and weld in the 3 bolt tab drawn out. The tab will have 3 1/2” bolts to hold it to the side plates and the tube will slide through both the base and overlay plate on each side. Its removable and should be plenty
strong.


strong.


Similar threads
- Replies
- 57
- Views
- 2K
- Replies
- 10
- Views
- 385

