Carly's 96

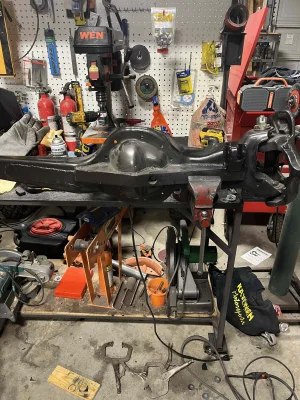
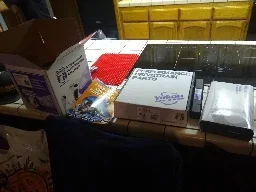
So a few packages showed up. Two more to go. Yes I'm going to attempt a regear on my own. I have the Dana 44 service manual and a how to guide on Dana axles with lots of pictures. It's an open diff but all Yukon except for the ring and pinion. They come in Sunday and are Dana gears. I figure when I was a diesel mechanic moons ago thats what the owner always installed. Hopefully they won't be too big a pain to set up.
1761661861203.jpeg
 
I decided to go ahead and tear down the diff. Ring and pinion are out (shop press works well for a spreader. Don't worry I didn't use much pressure and didn't over deform the case) along with an initial cleaning before all the seals bearings and races are out. I've been doing some reading and none of it made sense at the time. Now it's starting to come together.
Image
Image
Image
 
Ha first rookie mistake! When I ordered the bearing kit I opted for the kit with the seals and forgot to order a shim kit. Boy was I shocked when I saw that. Surprisingly AutoZone can get Yukon parts so I ordered the shim kit and I'll be moving forward Saturday. The case is clean inside and out, all seals, bearings and races are out and all seal material removed. Tomorrow I'll move over to the new carrier since I won't be able to install the pinion gear just yet.
 
Lol it's been fun. I tore down the carrier and the thrust washers and gears show signs of wear so off with the old assembly and in with new gears pin etc. Also drilled and tapped the case for a 1/4" not drain plug. Also noted threads are only done about 3/4 the way down so the plug bottoms out. I should have the shims tomorrow afternoon and the gear replacements for the carrier Sunday. At least the only thing left is the caps and bolts. Everything else will be new.

Image
 
So setup bearings are done. Spent time with my knock off Dremel but it did the job and now once the shims and spider gears come in I can move forward.
Image
Image
 
All the diff parts showed up so the diff is complete with the ring gear. I am still waiting on pinion shims so I made a shim stack to see if my numbers were correct. The diff fits nice and snug before adding preload shims. Also a buddy of mine has an arbor setup so on his advice I am going to borrow it to figure out pinion depth.

Image
 
Ok so I have not made an adjustment yet but I needed a starting point. I need to move the pinion depth in and backlash was off but not nearly
as bad as I was expecting.

Image
Image
 
Well she should be good to go. Pattern rides in the center of the gear backlash is in the middle of the range and drive and coast look good from what I can see. If I didn't have setup bearings, the carrier would've become a lawn ornament after I chucked it out of the garage.
Image
Image
 
Ok well here it is. Don't look like much but I'm pretty happy with it. Backlash set at .007 ring gear preload set at 28 in lbs with new seals
bearings and carrier. Should be able to put it in this weekend if I get the time.
Image
Image
Image
Image
Image
 
got the shock mount wrapped with plate so now u need to stop procrastinating and cut the rivets off the driver's side. I seriously hate rivets.
Image
 
I finally stopped procrastinating and knocked off the rivet heads. I'm not sure which I dislike more. Rivet heads or the crap that decides to land everywhere, including my eyes behind glasses. Anyway got all but one stingy bastard out. Anyone got ideas on how to cut the abs pump bracket? I was thinking cutting the corner out to tie in my front leg of my hoop and reinforce the bracket with 1/4" plate. Below, in red, would be where I cut out the bracket. The blue would be the 1/4" thick gusset to make up for the missing material.
Image
 
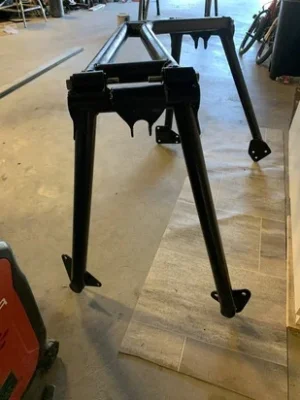
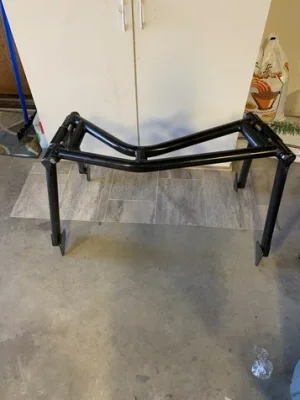
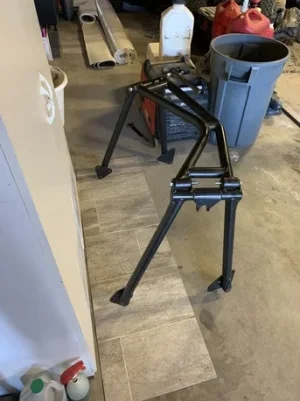
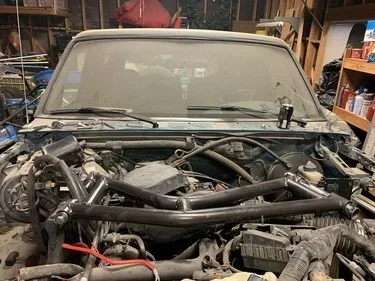
Been a minute, but the engine cage is done. Hopefully I'll be able to get the front bump mounts boogered up so reassembly can happen.
1761662247622.jpeg1761662255293.jpeg1761662272682.jpeg1761662281077.jpeg1761662291035.jpeg
 
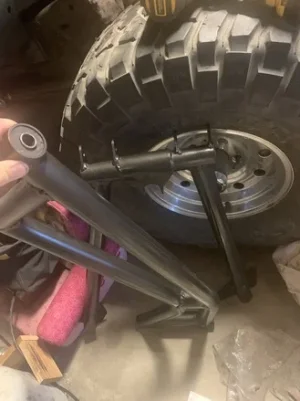
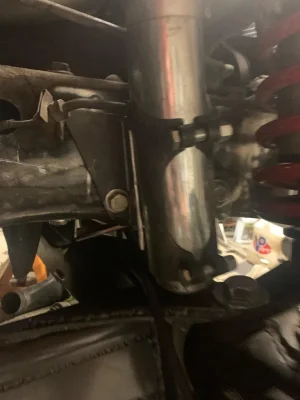
snails pace would be a step in the right direction but it is what it is. I’m almost done with the radius arms. One more plate then paint. 4130 upper and lower tube. Upper sleeved with 1.75 .120 wall. 1/4” cap and 1/4” overlay plates. No awards for the prettiest stuff but it hold up. At least they’ll be good for 1 less mpg. I’d also like to add that magnetic brooms kick ass.
Image
Image
 
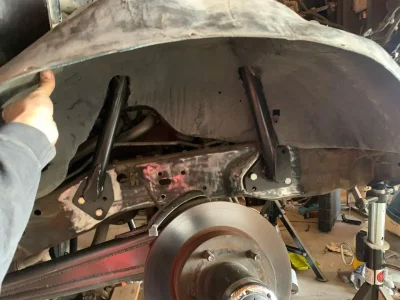
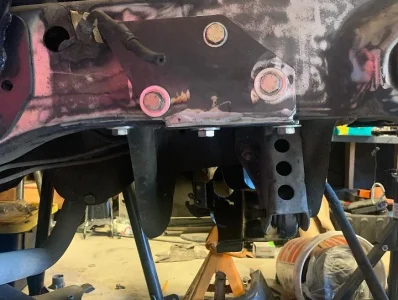
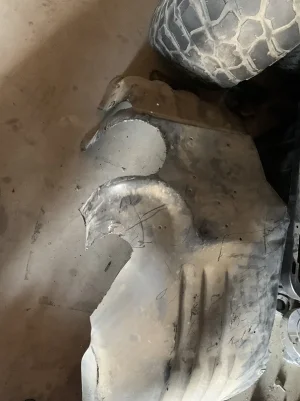
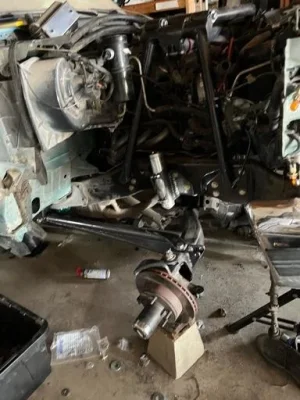
Got the inner fender cut out including the coilover spot. Radius arms are done brackets are painted and only 1 bolt left on drivers side to finish. I got the river out of the engine cross member and I’m sore. Bumpstop bracket is made for the frame, all I have now is to find the bump spot and cut plate. I’m going to open up the passenger side axle portal and reinforce it so I’ll move 1 step back. My daughter helped me get nuts on the bolts and did it without seeing them. She has now been nominated to get her hands in the frame for the two front bolts.
1761662383435.jpeg
 
The last of the pictures from yesterday. All in all a productive weekend. Hopefully I'll get some more time soon. For now, its time to get the girls ready for racing.
1761662409948.jpeg1761662419130.jpeg1761662426639.jpeg1761662433721.jpeg
 
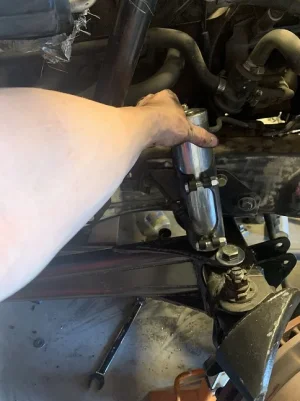
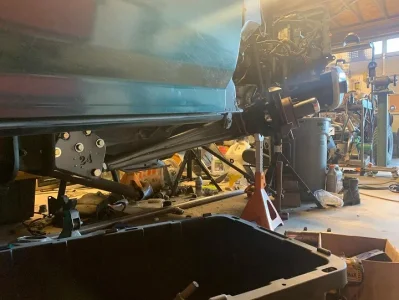
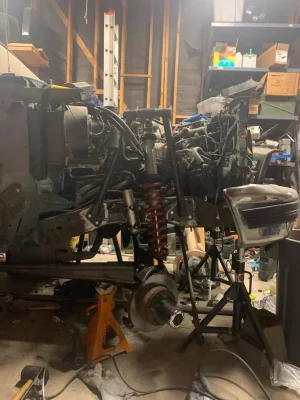
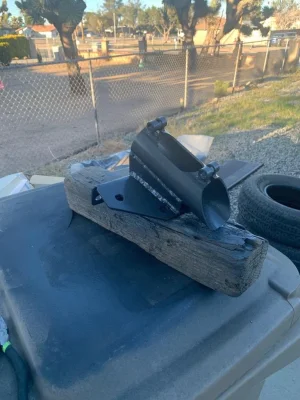
Had some down time so I chipped away some more. Got the cage bolted in and the bump mount in also. The heater hose hard line will be entertaining to move out of the way. Also I picked up a Miller 212 and been having some fun playing with a much nicer machine. Which brings me to the shock mount almost complete. I need to add a drain hole before it goes back under.
1761662752858.jpeg
 
Back
Top