Ever since I built my first buggy there was always something missing, like windshield, seat heaters, air-conditioning, doors that open and you can get out without braking your back, knees and neck, and of course lots of lights. I needed something like handled like a Class 1 off-road and like a Porsche on the road and that I didn't need to smog, because Cali, big dreams that can't really be reality but a guy can dream.
Anyways, from big dreams Project 69 was born, it needed to be a 69 because obvious reasons that we cant get into since this is a family friendly establishment.
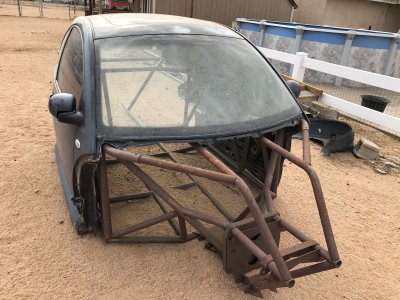
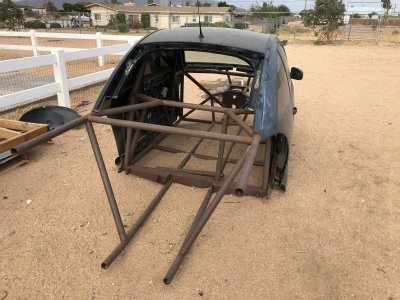
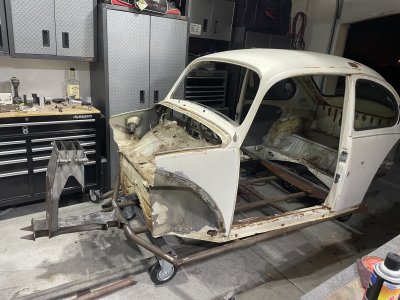
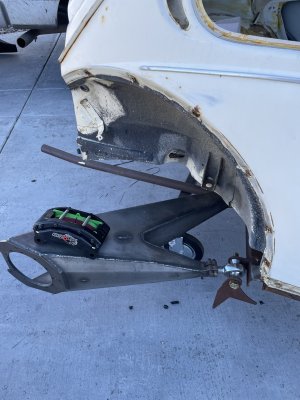
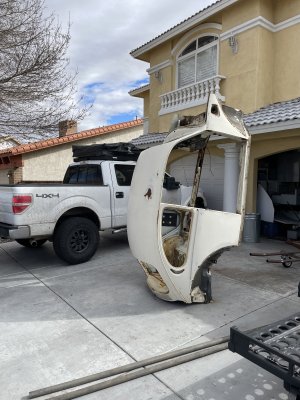
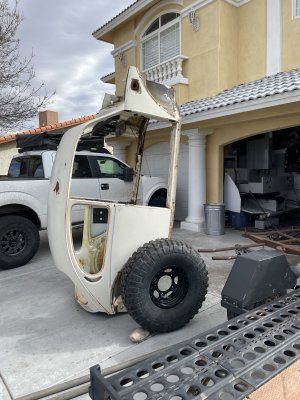
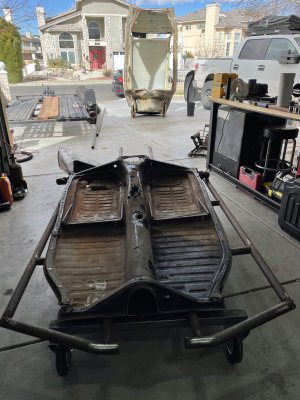
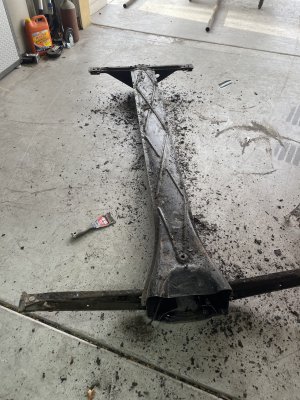
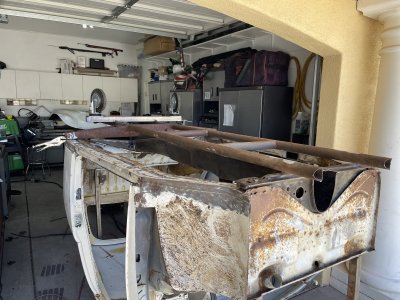
It needed sequential transmission, (because once you have one you just don't go back) high revving V8 with big power and to be street legal that I can drive wherever I wanted. Only thing that fit that bill was a 69 Baja bug so I started looking. Really wanted it to look period correct with lots of light and louvers, we get to that later, with some modern touches.
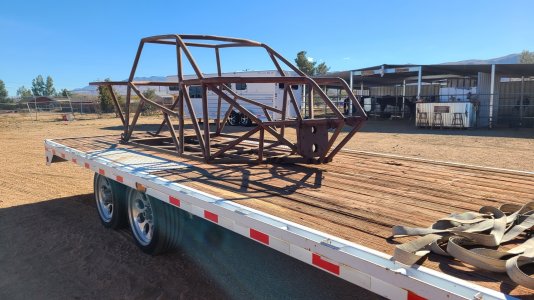
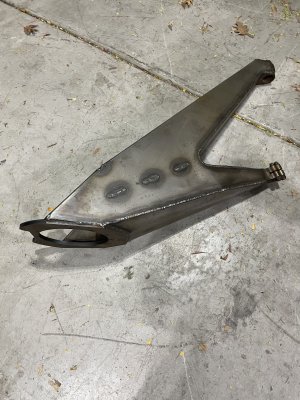
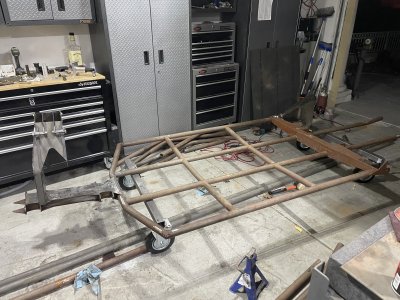
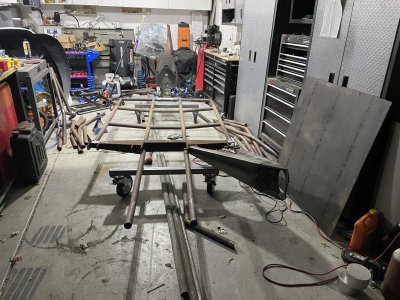
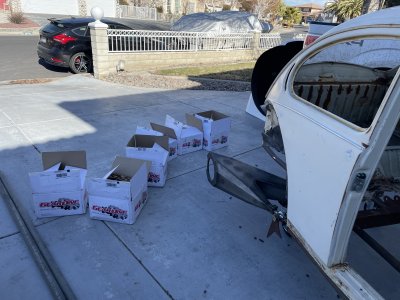
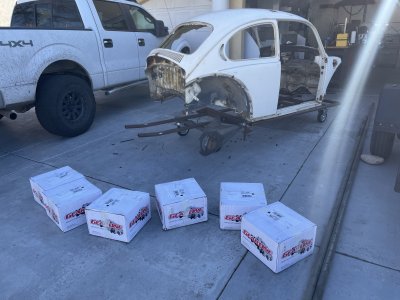
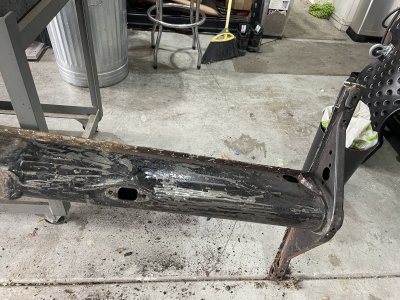
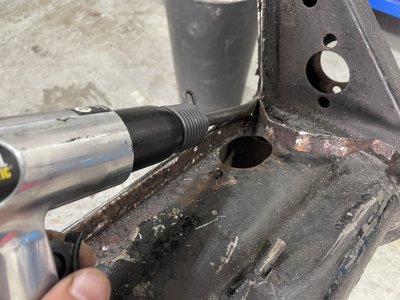
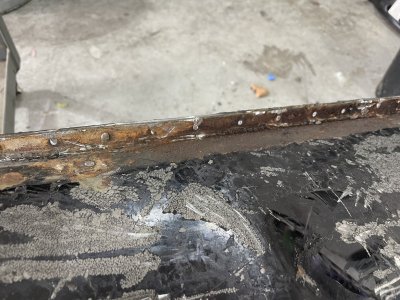
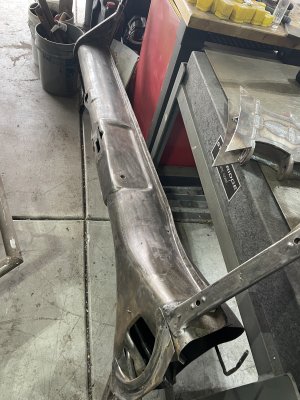
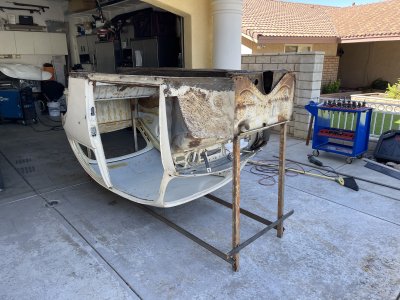
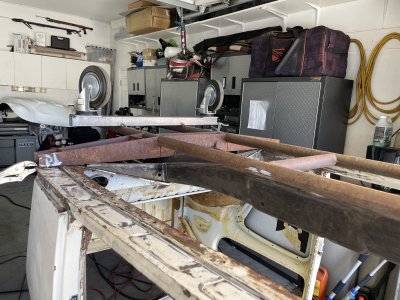
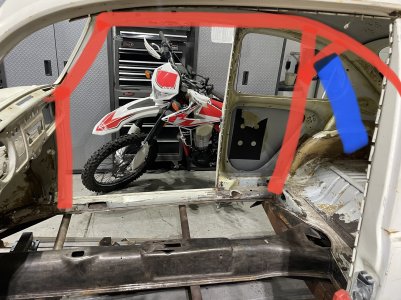
So I started talking about it at work and one of my coworkers said, I have exactly what you want, it's all there, basically you just need to finish welding and get whatever engine and transmission you want. Hell yeah, I thought, this is off to really good start, I should be done in a few months. Turns out it was a 96, I might have heard what I wanted to hear there. He had purchased a kit that you just send to a laser cutter and they cut everything for you and you just weld it together and voilà you're done, off to the desert and hit all the sweet jumps. I had the same kit on my old buggy so I knew that it works really well so I wasn't worried.
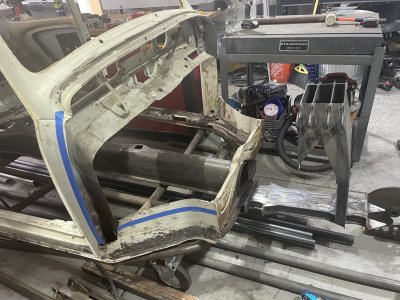
So the saga begins.
Anyways, from big dreams Project 69 was born, it needed to be a 69 because obvious reasons that we cant get into since this is a family friendly establishment.
It needed sequential transmission, (because once you have one you just don't go back) high revving V8 with big power and to be street legal that I can drive wherever I wanted. Only thing that fit that bill was a 69 Baja bug so I started looking. Really wanted it to look period correct with lots of light and louvers, we get to that later, with some modern touches.
So I started talking about it at work and one of my coworkers said, I have exactly what you want, it's all there, basically you just need to finish welding and get whatever engine and transmission you want. Hell yeah, I thought, this is off to really good start, I should be done in a few months. Turns out it was a 96, I might have heard what I wanted to hear there. He had purchased a kit that you just send to a laser cutter and they cut everything for you and you just weld it together and voilà you're done, off to the desert and hit all the sweet jumps. I had the same kit on my old buggy so I knew that it works really well so I wasn't worried.
So the saga begins.