59sled
Well-known member
- Joined
- Nov 14, 2022
- Messages
- 128
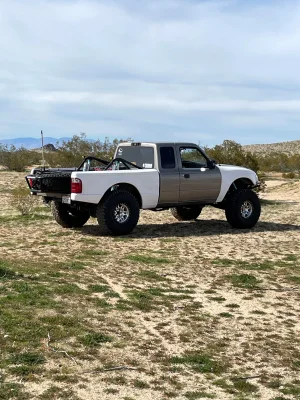
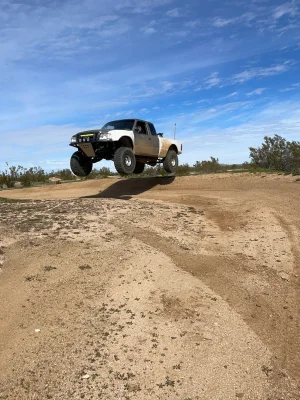
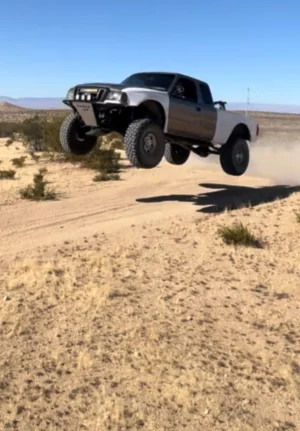
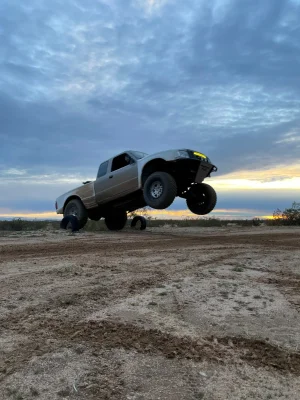
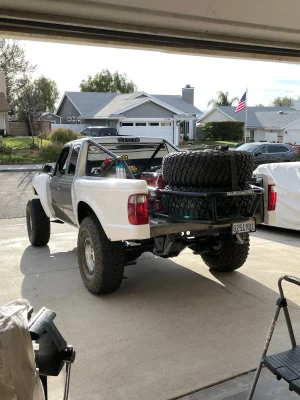
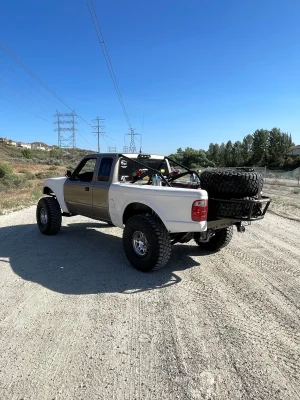
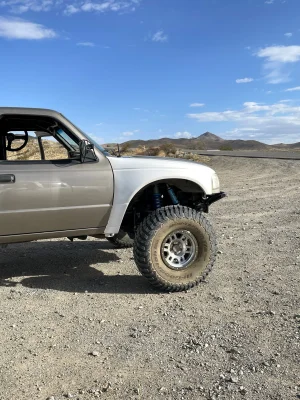
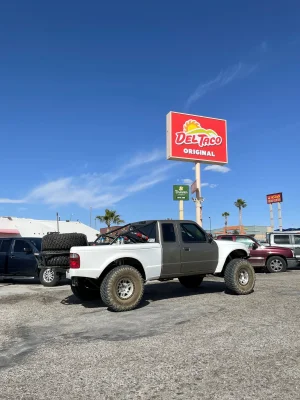
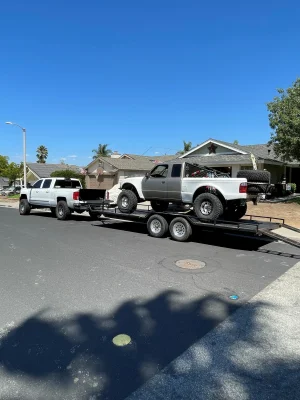
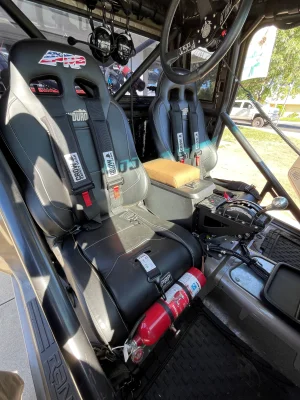
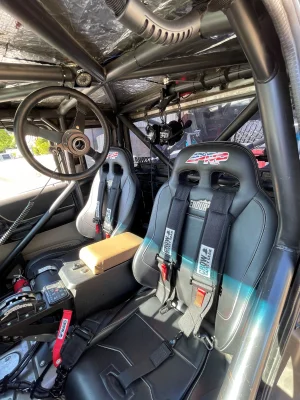
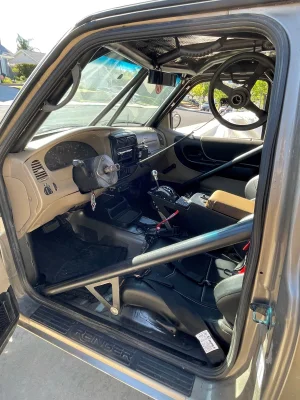
Starting a little build/spec list of my kids 04 Ranger Prerunner. Putting this together for the BLGT Off Road Expo booth. Hopefully you all thinks its good enough to put in the booth.
So its an 2004 Ranger XLT with the awesome 3.0
The day he got the Ranger in 2016. Rocking an RCD lift with 31's.
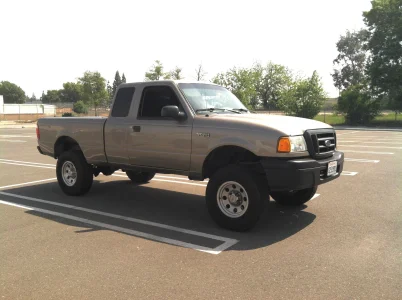
Still in 2016.
As with most broke high school kids. It starts off with new Methods and 33" BFG tires and some Maxtrac spindles. Bumper valance delete with the sweet bent back front plate. Rear angled cut bed. And a rear tube bumper made by his my brother his uncle.
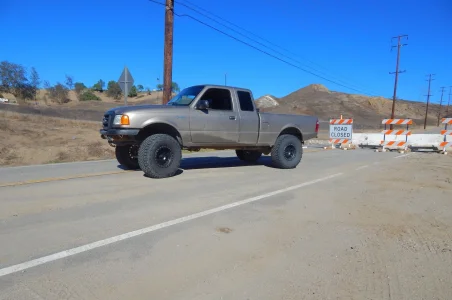
Now its 2017.
Now comes the 1" front wheel spacers and 3" McNeil fenders. Also he got a bumper fabbed up from a shop that I don't remember the name. Unfortunately the guy took advantage of a 17 year old kid on part time job money. And never tied the bumper into the bottom. It just hanging off the front frame rail. Of course me/Dad didn't know better either. I wanted it bolt on and didn't think twice about it needed to be tied into the bottom. Added a Chinese light bar to the grille.
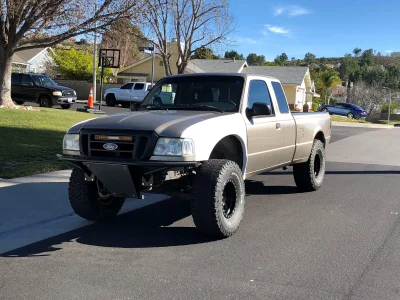
Now 2019 -2020
In the beginning of 2019 my kid bought a BTF Basic long travel kit off of Craigslist. The guy selling it never installed it. So my kid bought some new 2.5 x 8 King coil overs and was slowly building up other parts as his funds would allow. The end of 2019 kid went off to lineman school for 4 months. In that time I noticed he had some bad front camber on one side. After some inspection I noticed his stock lower arm was cracking by the ball joint. Welp it happened because dad/me had to cut some of the arm to install the Maxtrac spindles. Well instead of making a curved cut. I did a 90 degree cut. And that's where it was cracking.
This is where Mikey at @the_fablab_ comes in. I got a hold of him to put in the BTF kit. Which most know it was a coil bucket Ranger. So that was a lot of work. This is right after the the kit was installed. Also Mikey added light tabs to the bumper and did his signature vents in the front skid plate.
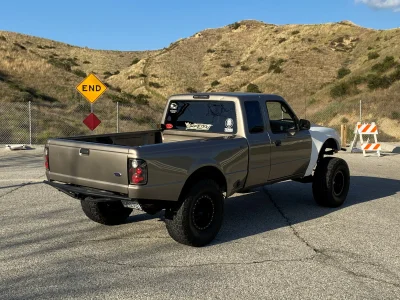
Still 2020-2021.
Added Advanced Products 4 inch front and rear fiberglass. My bother helped him do this. We pulled the bed so we can do it right. Also my brother welded angle iron to the top of the bed where the bedside lip rail attaches. This way it gives you the strength to sit on the edge of the fender while in the bed.

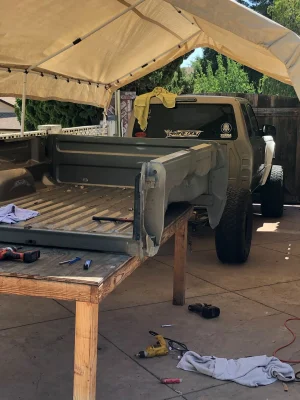

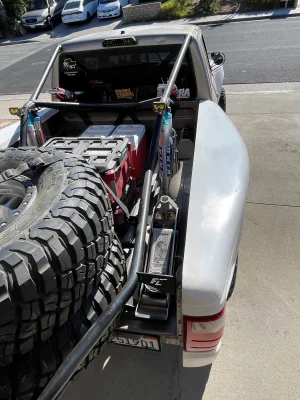
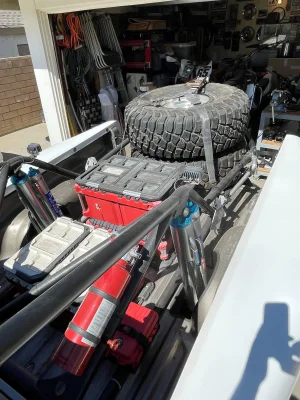
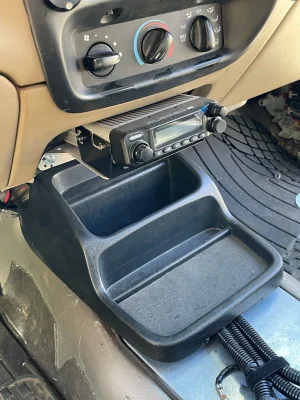
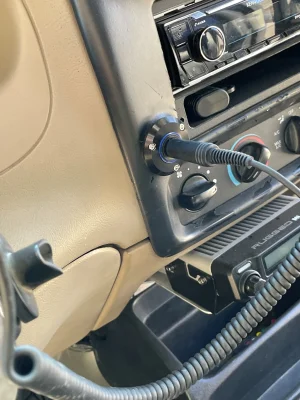
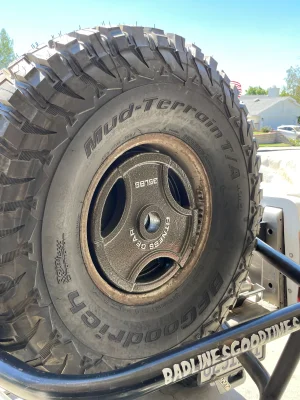
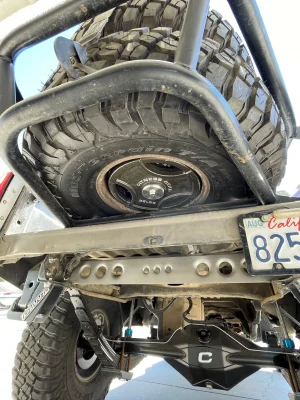
Lets not forget the bed mounted spare and ammo can storage boxes. and the one rear chase light on the bed. And the CB radio.
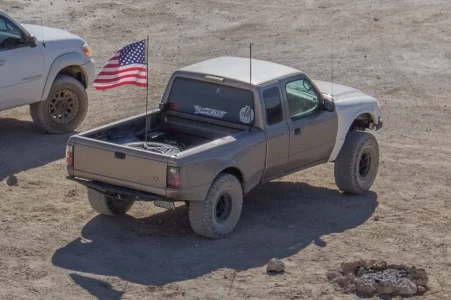
Now its 2022
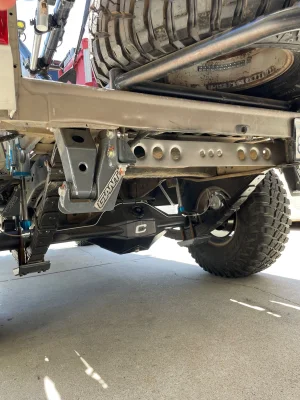
By this time myself and my brother installed the Deaver F31 pack and Kartek hangers and dropped shackles.
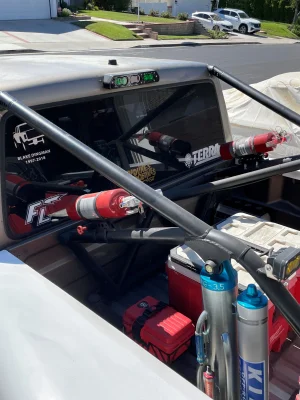
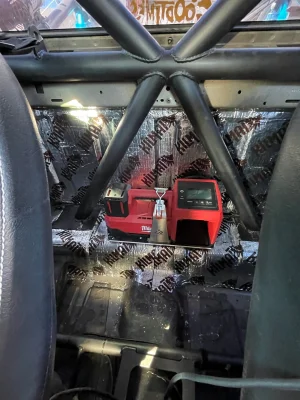
Kid got full time job. So its back to the @the_fablab_ to get the rear bed cage done. Went with a simple bolt in bed cage. Cage was V'd at the front so my kid could wedge a dirt bike in there. Added some Baja Designs lights to the cage. At this point, my kid and I added a 99 Ranger 8.8 rear end.
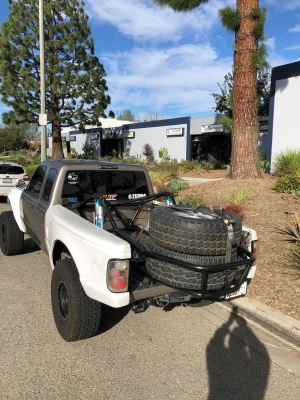
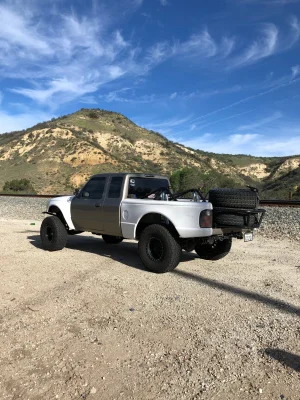
July of 2022 it was time to jump up to 35's
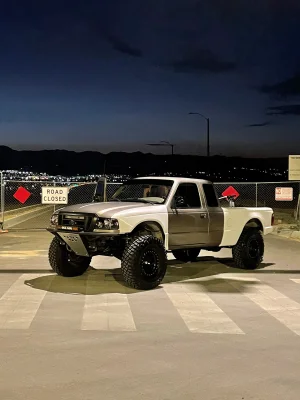
August 2022
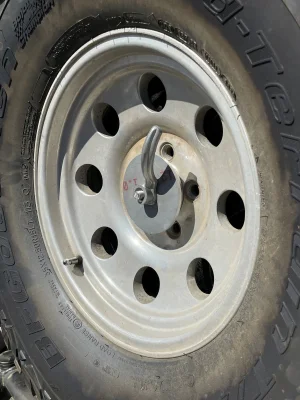
Kid bought some Vision Manx faux beadlock wheels. and had the ring powder coated black.
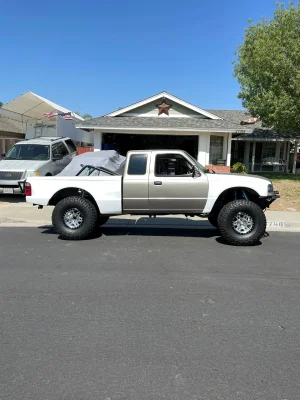
Now 2023
Truck stayed like this for a bit. Added little things like the Milwaukee pack out storge and ice chest.
Oh yeah. added the BadLinesGoodTimes sticker to the rear tire holder.
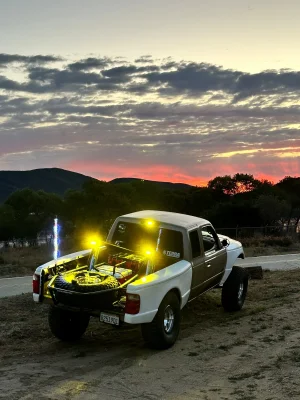
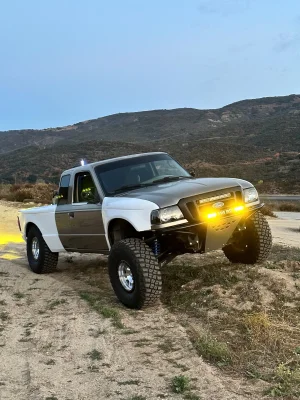
Now 2023.
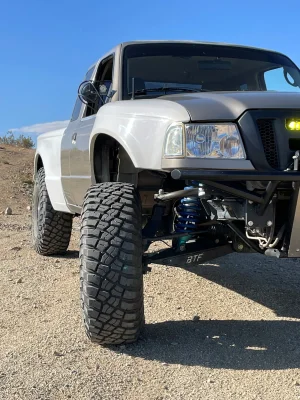
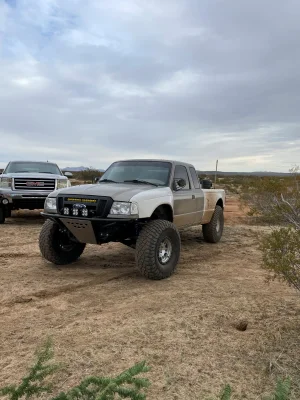
Kid gets some of the first set of BTF fabricated Dana 35 spindles for the basic long travel kit.
Time to test the new front spindles. Also around this time. the kid switched all his lights to Baja Designs. And he added the small S1 lights to the mirrors. Bottom of the front bumper was tied into the frame by my brother.
So its an 2004 Ranger XLT with the awesome 3.0
The day he got the Ranger in 2016. Rocking an RCD lift with 31's.

Still in 2016.
As with most broke high school kids. It starts off with new Methods and 33" BFG tires and some Maxtrac spindles. Bumper valance delete with the sweet bent back front plate. Rear angled cut bed. And a rear tube bumper made by his my brother his uncle.

Now its 2017.
Now comes the 1" front wheel spacers and 3" McNeil fenders. Also he got a bumper fabbed up from a shop that I don't remember the name. Unfortunately the guy took advantage of a 17 year old kid on part time job money. And never tied the bumper into the bottom. It just hanging off the front frame rail. Of course me/Dad didn't know better either. I wanted it bolt on and didn't think twice about it needed to be tied into the bottom. Added a Chinese light bar to the grille.

Now 2019 -2020
In the beginning of 2019 my kid bought a BTF Basic long travel kit off of Craigslist. The guy selling it never installed it. So my kid bought some new 2.5 x 8 King coil overs and was slowly building up other parts as his funds would allow. The end of 2019 kid went off to lineman school for 4 months. In that time I noticed he had some bad front camber on one side. After some inspection I noticed his stock lower arm was cracking by the ball joint. Welp it happened because dad/me had to cut some of the arm to install the Maxtrac spindles. Well instead of making a curved cut. I did a 90 degree cut. And that's where it was cracking.
This is where Mikey at @the_fablab_ comes in. I got a hold of him to put in the BTF kit. Which most know it was a coil bucket Ranger. So that was a lot of work. This is right after the the kit was installed. Also Mikey added light tabs to the bumper and did his signature vents in the front skid plate.


Still 2020-2021.
Added Advanced Products 4 inch front and rear fiberglass. My bother helped him do this. We pulled the bed so we can do it right. Also my brother welded angle iron to the top of the bed where the bedside lip rail attaches. This way it gives you the strength to sit on the edge of the fender while in the bed.


Lets not forget the bed mounted spare and ammo can storage boxes. and the one rear chase light on the bed. And the CB radio.

Now its 2022
By this time myself and my brother installed the Deaver F31 pack and Kartek hangers and dropped shackles.
Kid got full time job. So its back to the @the_fablab_ to get the rear bed cage done. Went with a simple bolt in bed cage. Cage was V'd at the front so my kid could wedge a dirt bike in there. Added some Baja Designs lights to the cage. At this point, my kid and I added a 99 Ranger 8.8 rear end.


July of 2022 it was time to jump up to 35's

August 2022
Kid bought some Vision Manx faux beadlock wheels. and had the ring powder coated black.

Now 2023
Truck stayed like this for a bit. Added little things like the Milwaukee pack out storge and ice chest.
Oh yeah. added the BadLinesGoodTimes sticker to the rear tire holder.


Now 2023.
Kid gets some of the first set of BTF fabricated Dana 35 spindles for the basic long travel kit.
Time to test the new front spindles. Also around this time. the kid switched all his lights to Baja Designs. And he added the small S1 lights to the mirrors. Bottom of the front bumper was tied into the frame by my brother.


Last edited:


