You are using an out of date browser. It may not display this or other websites correctly.
You should upgrade or use an alternative browser.
You should upgrade or use an alternative browser.
Fenix Motorsports Portfolio
- Thread starter Fenix Motorsports
- Start date
RMC
Active member
- Joined
- Oct 27, 2025
- Messages
- 128
Everything tig do two passes. It will save your life of your customers life. Root pass main pass. Fucus on main pass for looks
Roots make them even and deep. Finish pass shallow and beautiful.im here to help if needed. MiG booger it uo. Nice and hot spatter is too hot though .
Roots make them even and deep. Finish pass shallow and beautiful.im here to help if needed. MiG booger it uo. Nice and hot spatter is too hot though .
Blood Eagle
Member
RMC
Active member
- Joined
- Oct 27, 2025
- Messages
- 128
Seen too many new to tig guys think that’s will hold.
Fenix Motorsports
Active member
Cranking out more design work, everything is 3/16 and 1/4in steel. Already have some prototype parts cut, just trying to get some simpler designs done to fund the big stuff.
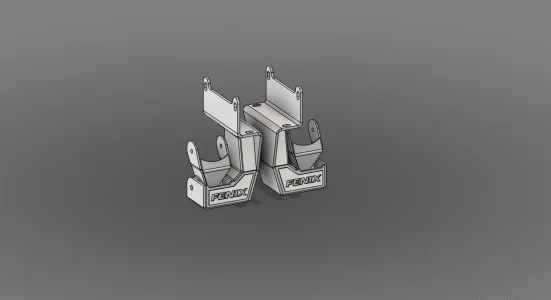
2G-3G Tacoma Spring Over HD hangers and shackles.
OEM Replacement GMT800 Shackle (why not right?)
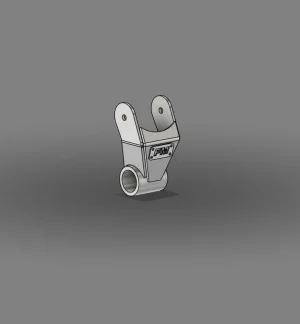
6in Shackle, (designed off the GMT800, pretty sure it should technically work on F150 or Rangers as well), I think I want to tag it differently though, not huge on the chunk of stainless in the middle of the rear plate. Also need to design the accompanying hanger relocation for the GMT800.
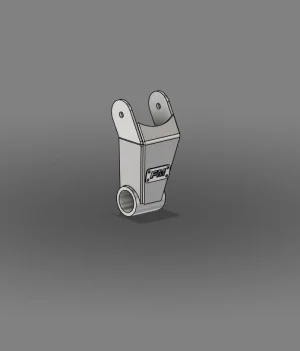
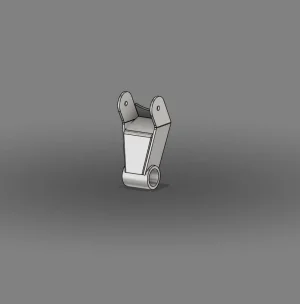
2G-3G Tacoma Spring Over HD hangers and shackles.

OEM Replacement GMT800 Shackle (why not right?)

6in Shackle, (designed off the GMT800, pretty sure it should technically work on F150 or Rangers as well), I think I want to tag it differently though, not huge on the chunk of stainless in the middle of the rear plate. Also need to design the accompanying hanger relocation for the GMT800.


Fenix Motorsports
Active member
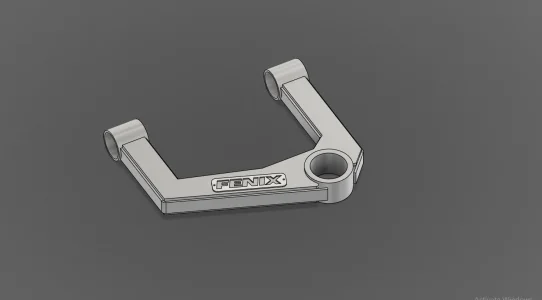
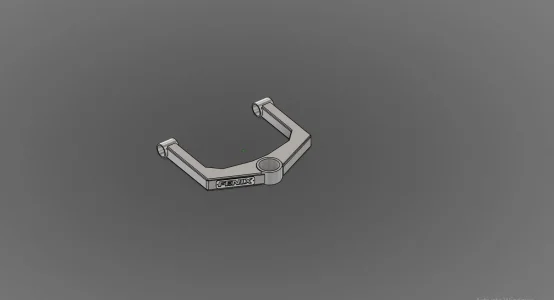
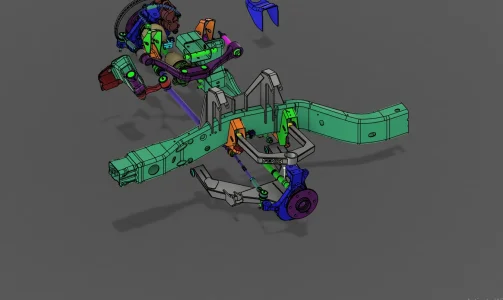
I've been working on this "+2" kit for the GMT800 4WD platform. It actually measures out to 1.875ish inches. Why? Because the GMT900 axles are 1.875 inches longer than the GMT800's and they bolt right in. I'm not a huge fan of the shock towers and will probably end up redesigning them, additionally I may need to move the lower bracket for the bypass since it gets pretty close to hitting the wheel at full lock.
This kit will be good for 10in of travel at least but possibly up to 13in, I still need to verify CV angles for that much travel, although trakmotive makes an "extended travel" cv axle that may be an option if I want the extra travel.
I'm trying to shoehorn the bypass on there as well as a hydrobump. Both C/O and Bypass will be 2.5x8.
Minus the new shock towers and the hydrobump, this would be a bolt on kit for the 99-06 GM Half tons.

What are the upper inner pivots?I've been working on this "+2" kit for the GMT800 4WD platform. It actually measures out to 1.875ish inches. Why? Because the GMT900 axles are 1.875 inches longer than the GMT800's and they bolt right in. I'm not a huge fan of the shock towers and will probably end up redesigning them, additionally I may need to move the lower bracket for the bypass since it gets pretty close to hitting the wheel at full lock.
This kit will be good for 10in of travel at least but possibly up to 13in, I still need to verify CV angles for that much travel, although trakmotive makes an "extended travel" cv axle that may be an option if I want the extra travel.
I'm trying to shoehorn the bypass on there as well as a hydrobump. Both C/O and Bypass will be 2.5x8.
Minus the new shock towers and the hydrobump, this would be a bolt on kit for the 99-06 GM Half tons.
View attachment 46916
Fenix Motorsports
Active member
Just a standard poly or delrin bushing for now, I may offer a heim joint upper later on once I go through testing and see if this kit is viable as a good product.What are the upper inner pivots?
RadoNoah
Member
- Joined
- Jul 24, 2022
- Messages
- 53
Im extremely excited for this! Definitely the best mid travel/in between to a full LT kit. With the bypass it should be leaps ahead of stock raptor performance and not having to run fiberglass is a huge perk for me on these trucksI've been working on this "+2" kit for the GMT800 4WD platform. It actually measures out to 1.875ish inches. Why? Because the GMT900 axles are 1.875 inches longer than the GMT800's and they bolt right in. I'm not a huge fan of the shock towers and will probably end up redesigning them, additionally I may need to move the lower bracket for the bypass since it gets pretty close to hitting the wheel at full lock.
This kit will be good for 10in of travel at least but possibly up to 13in, I still need to verify CV angles for that much travel, although trakmotive makes an "extended travel" cv axle that may be an option if I want the extra travel.
I'm trying to shoehorn the bypass on there as well as a hydrobump. Both C/O and Bypass will be 2.5x8.
Minus the new shock towers and the hydrobump, this would be a bolt on kit for the 99-06 GM Half tons.
View attachment 46916
Fenix Motorsports
Active member
I'm actually working on trying to 3D print the arms before I cut them on the plasma table since the fitment is pretty tight on the bypass, but I'm pretty sure its going to work out, however I've got two more ideas if it doesn't fit.Im extremely excited for this! Definitely the best mid travel/in between to a full LT kit. With the bypass it should be leaps ahead of stock raptor performance and not having to run fiberglass is a huge perk for me on these trucks
Is there any info on your truck here?Im extremely excited for this! Definitely the best mid travel/in between to a full LT kit. With the bypass it should be leaps ahead of stock raptor performance and not having to run fiberglass is a huge perk for me on these trucks
Id like to see it with johnny joint style uppers and a rebuildable ball joint. Kinda like what 74Weld does.
RadoNoah
Member
- Joined
- Jul 24, 2022
- Messages
- 53
Is there any info on your truck here?
Id like to see it with johnny joint style uppers and a rebuildable ball joint. Kinda like what 74Weld does.
My name is Noah i am also known as RadoNoah
Truck Information
Model: 2007 Chevy Silverado Classic 4wd Z71
Engine: 5.3 L59
Transmission: 4L80e W/ 2800 stall Cicle D Converter and Trucool 40k Transmission cooler
Body/Exterior: Extended Cab Short Bed
Suspension: Front: JD Fabrication 4wd gen 1 Long travel kit, Carbon 2.5x10 Coilovers and 2.0x2 bumps
Rear: 9.5" SF 14 bolt, Deaver F87, CWF Shackles and hangers, Bilstein 5100's
Exhaust: Speed Engineering 1" 7/8 Long...
- RadoNoah
- Replies: 21
- Forum: Prelander, Prerunners, Race Truck Builds
Fenix Motorsports
Active member
The upper control arm is a uniball at the upright, the lower is currently a balljoint due to clearance issues on the stock spindle, I do want to experiment and see if I can get around those clearance issues though.Id like to see it with johnny joint style uppers and a rebuildable ball joint. Kinda like what 74Weld does.
Similar threads
- Replies
- 5
- Views
- 634
- Replies
- 6
- Views
- 601
- Replies
- 55
- Views
- 1K

