got it back from wiring. i will take some shots soon and post them. looks very clean and he stub out some wires for future (truck is never done). got it started but had to shut it down because the right side was getting supper hot in just minuets. getting the cats real hot. took the injectors out and had them sonic clean/flow tested. seemed fine. i don’t have time to mess with it this week so i took it to a shop that i have worked with.
will see.
still have to transfer the AC Freon stuff over, finish the exhaust, adjust the gate shifter, a little trans work, and a few other small things. hopefully ready for baja 500.


minor up date but a long some what hard one to get completed for me at least is the speedo. on these newer motors are a big pain in the ass. the speedo controls or helps control the ABS (if you have it (mine does not)), air/fuel, shifting on auto trans, all 3 oxi sensors, odometer and most likely a few others depending on year/make of motor/computer you are working with.
i was some what luck in that all the time i did not have it working that my trans still worked and that i did not wast my oxi. sensors or damaged the motor any.
any ways, here is how i finally got it to work.
everyone said i needed a new VSS tone ring and attach it to the out put of drive shaft. so that was the direction i was going in. i had lots of help on here from drawing/redrawing a tone ring. i even had some one send me a extra one (thanks RCMracer74). all seemed to not work for some minor reason or another. when i did get one on, the drive shaft was way out of balance.
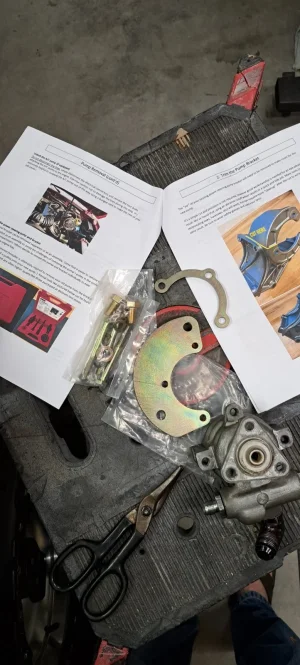
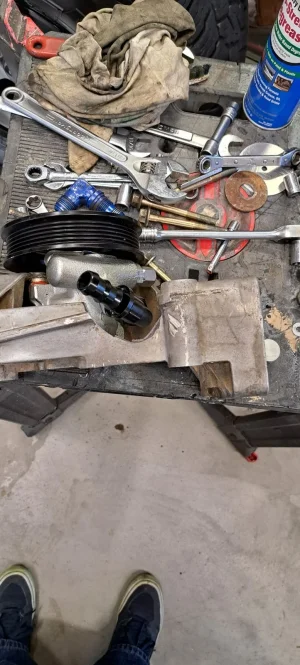
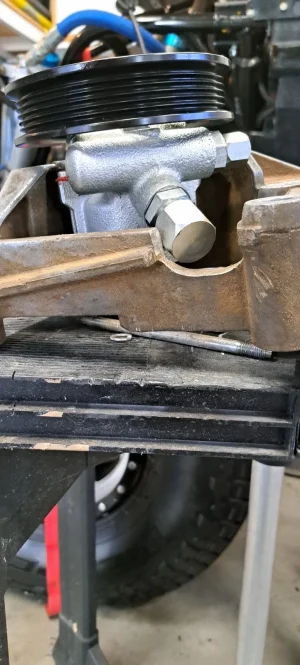
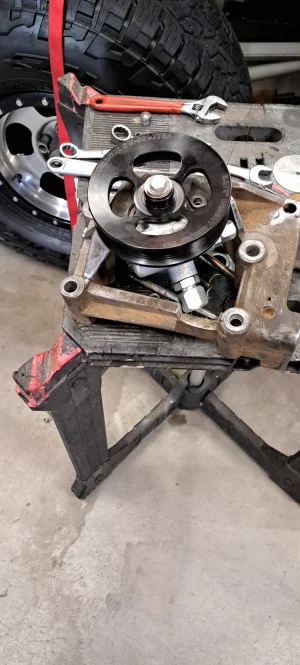
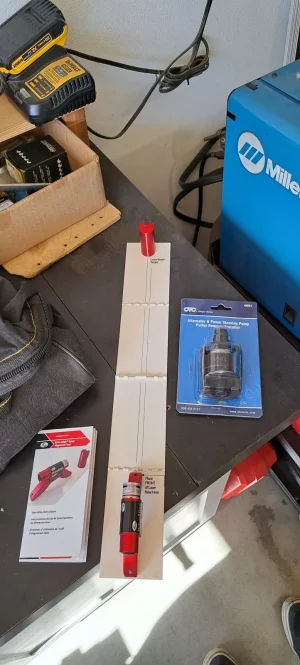
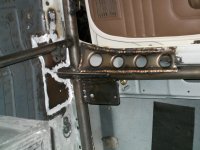
sooo, on my input slip yoke to the trans i have a "damper" thing like a engine damper. the outer ring on it is about 1/2" metal and the rest is rubber. so i took off the input shaft, took it to a machine shop and had them cut groves in it. i ended up with 24 groves. rebalanced the shaft. and thanks to the privies owner (meximike) he already had the bracket for the sensor. had to space it just right, had my wire guy jack at jacks motorsports wire it up. he picked up a Dakota speedo interface module that has almost infinite adjustment and wired it up.
now i have a speedo with adjustments for any gear/tire combo. i got it within .5mph at 65mph compared to my gps.
Speedometer & Tachometer Interfaces i think it was about $90-$100
one more step closer to getting through the state ref.


![P070610123853[1].jpeg](https://dezertrangers.com/forum_/data/attachments/69/69193-1c68875c09dddb5b31f26c20a37f0f24.jpg "P070610123853[1].jpeg")
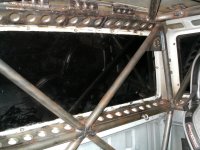
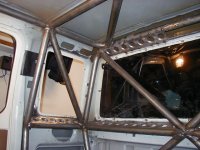
![P070610123735[1].jpeg](https://dezertrangers.com/forum_/data/attachments/69/69194-a71ded4e68d46224dd526bf95edf4b32.jpg "P070610123735[1].jpeg") i wish i could make it more quite inside. i found 2 cracks in the fire wall after pulling the motor that i am welding up. i wonder if that was making us a little fatigue and or headaches with fumes. there not very big.
i wish i could make it more quite inside. i found 2 cracks in the fire wall after pulling the motor that i am welding up. i wonder if that was making us a little fatigue and or headaches with fumes. there not very big.![P071410110713[1].jpeg](https://dezertrangers.com/forum_/data/attachments/69/69411-1b5282a54e9023a309bd8c1a53f01bb6.jpg "P071410110713[1].jpeg")
![P071410110855[1].jpeg](https://dezertrangers.com/forum_/data/attachments/69/69412-02046fd87414a1908db6bc9df1f80418.jpg "P071410110855[1].jpeg")
![P071410110537[1].jpeg](https://dezertrangers.com/forum_/data/attachments/69/69413-1e882483b3a3a58bc1ebbcd206053d5f.jpg "P071410110537[1].jpeg")
![P071410110303[1].jpeg](https://dezertrangers.com/forum_/data/attachments/69/69414-777be792b2c85931994050000a2008bb.jpg "P071410110303[1].jpeg")


![P072810111202[1].jpeg](https://dezertrangers.com/forum_/data/attachments/71/71795-8d39ad9dfd650b285608fbec6b6243ae.jpg "P072810111202[1].jpeg")


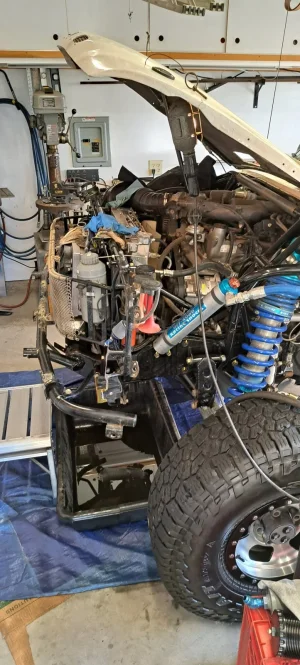
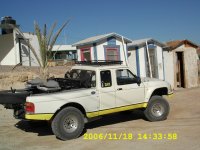
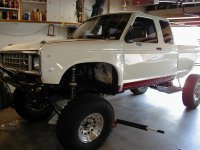
 Ok the truck come home from the auto shop were I was doing most of the fitment and some of the plumbing. Now it is in my shop (backyard).


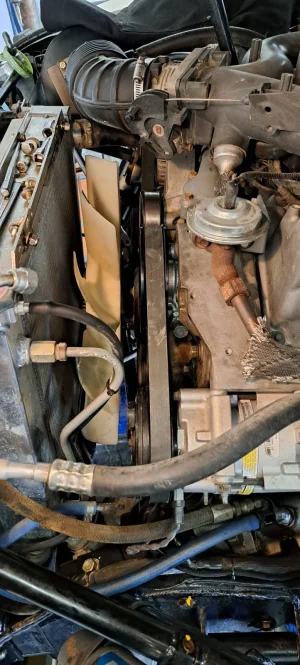
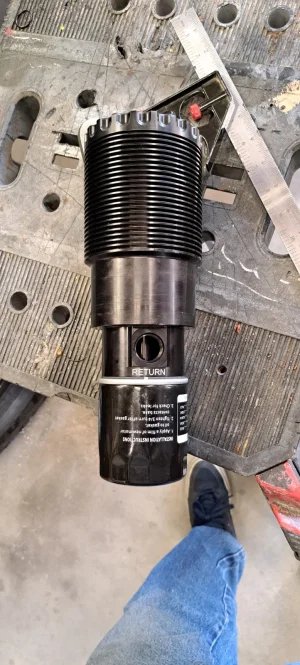
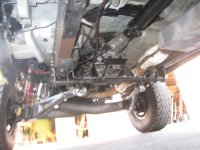
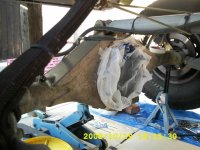
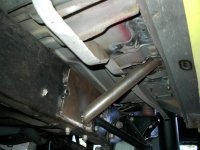
 ok, a little update, question, what is this little "bowl" type thing that is mounted on my frame rail fuel line? it was stock on my ranger. i took it apart once and it is just like a little "reservoir". do i still need it? i am re-pluming my fuel cell and line up to the motor.