brock.spiels211
New member
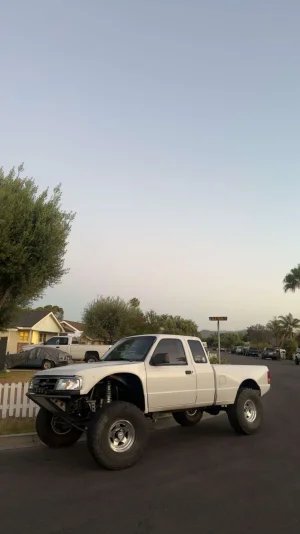
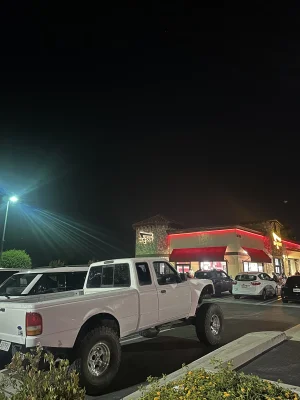
Decided today's the day to start posting my ranger I have been working on for the last year and share with everyone my progress, I bought this truck when I was 16 for 500$ which I realized was a neighbor after texting him, the description of it had said "blown motor needs work or new motor" - other than that - the truck had good bones for what I wanted and oh boy did that spiral. 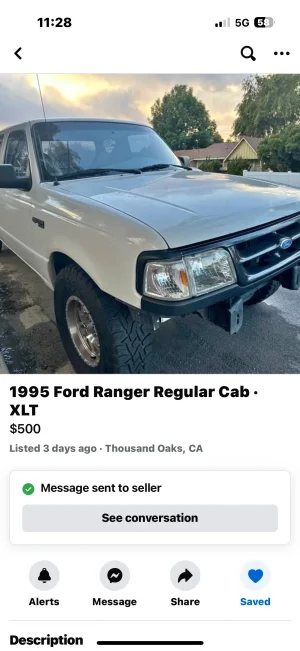
I ended up picking up the truck a day later with my dad, and towed it straight to my grandpas house.
-
Fast forward a couple weeks of car washing and saving some money and I bought a stock 3.0 v6 to register it and get it running and have a sweet little truck for a bit
Got straight to work
Out with the old in with the new is what they say.
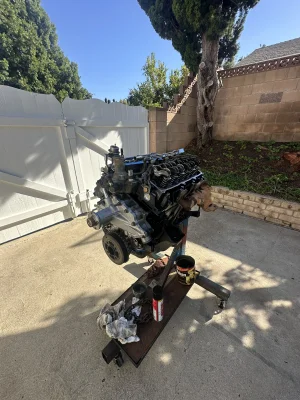
Took about 2 months of after school and weekends to get this in running and wired correctly.
Before I even got it running I found a set of beams radius arms brakes fenders and a basically whole front end for a killer deal.
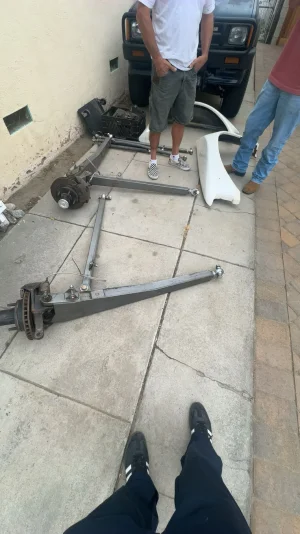
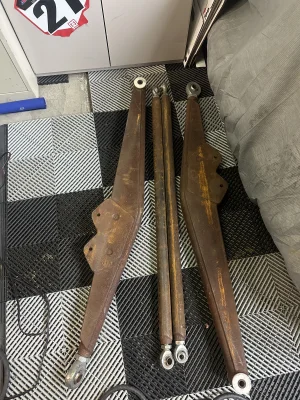
Some og thrasher threat beams. Super beef.
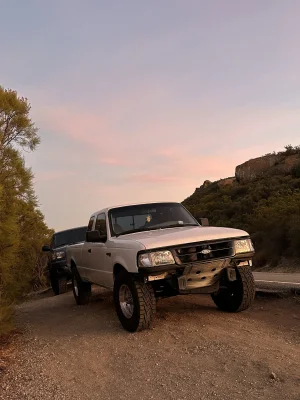
Ziptied a street sign on and thought I had a pre runner - drove the hell out of it as it was for about 3 months while I was saving for shocks bumps stops limit straps steering and etc.
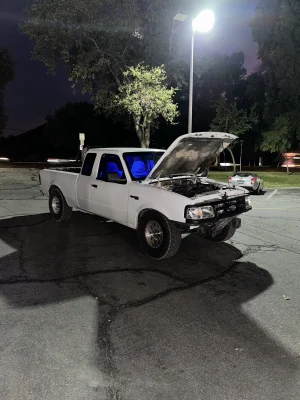
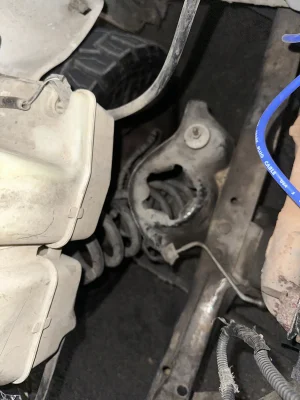
Thought I had a pre runner and jumped it 10 feet turns out coil buckets aren't suitable.

And got a little happy and cut everything off
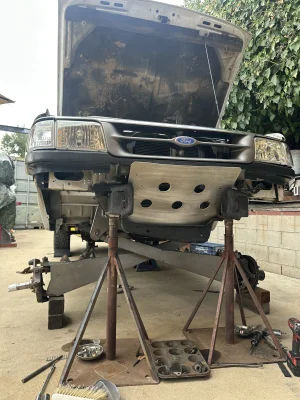
This First look at how big these beams really were, and I was beyond excited to get this thing running and driving.
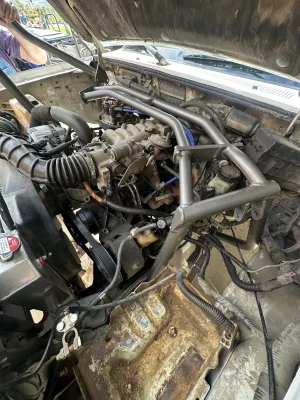
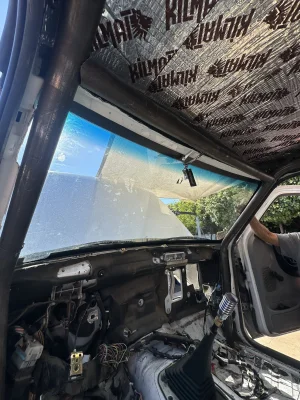
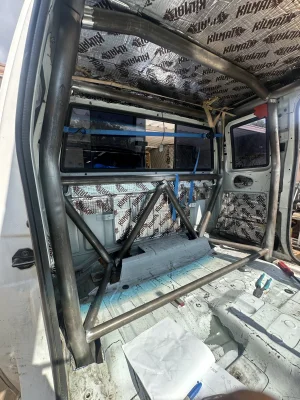
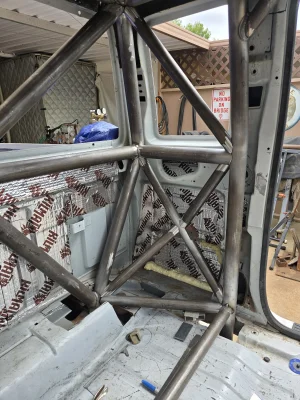
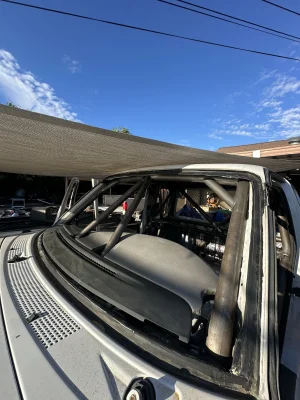
Giant engine cage, thanks Geoff! Stopped by his house on the way home from a mountain bike race and grabbed this thing. Great base but I want to go further in the future, works great as it is right now.
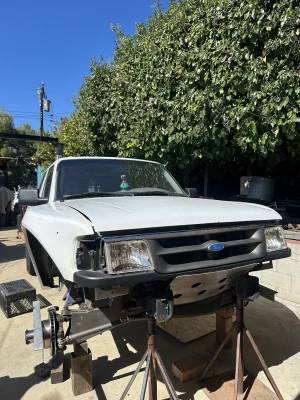
Fenders , some steering and some progress
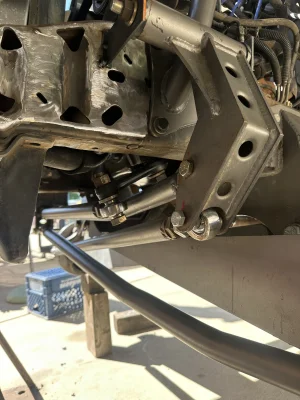
First tacs on sterring, not even close tried to get it right about 30 more times, ifykyk

Shocks on and steering finalized next up final steering mounting and bumps stops and bump cans
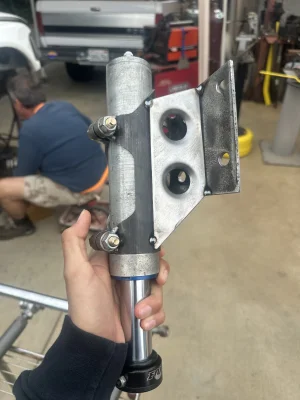
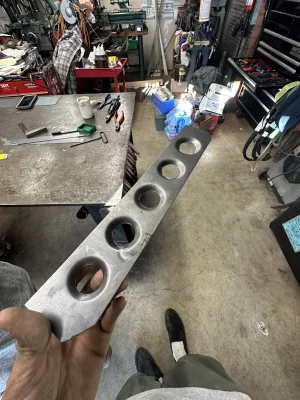
My uncle has helped so much with this whole build and this is what we made for the bump stop cans that mount on top the beam pivots! As he would say - super trick -
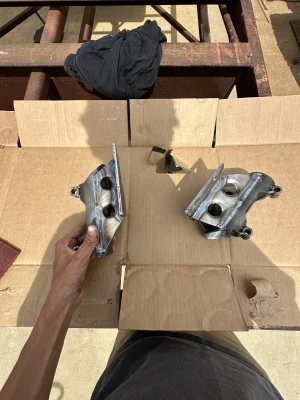
So sick thanks uncle Jeff.
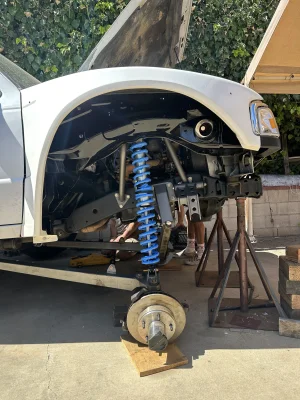
Rotors and springs on - got the shocks from accutune suspension - cause I didint have much connections at the time.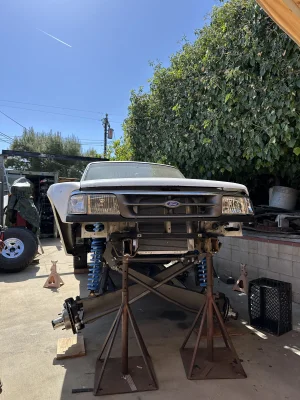
Full droop so beefy
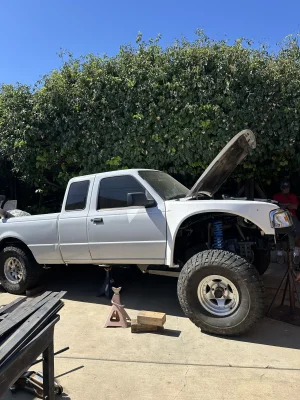
Wheels and tires on just some old general grabbers and the most period correct wheels possible the ar23 inspiration from Cole Taylor
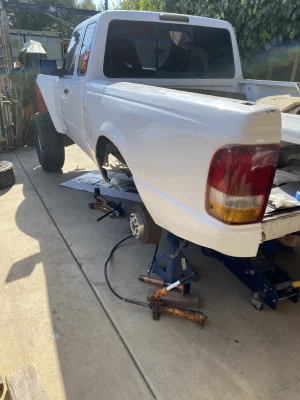
Flared the stock bedsides super clean one of my favorite things done on this thing, eventually bedsides but this was just for the time being to get it able to drive around and feel it out for the first time
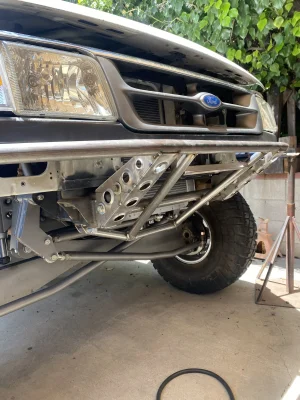
Started on bumper and got it mocked up, so clean!

I ended up picking up the truck a day later with my dad, and towed it straight to my grandpas house.
-
Fast forward a couple weeks of car washing and saving some money and I bought a stock 3.0 v6 to register it and get it running and have a sweet little truck for a bit
Got straight to work

Out with the old in with the new is what they say.

Took about 2 months of after school and weekends to get this in running and wired correctly.
Before I even got it running I found a set of beams radius arms brakes fenders and a basically whole front end for a killer deal.

Some og thrasher threat beams. Super beef.

Ziptied a street sign on and thought I had a pre runner


Thought I had a pre runner and jumped it 10 feet

And got a little happy and cut everything off

This First look at how big these beams really were, and I was beyond excited to get this thing running and driving.

Giant engine cage, thanks Geoff! Stopped by his house on the way home from a mountain bike race and grabbed this thing. Great base but I want to go further in the future, works great as it is right now.

Fenders , some steering and some progress

First tacs on sterring, not even close tried to get it right about 30 more times, ifykyk

Shocks on and steering finalized next up final steering mounting and bumps stops and bump cans

My uncle has helped so much with this whole build and this is what we made for the bump stop cans that mount on top the beam pivots! As he would say - super trick -

So sick thanks uncle Jeff.

Rotors and springs on - got the shocks from accutune suspension - cause I didint have much connections at the time.

Full droop

Wheels and tires on just some old general grabbers and the most period correct wheels possible the ar23 inspiration from Cole Taylor

Flared the stock bedsides super clean one of my favorite things done on this thing, eventually bedsides but this was just for the time being to get it able to drive around and feel it out for the first time

Started on bumper and got it mocked up, so clean!

