3RD GEN 4 RUNNER

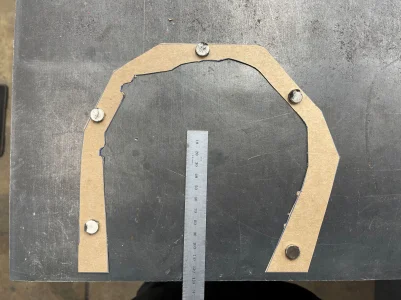
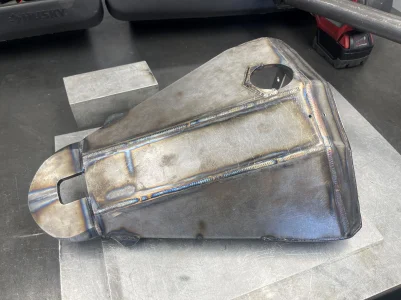
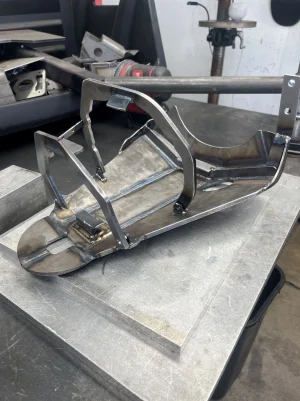
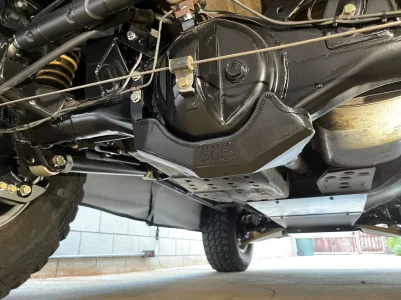
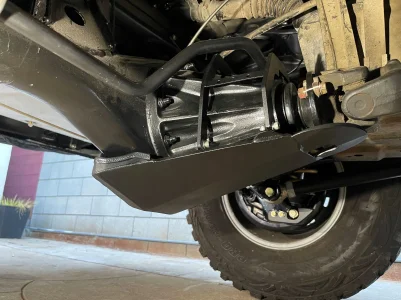
Whipped up skid plate as well; debated a lot about mounting it and the different ways others are done. Opted to use some pickup points at the rear up the pumpkin, and a mix of 'clamping' as well. Started out with some templates to clear around the R&P.
IMG_1106.JPG

Added in some small drain holes, as well as a bit more material at the front side of the drain plug cutout.
IMG_1140.JPG


IMG_1138.JPG

IMG_1144.JPG

IMG_1147.JPG
 
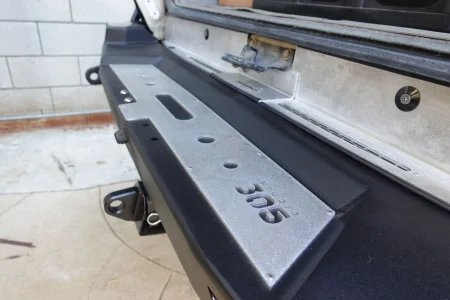
With tidying things up at the rear of the vehicle and moving into mounting the rear bumper, I needed to get the rear lights/antenna/whip mounts finished up. I'd originally built these out when it had the stock bumper on the rear, but with the updated change to the BA rear bumper, I had to make some changes.

As with most things, chipboard mock-ups are vital and helped me establish the curve just under the taillight.
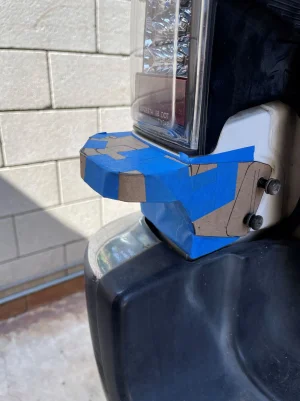
IMG_0033.JPG

Getting the initial baseplates tacked up and working inward from there.
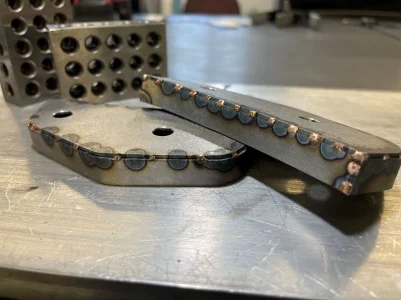
IMG_1230 2.JPG

Given that these could serve as CB antenna mounts or rear light mounts, I didn't fully trust them hanging off the hatch bumper bolts and decided to build a small support under them. It was at about this time I got the news of the change of bumpers - glad I didn't drill into the OEM bumper haha.
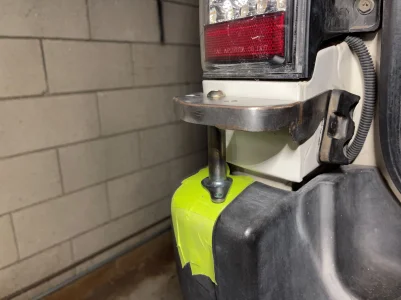
IMG_1146.JPG

Fast forward like 9 months later, and the bumpers landed and I was sent home with an initial prototype to start chopping up. These are for the 5th gen 4 Runners, so they're about 9 inches wider between the outermost 'wings'; I'd have to cut out the center and get it to sit closer.
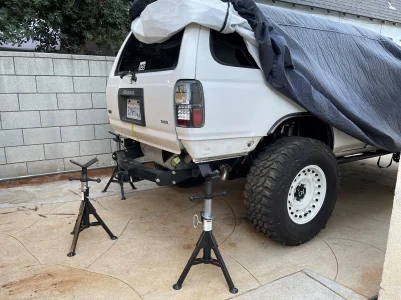
IMG_0785.JPG

Finding the centerline so I can make the cuts and get it to sit closer to the body.
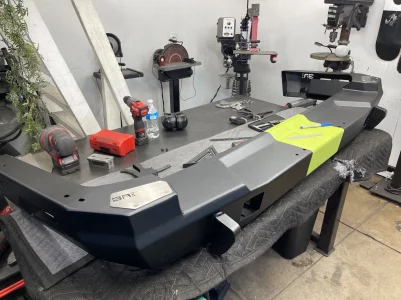
IMG_0788.JPG

No going back now...it's just metal after all haha!
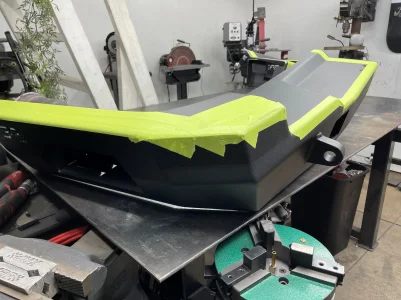
IMG_0805.JPG

Got it tacked up, verified fitment and took some more measurements.
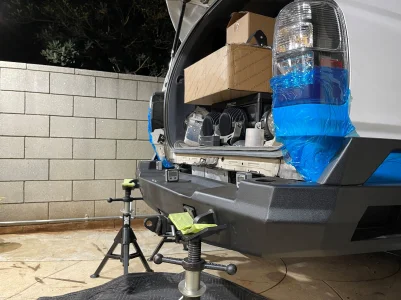
IMG_0882.JPG

Built out some bumper mounts - with the bumper having opposing slotted holes, I added some in the bracket in order to finalize fitment as close as possible.
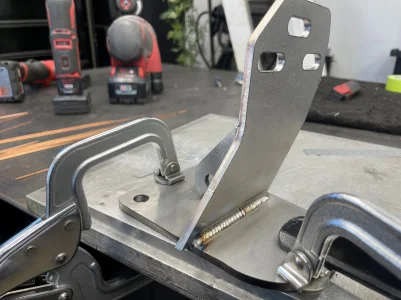
IMG_0936.JPG

Got the mounts back from powder and got the bumper sitting just right.
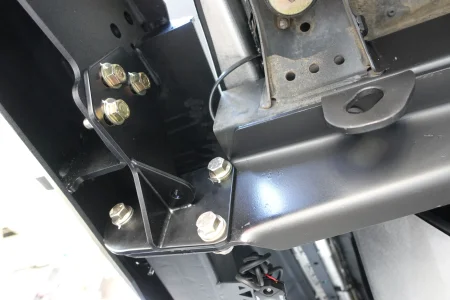
DSC00219.JPG

I started roughing out and fitting up a trim panel to bridge the gap between the bumper and the lower latch area. The difference between where the 3rd and 5th gens lie are quite a bit different. Also had a trim panel cut out for the top of the bumper.
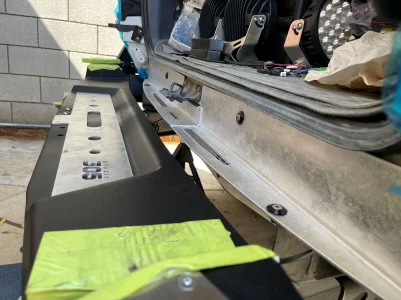
IMG_1042.JPG

At the forward most edge is a slotted bracket that helps brace the front of the bumper. Although pretty stout without it, I opted to add it in so there's minimal deflection up there.
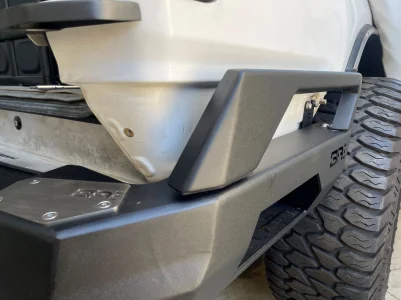
IMG_1084.JPG

I then added some standoffs on the side of the body and cut/bent up a trim panel to cover and fill the gap a bit better.
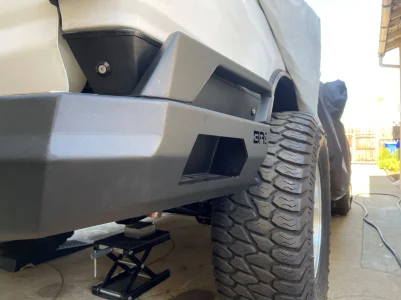
IMG_1091.JPG

DSC00213.JPG
 
That's a good amount of little panels and "finish work" for that bumper to work but it looks awesome dude
 
Really cool build! That is a VERY OLD TC kit. Not that anyone cares but I can tell by the upper arm uniball cup. I would guess this kit is circa 2002-2005 because it has Kar Tek uniball cups which we used to use before having the machine shop across the parking lot make us our own uniball cups. Kar Tek Cups are 2.5" OD and our newer ones are 2.625" OD. Like I said not that anyone cares its just something I though was interesting. Also I'd recommend putting a wrap or some type of gusset connecting the 1.5" tube to the lower arm pivot. Reason being that this arm wasn't designed to have a hydraulic bum strike the lower arm and I've seen the tube crack and break off of the pivot in the past. PM me and I can get you the gussets we used before discontinuing our tubed lower arms so you can weld them on if you'd like.
 
And actually, I take that back about how old the kit is. As I look closer, it does have a total chaos spec uniball cup
 
Really cool build! That is a VERY OLD TC kit. Not that anyone cares but I can tell by the upper arm uniball cup. I would guess this kit is circa 2002-2005 because it has Kar Tek uniball cups which we used to use before having the machine shop across the parking lot make us our own uniball cups. Kar Tek Cups are 2.5" OD and our newer ones are 2.625" OD. Like I said not that anyone cares its just something I though was interesting. Also I'd recommend putting a wrap or some type of gusset connecting the 1.5" tube to the lower arm pivot. Reason being that this arm wasn't designed to have a hydraulic bum strike the lower arm and I've seen the tube crack and break off of the pivot in the past. PM me and I can get you the gussets we used before discontinuing our tubed lower arms so you can weld them on if you'd like.
Appreciate the info man! PM Sent
 
Back
Top