4XForOffroad
Well-known member
What do you have for a welder - is it 110V or 220? Could use more wire speed and more voltage and slower movements, do you have any stuff you can practice on? Besides the truck I mean.
It’s a 220 I think I was having an issue because I didn’t clean the metal before welding so I’m just going to tack everything and make sure everything cycles correctly and then pull the arms off and weld it with nothing in my wayWhat do you have for a welder - is it 110V or 220? Could use more wire speed and more voltage and slower movements, do you have any stuff you can practice on? Besides the truck I mean.

Copy that I’ll look into another setJust a heads up those bump stops like to explode, it was to the point where I would keep a spare in my truck. The red urethane ones seemed to last a bit longer than the black though.
Looks awesome though, rad to see another second gen
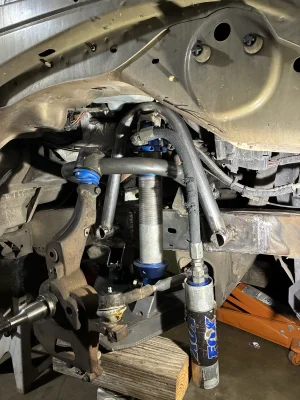
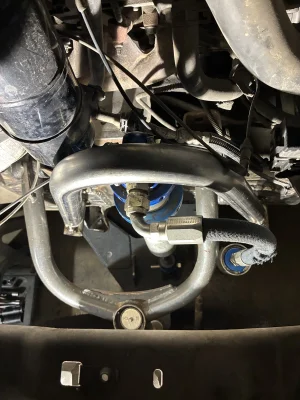
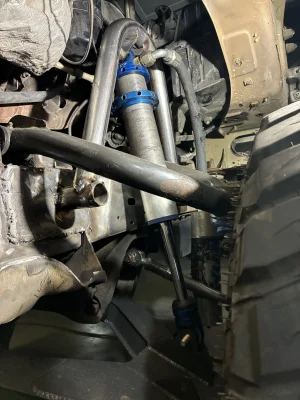
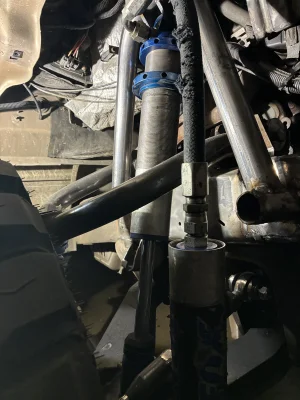
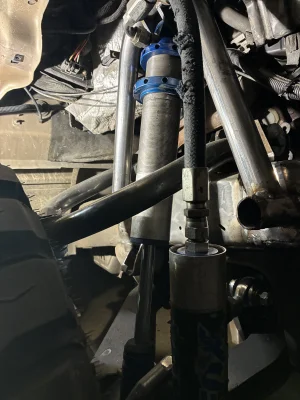
Ill check it out good thing everything is just tacked lolI think the shock needs to be mounted higher. That bump stop is able to compress a bunch more than what you have it compressed right now. So at bump all your load is gonna be in your shock mount


Copy that as soon as I have everything welded up I’ll go through it and see what I should probably put gussets on. Also after the towers are in will be putting in a brace over the engine to support the towers to keep from bowingLooks cool! I wish we got rid of Marshall's wiper fluid bottle - it would have been so much easier haha.
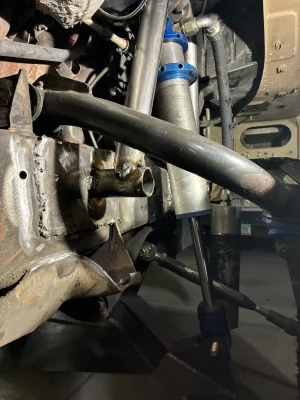
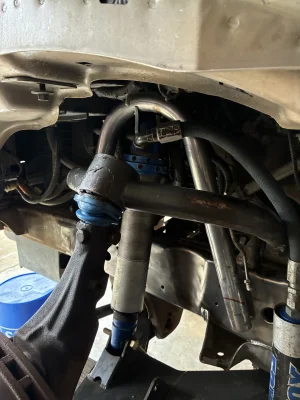
I think you're going to want to add a gusset of some sort to the stub tubes coming off the frame with how far away from the frame you put the shock hoop tube.
View attachment 48572
Copy that as soon as I have everything welded up I’ll go through it and see what I should probably put gussets on. Also after the towers are in will be putting in a brace over the engine to support the towers to keep from bowing
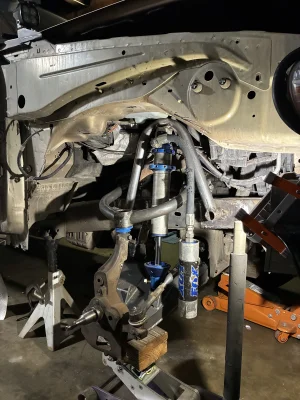
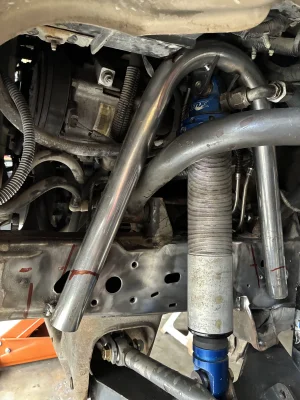
Copy that dude I’ll try and make that happen as well thanks manAnother thing that was taught to me, and makes sense, is to add a third leg from somewhere on the upper portion of your shock hoop to the top of the frame. It makes your shock hoop a tripod instead of a bipod and adds a significant amount of strength
I was wondering what if I through in the gussets under the stub outs and some from the back side for the shock tower to the frame? Would that work as well? Of I didn’t have time to throw in a third leg and then down the line put one in? I’m really trying to get this thing ready for koh the 30th-1st? If I don’t make it not a big deal tho.Another thing that was taught to me, and makes sense, is to add a third leg from somewhere on the upper portion of your shock hoop to the top of the frame. It makes your shock hoop a tripod instead of a bipod and adds a significant amount of strength
I was wondering what if I through in the gussets under the stub outs and some from the back side for the shock tower to the frame? Would that work as well? Of I didn’t have time to throw in a third leg and then down the line put one in? I’m really trying to get this thing ready for koh the 30th-1st? If I don’t make it not a big deal tho.
You'll be fine without the third leg for a weekend. Can always add it later.
Having it down low won't help as much. Think of standing with your feet shoulder width apart (the frame mounts of your shock hoops). Someone pushes your shoulders from behind and you have to step forward. Now you have a toddler in front of you holding your shin. Someone pushes your shoulders again. It's a little stronger, but you'll still push past the toddler and take a step forward. Now instead of the toddler, you have a shovel that you've got your hands and chest leaning against, and the blade is dug into the ground. Someone pushes your shoulders, what's gonna happen?
10/4You'll be fine without the third leg for a weekend. Can always add it later.
Having it down low won't help as much. Think of standing with your feet shoulder width apart (the frame mounts of your shock hoops). Someone pushes your shoulders from behind and you have to step forward. Now you have a toddler in front of you holding your shin. Someone pushes your shoulders again. It's a little stronger, but you'll still push past the toddler and take a step forward. Now instead of the toddler, you have a shovel that you've got your hands and chest leaning against, and the blade is dug into the ground. Someone pushes your shoulders, what's gonna happen?