Exploder_M
Well-known member
- Joined
- Apr 18, 2022
- Messages
- 187
Copying this over from that forbidden website.
Sept 1, 2020
So I'm a Chevy guy and always have been. When I was in high school I saw this rad explorer always cruising around town with a major California lift and HID headlights. I loved the look of that explorer and thought that it would be cool to own one but it's a ford and all my friends would talk trash because they all knew I hated fords.
Fast forward to a couple years ago one of my friend's brother in law had a 1999 explorer that was just about ready for the junkyard with multiple problems. We were all sitting at the table and he said "hey Marshall do you want to buy it? How about for $750 bucks?" All of a sudden it seemed like it got quiet in the room and all my friends were saying "Do it!" My friends brother in law and I shook hands, he said "sold!", and that's how I bought my first ford.
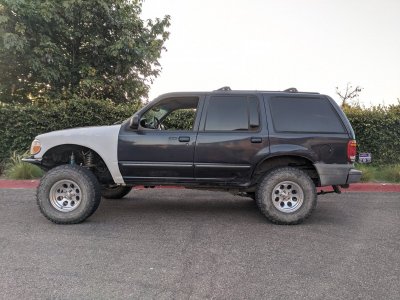
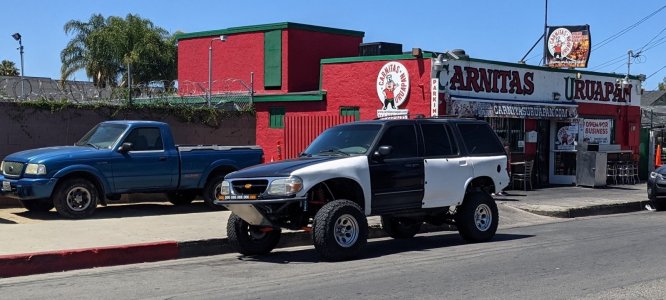
Here it is when I first got it
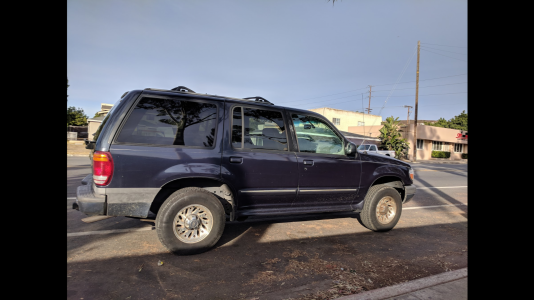
It had 3 different kinds of tires, 2 different kinds of wheels, check engine light on, ac barely worked, drivers seat and center armrest tore up, interior filthy, multiple oil leaks, when cold it only started if you gave it throttle, the radios screen didnt work, drivers side left speaker didnt work, one door wouldnt open, multiple latch problems, tranny would shudder when shifting into forward or reverse, broken foglights, alignment shot, no spare tire, missing jack handles, all brakes shot, entire front end suspension wore out etc..
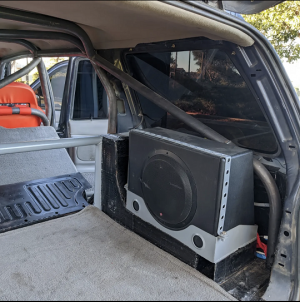
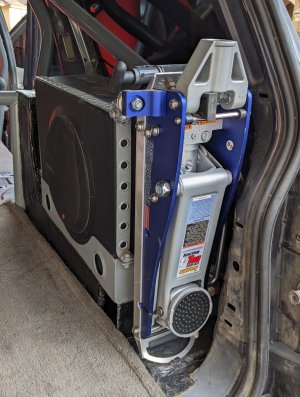
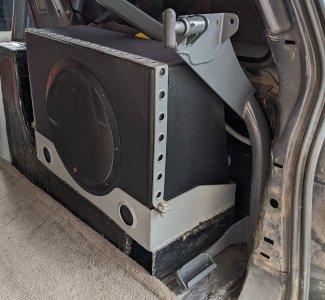
The list went on and on, kind of like my sentence. So the first thing I did was maintenance items such as fluid changes and cleaned up the interior. I scanned the codes and found both banks lean. Yanked both upper and lower intake manifolds, replaced respective gaskets, and check engine light disappeared. I spent many saturdays at multiple junkyards to find missing pieces and then got the seat and center armrest re-upholstered. Then I got the windows tinted and slapped in a double din dvd radio with a little boom boom in the rear cargo area.
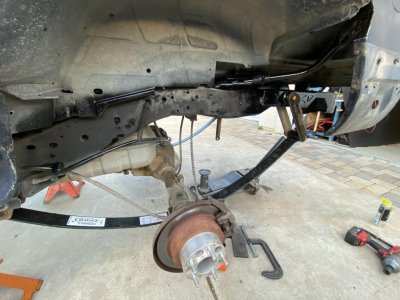
I drove it around for a few months and It was coming time to get the worn out front end situation sorted out. I got all new ball joints, brakes(both front and rear), and tierod ends. Boy she drove nice and smooth now.
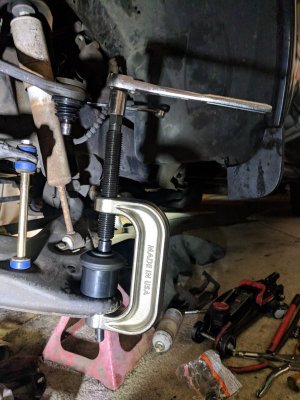
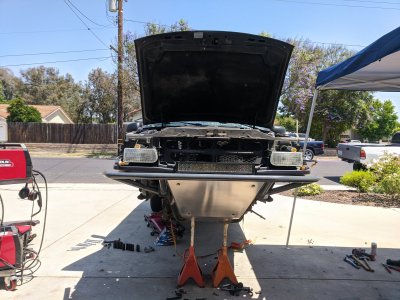
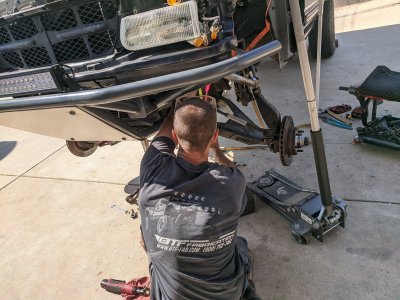
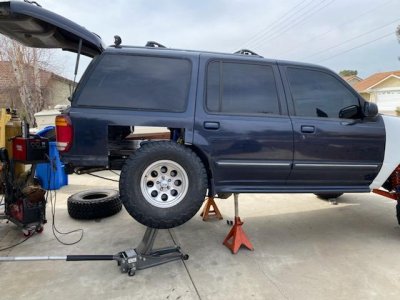
Yes I represent USA tools and those are USA jack stands too, not no harbor freight cracking junk.
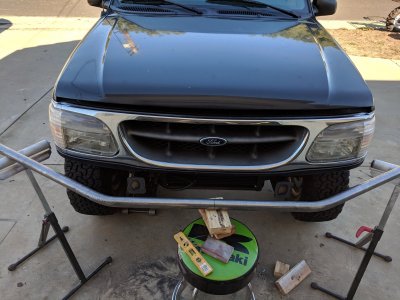
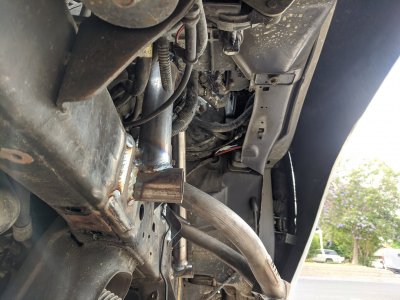
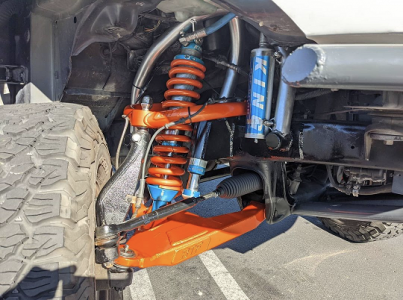
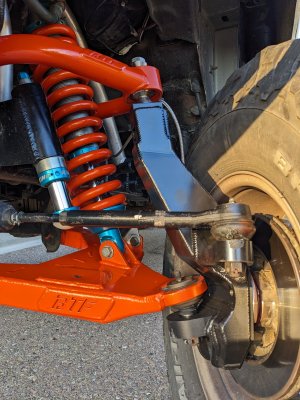
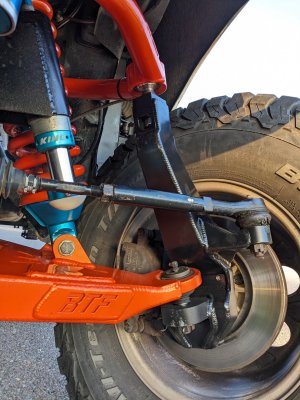
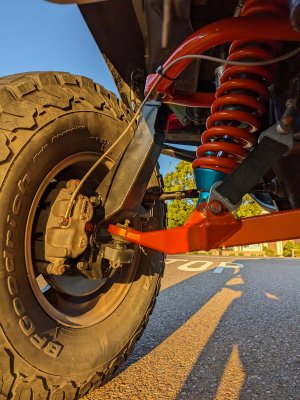
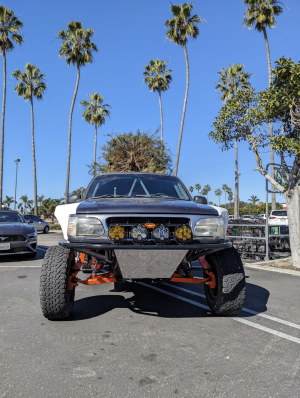
Then it happened, the bug hit, I needed that California lift that I remember seeing in high school. So I called up Brandon at BTF and got the maxtrac lift spindle coming. BTF is a great company with great products and I highly recommend them to anyone.
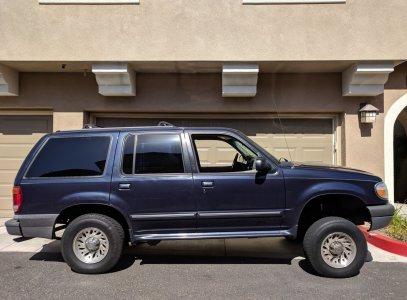
Now that we got that out of the way, the tires needed addressing/ a dressing, get it? hahaha
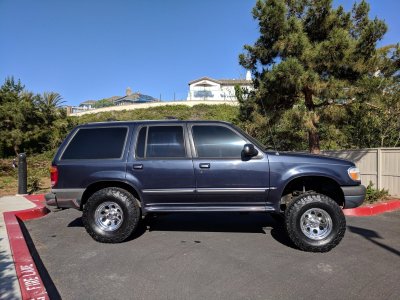
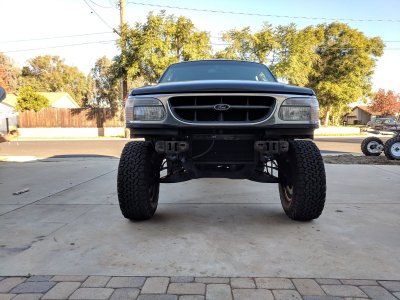
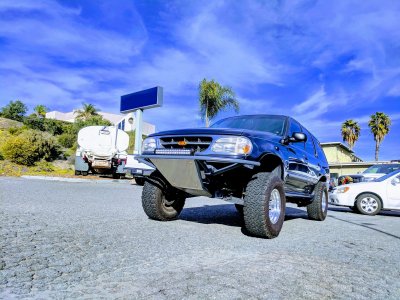
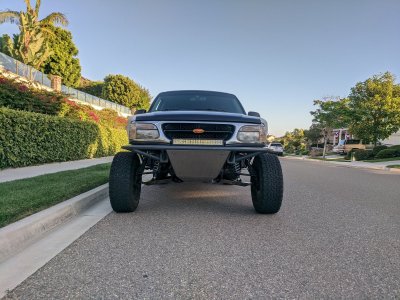
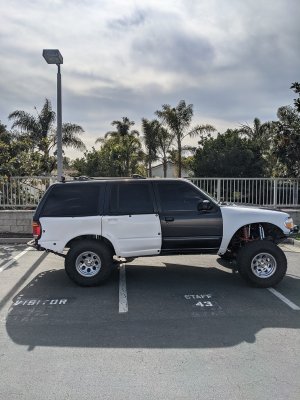
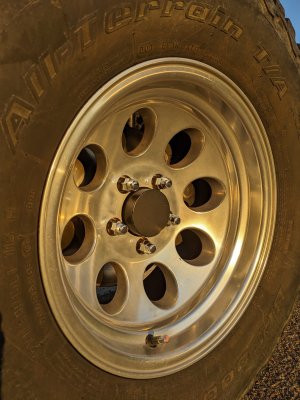
So after a lot of research of what would fit without rubbing I got some 32 X 11.50 15" bfg all terrains. Originally wanted mud terrains but they dont make them in this size. Now she rode super smooth, straight, and with style.
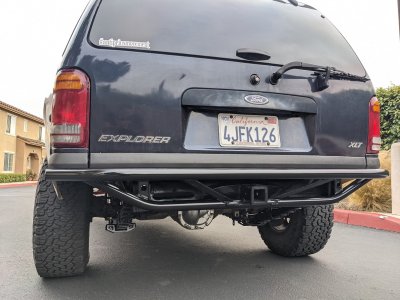
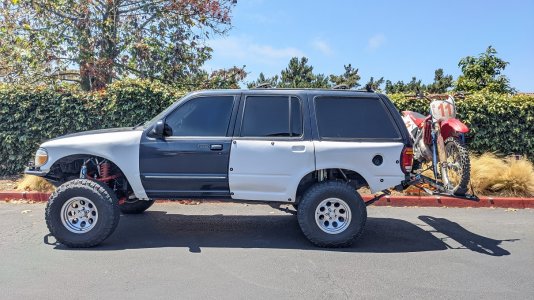
Of course all the comments started flying at me from everyone saying "you need to lift the back" "its dragging on the ground" etc. In all honesty, I did need to have the back lifted due to the main reason I bought this vehicle that I forgot to mention from the beginning. It has a tow hitch and I had plans for that tow hitch. I had these kinds of plans,
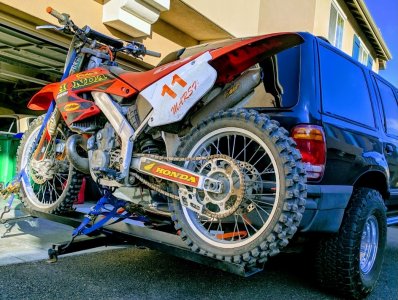
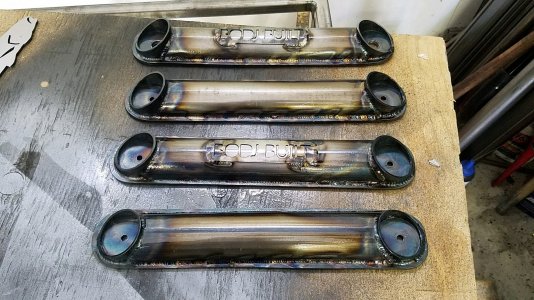
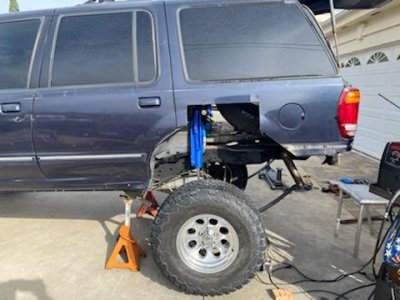
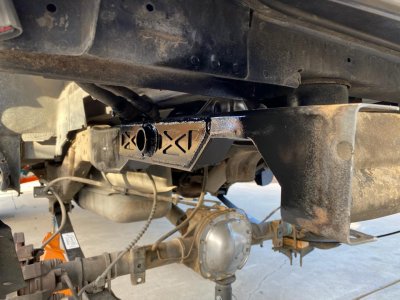
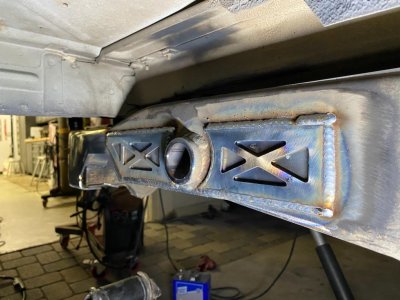
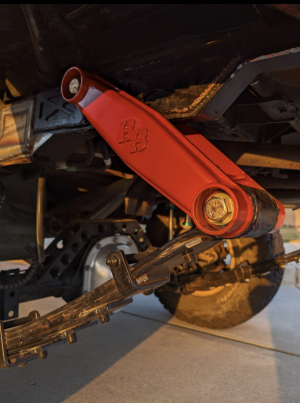
The way I made this happen was ask my good friend the bodj (he does awesome work) to make me some lift shackles. 10" center to center bolt hole shackles was what we settled on and he tig welded up some beautiful works of art. Even to this day I havent painted them (just some clear coat so they dont rust) so I can look at that fine work.
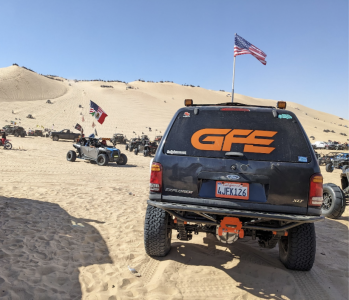
This was the end of the first major stage. I had a working truck to load my dirtbike on, take it to the desert, and sleep in the back if needed.
Sept 1, 2020
So I'm a Chevy guy and always have been. When I was in high school I saw this rad explorer always cruising around town with a major California lift and HID headlights. I loved the look of that explorer and thought that it would be cool to own one but it's a ford and all my friends would talk trash because they all knew I hated fords.
Fast forward to a couple years ago one of my friend's brother in law had a 1999 explorer that was just about ready for the junkyard with multiple problems. We were all sitting at the table and he said "hey Marshall do you want to buy it? How about for $750 bucks?" All of a sudden it seemed like it got quiet in the room and all my friends were saying "Do it!" My friends brother in law and I shook hands, he said "sold!", and that's how I bought my first ford.
Here it is when I first got it

It had 3 different kinds of tires, 2 different kinds of wheels, check engine light on, ac barely worked, drivers seat and center armrest tore up, interior filthy, multiple oil leaks, when cold it only started if you gave it throttle, the radios screen didnt work, drivers side left speaker didnt work, one door wouldnt open, multiple latch problems, tranny would shudder when shifting into forward or reverse, broken foglights, alignment shot, no spare tire, missing jack handles, all brakes shot, entire front end suspension wore out etc..
The list went on and on, kind of like my sentence. So the first thing I did was maintenance items such as fluid changes and cleaned up the interior. I scanned the codes and found both banks lean. Yanked both upper and lower intake manifolds, replaced respective gaskets, and check engine light disappeared. I spent many saturdays at multiple junkyards to find missing pieces and then got the seat and center armrest re-upholstered. Then I got the windows tinted and slapped in a double din dvd radio with a little boom boom in the rear cargo area.
I drove it around for a few months and It was coming time to get the worn out front end situation sorted out. I got all new ball joints, brakes(both front and rear), and tierod ends. Boy she drove nice and smooth now.

Yes I represent USA tools and those are USA jack stands too, not no harbor freight cracking junk.
Then it happened, the bug hit, I needed that California lift that I remember seeing in high school. So I called up Brandon at BTF and got the maxtrac lift spindle coming. BTF is a great company with great products and I highly recommend them to anyone.

Now that we got that out of the way, the tires needed addressing/ a dressing, get it? hahaha

So after a lot of research of what would fit without rubbing I got some 32 X 11.50 15" bfg all terrains. Originally wanted mud terrains but they dont make them in this size. Now she rode super smooth, straight, and with style.
Of course all the comments started flying at me from everyone saying "you need to lift the back" "its dragging on the ground" etc. In all honesty, I did need to have the back lifted due to the main reason I bought this vehicle that I forgot to mention from the beginning. It has a tow hitch and I had plans for that tow hitch. I had these kinds of plans,

The way I made this happen was ask my good friend the bodj (he does awesome work) to make me some lift shackles. 10" center to center bolt hole shackles was what we settled on and he tig welded up some beautiful works of art. Even to this day I havent painted them (just some clear coat so they dont rust) so I can look at that fine work.
This was the end of the first major stage. I had a working truck to load my dirtbike on, take it to the desert, and sleep in the back if needed.

