Poverty Ranger Build

Joined
May 16, 2024
Messages
13
Going to be working a lot on the ol shitbox so I figured I would start a thread on the build from here.

In ALL of my wisdom I said I would remove, rebuild and repaint the supercharger in only 2 days... This was woefully incorrect.

Starting out by tearing this nasty bitch down
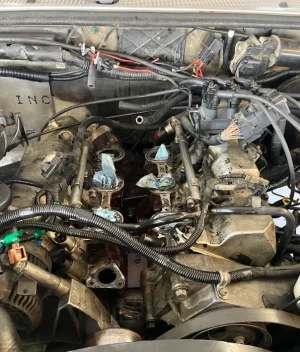
1717272725105.png 1717272896584.png

After hours in the sandblaster got it looking fresh
1717273016519.png

After everything has been sandblasted and I start painting it, I turn my attention to the thermostat housing. This was the "temporary" heater core block-off I made (2 years ago)
1717274493268.png

replaced it with this unit with a welded off port. Just had t drill and tap it for a second temp sensor.
1717274624181.png1717274659260.png

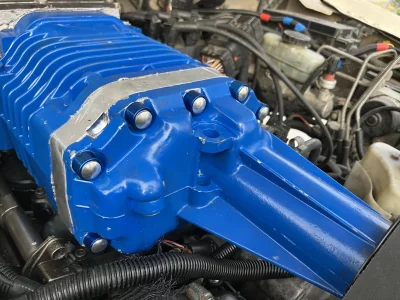
Got the thermostat housing all tidied up and installed and the girlfriend helped finish up painting the supercharger housing Ford Blue
1717274814868.png

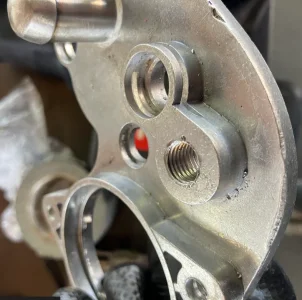
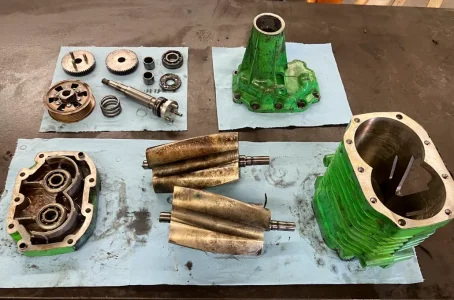
This is where the bad news started. The bearings were in BAD shape. I had replacements for the snout bearings, but the cup style rear needle bearings would have to be cleaned and reused.
1717274981426.png

and just as i am pushing the needle bearings back into the housing, I hear a crunch. push the bearings back out and this is what I am left with...
1717275101145.png

AAAAAND the top pf the bearing cup just completely sheared out. new parts will be here in a week and I'll post up some details about the specifics of rebuilding this m90 if anybody is curious. trucks are pain.
 
Going to be working a lot on the ol shitbox so I figured I would start a thread on the build from here.

In ALL of my wisdom I said I would remove, rebuild and repaint the supercharger in only 2 days... This was woefully incorrect.

Starting out by tearing this nasty bitch down
View attachment 24698 View attachment 24699

After hours in the sandblaster got it looking fresh
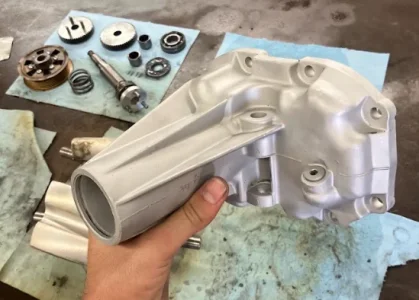
View attachment 24700

After everything has been sandblasted and I start painting it, I turn my attention to the thermostat housing. This was the "temporary" heater core block-off I made (2 years ago)
View attachment 24701

replaced it with this unit with a welded off port. Just had t drill and tap it for a second temp sensor.
View attachment 24702View attachment 24703

Got the thermostat housing all tidied up and installed and the girlfriend helped finish up painting the supercharger housing Ford Blue
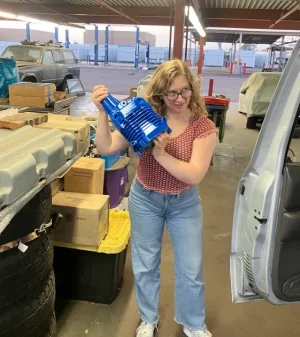
View attachment 24704

This is where the bad news started. The bearings were in BAD shape. I had replacements for the snout bearings, but the cup style rear needle bearings would have to be cleaned and reused.
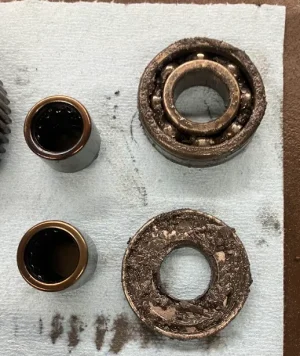
View attachment 24706

and just as i am pushing the needle bearings back into the housing, I hear a crunch. push the bearings back out and this is what I am left with...
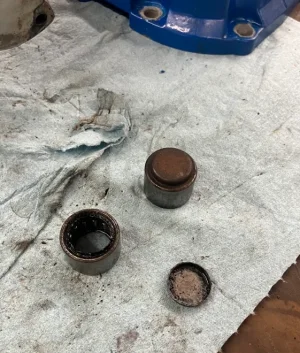
View attachment 24707

AAAAAND the top pf the bearing cup just completely sheared out. new parts will be here in a week and I'll post up some details about the specifics of rebuilding this m90 if anybody is curious. trucks are pain.
Yeahhhhh the needle bearings seemed like a mess, on my tvs1900 I left them alone and just did the front snout bearings. I did replace the oil in the rear housing but that's it. We will see if that comes back to bite me.

Good luck on the rest.

Sean
 
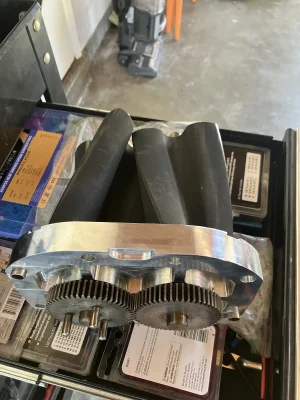
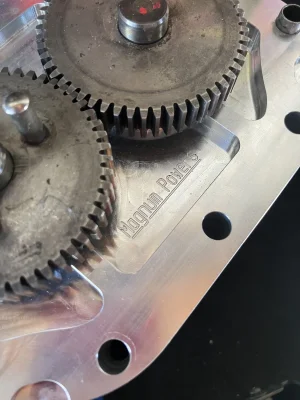
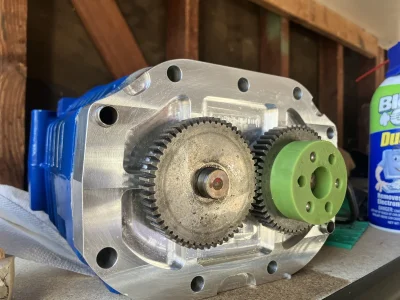
Well I decided to just take the plunge and order a rebuilt rotor pack from magnum powers. new pack came with coated rotors, new bearings, and a nice billet front housing. Shoutout to magnum powers for taking this job for me.

IMG_3669.JPGIMG_3673.JPG
IMG_3674.JPG

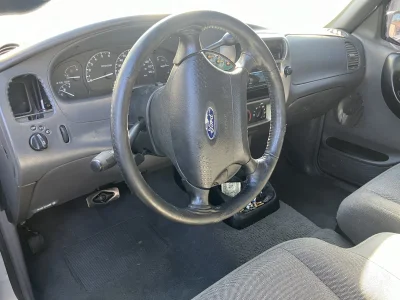
While that was getting rebuilt I decided to give the interior some TLC as the previous owners clearly didnt... Started by getting matching (or at least better looking)? interior pieces from LKQ oceanside. Yes I removed the Air vents bc the thing has a total AC delete. any ideas of what I should put in there?
IMG_3690.JPG

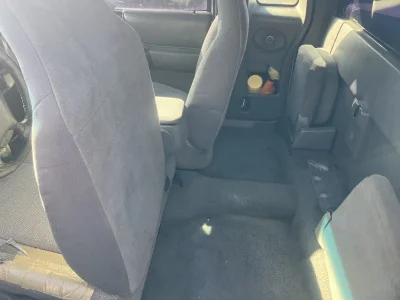
Following the new trim pieces I got a full interior carpet/seat cleaning from Cant Stop My Shine Mobile Detailing in clairemont. super happy with the results, just angry I didnt get a before picture
IMG_3691.JPG

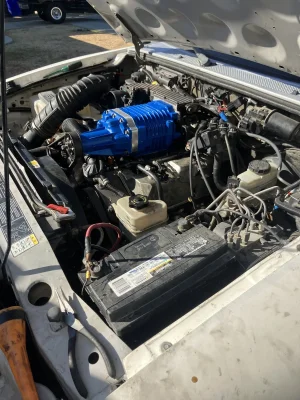
Back to the engine bay, I got the supercharger all sealed up with new bearings and oil, replaced the battery with a brand new one and set up the methanol injection with a new nozzle more suitable to the correct HP rating.
IMG_3686.JPG

Ordered some dress up bolts for the supercharger housing to lean into the whole ford blue/ silver scheme. should be here shortly.

After a few months of sitting she started up immediately with the new battery! time to check the codes with my brand new SCT X4
IMG_3692.JPG

When I first rebuilt this thing I had 9 codes. With only 4 codes less, I have 5 less reasons to sell this POS. Just need to datalog the fuel trims so i can send it in to get tuned with powertrain dynamics.

Until then, its time for diagnostics. Need to figure out why I get so much white smoke in my exhaust. Hopefully its just rich.
IMG_3688.JPG
Until next time
 
Mini update:
decided to get some matching blue and silver cup washers and button caps along with a bigger and also matching air filter because Im just kind of gay like that.
Fully rerouted the methanol nozzle into the back of the intake plenum which eliminated a few vacuum leaks.
Got a new smoke tester so I am finally chasing down the last leak which is somewhere in the throttle body.
Another 2 weeks pass and all I accomplish is some minor turd polishing... why do projects take so long :cry:


snoopersnarger.jpgenginebay1.jpg
 
Back
Top