BFR_Built 🇺🇸
Well-known member
- Joined
- Jan 20, 2023
- Messages
- 127
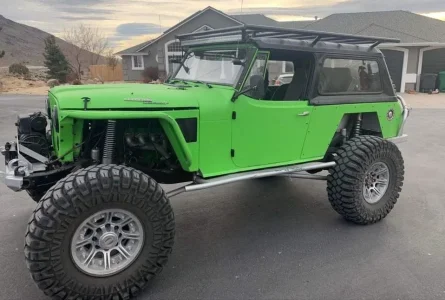
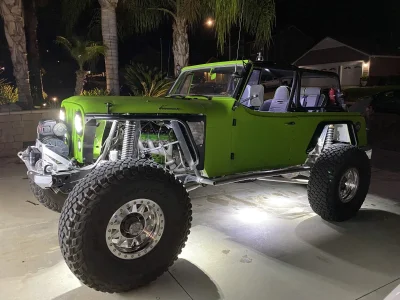
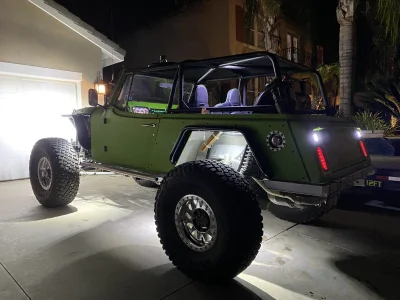
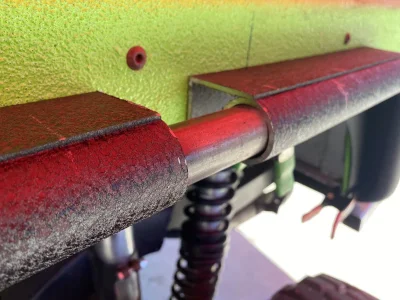
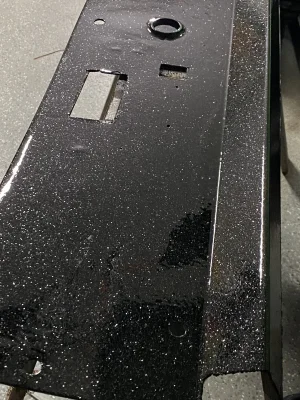
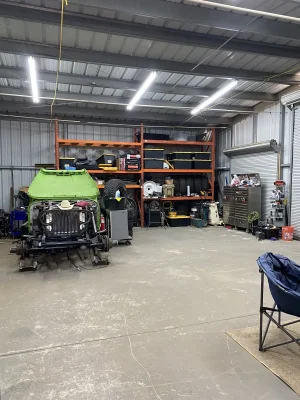
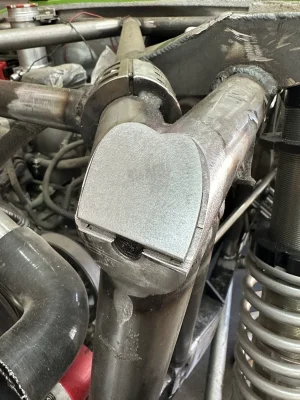
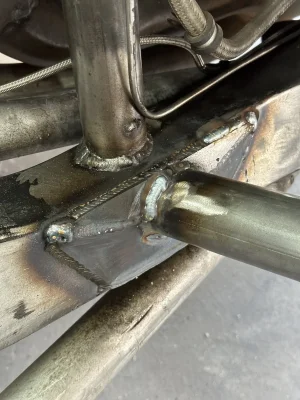
I am rebuilding a 69 Jeepster I bought a few years ago. Here is the build breakdown when I bought it.
1969 Jeepster
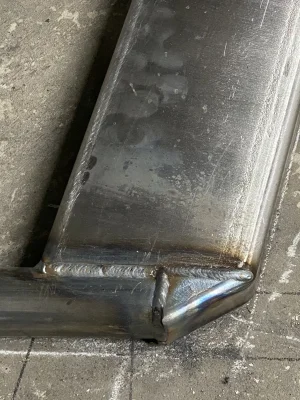
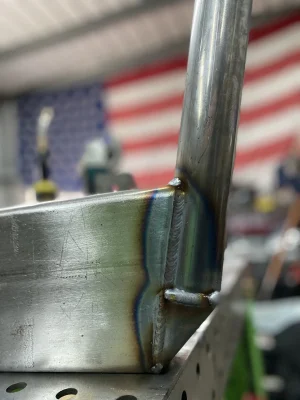
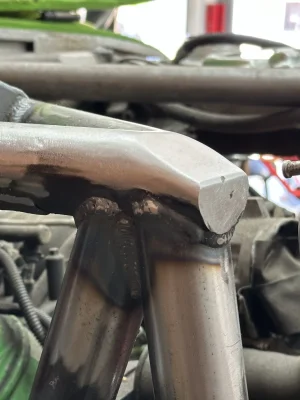
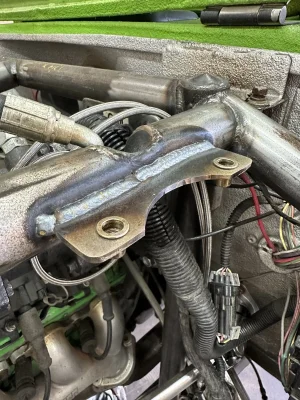
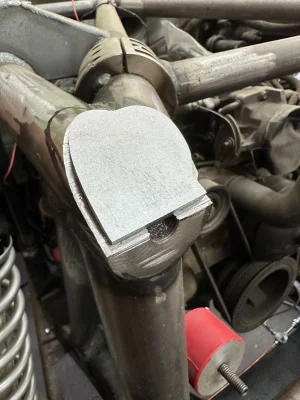
Custom stretched TJ chassis
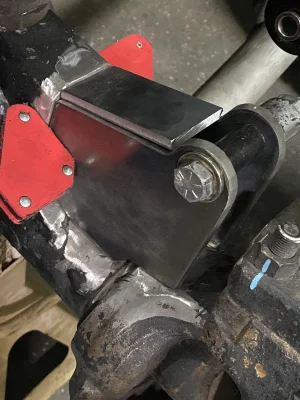
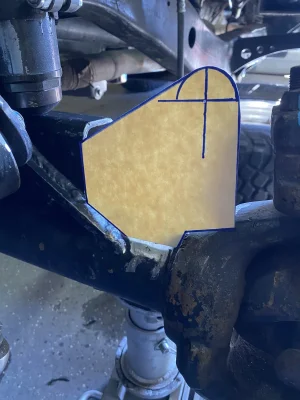
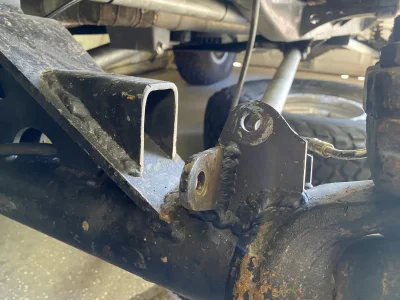
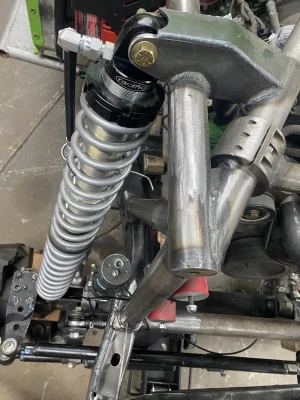
GenRight 3 link front
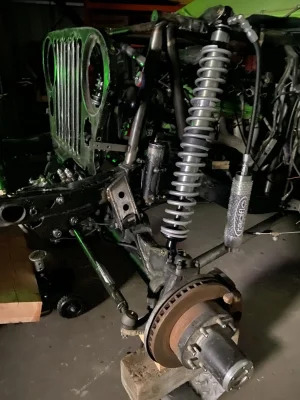
GenRight 4 link rear
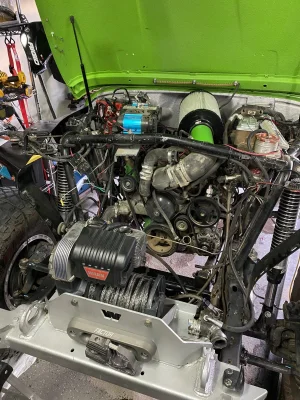
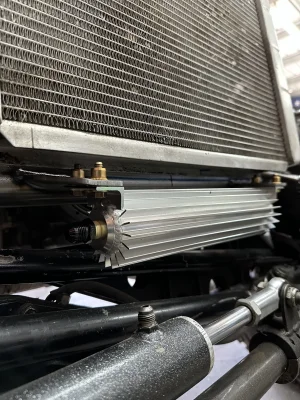
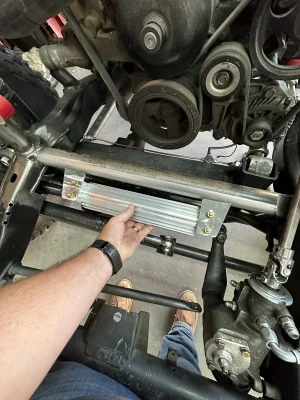
LS1 (5.7l) ACD 41-162 spark plug
TH400
ORD Magnum box
205 Twin Stickp
Chevy D60 ARB 5.38 35 spline
14 bolt shaved ARB 5.38
GM14T-30-35 for short side
GM14T-30-42 for the long side
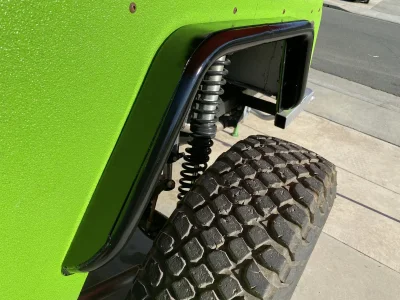
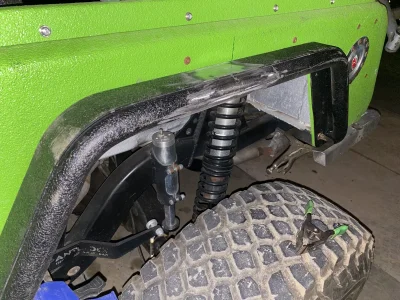
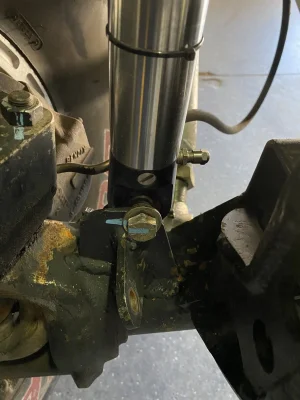
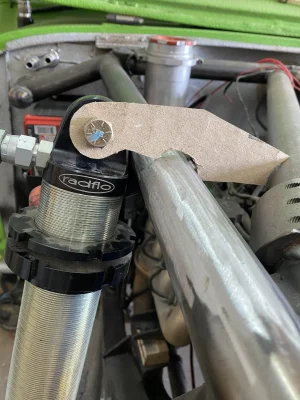
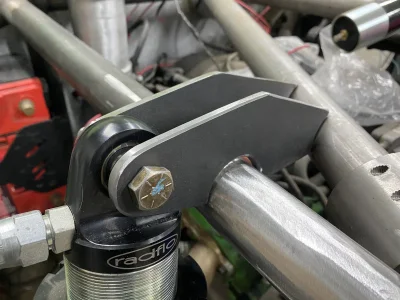
3 link front with 16” ORI Struts hydro bumps.
4 link rear with 16 Coilovers and hydro bumps.
Warn 8274 with synthetic rope
Hutchinson Beadlocks
40” Maxxis Stickys.
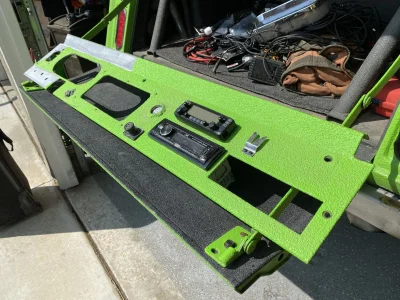
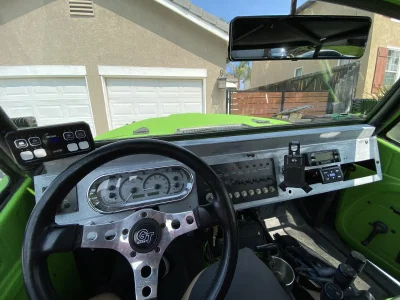
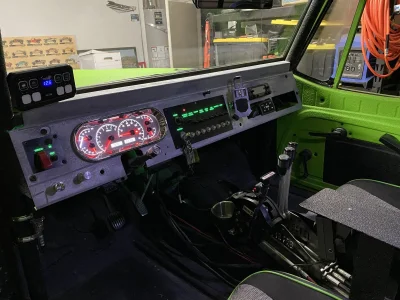
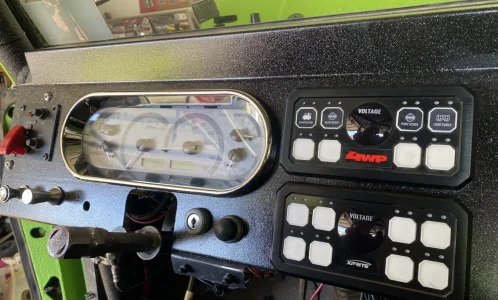
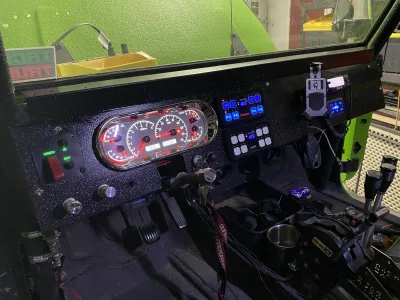
Dakota Digital dash
These pics of it are the day I brought it home.
1969 Jeepster
Custom stretched TJ chassis
GenRight 3 link front
GenRight 4 link rear
LS1 (5.7l) ACD 41-162 spark plug
TH400
ORD Magnum box
205 Twin Stickp
Chevy D60 ARB 5.38 35 spline
14 bolt shaved ARB 5.38
GM14T-30-35 for short side
GM14T-30-42 for the long side
3 link front with 16” ORI Struts hydro bumps.
4 link rear with 16 Coilovers and hydro bumps.
Warn 8274 with synthetic rope
Hutchinson Beadlocks
40” Maxxis Stickys.
Dakota Digital dash
These pics of it are the day I brought it home.