Kwoodbury488
Active member
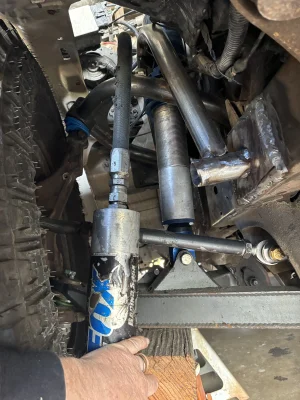
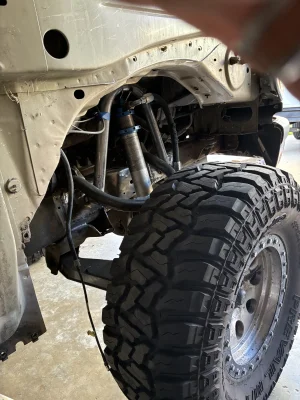
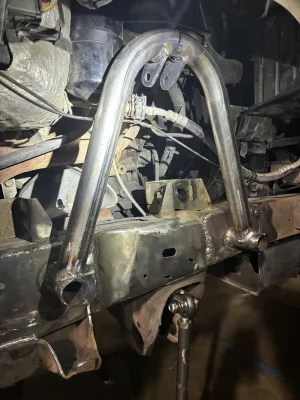
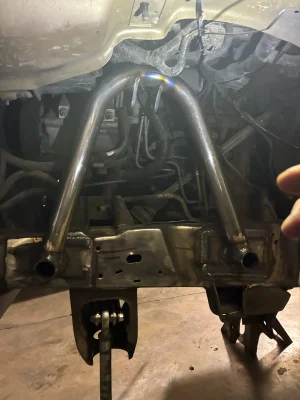
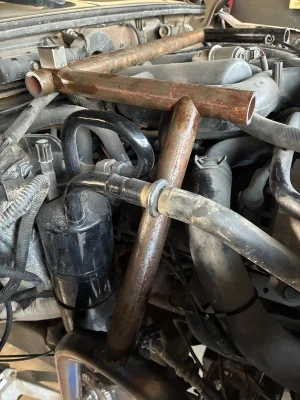
Is here gonna be any issues if this tower is closer to the frame my battery box is in the way on this sideLookin good dude!
Is here gonna be any issues if this tower is closer to the frame my battery box is in the way on this sideLookin good dude!
No. Try getting the upper shock mounts in the same position, but an inch in or out shouldn’t make much of a differenceIs here gonna be any issues if this tower is closer to the frame my battery box is in the way on this side
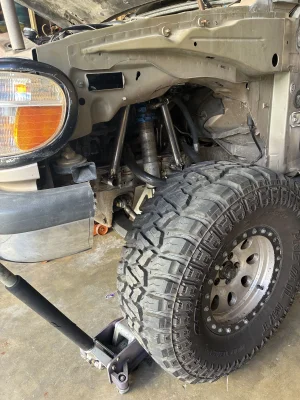
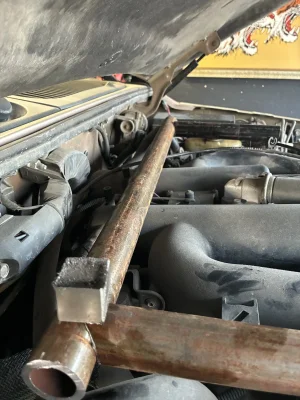
Definitely need to trim out some more but it’s getting thereHows that full bump clearance when turning full lock?
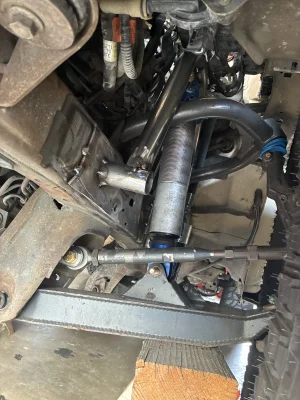
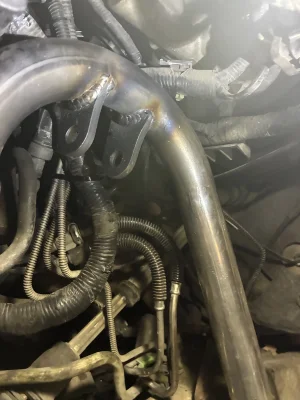
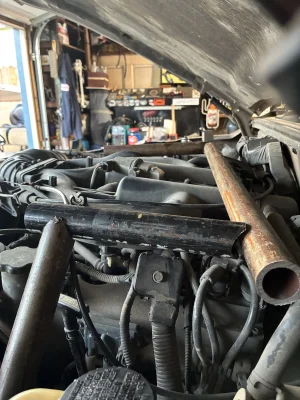
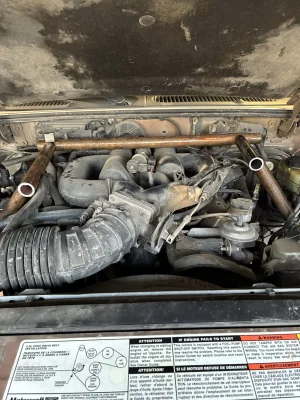
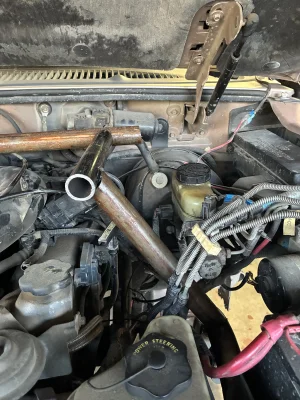
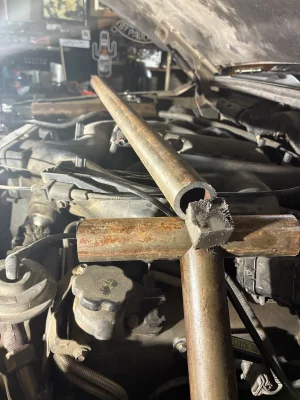
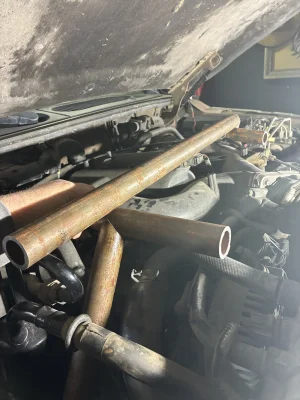
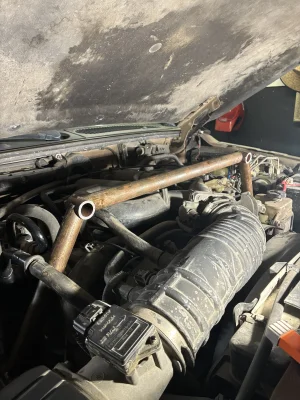
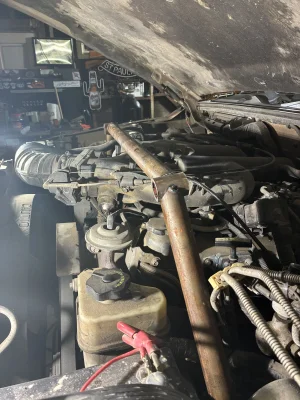
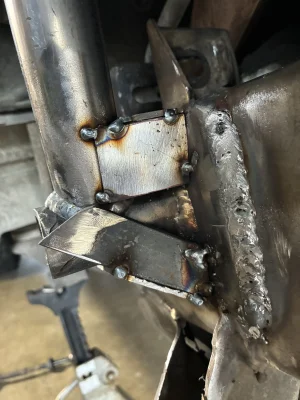
Sweet man that’s what I’m looking for this is my first time so I’ll take all the advice I can get I eat it to be right and do what it’s supposed toIf I could give you some advice the tube going across needs to be as close to inline with the uprights off the shocks as you can get it. The way it’s laid out right now your not going to gain much strength, also you need to be sure to leave some room around engine and everything attached to it. They move around a ton unless solid mounted.

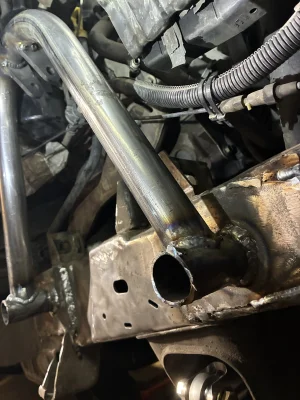
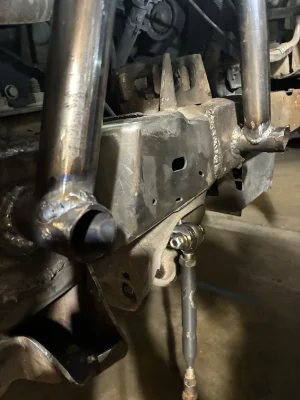
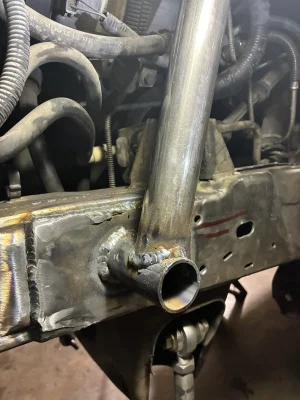
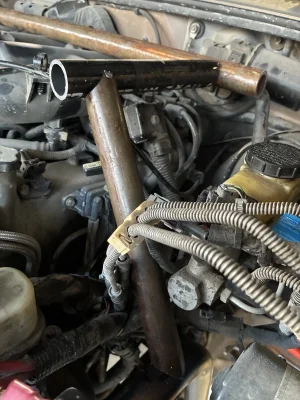
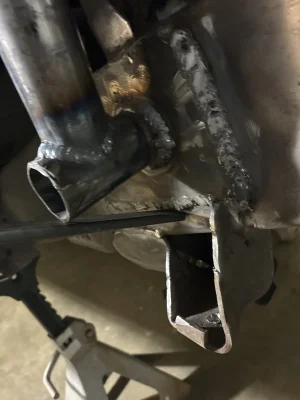
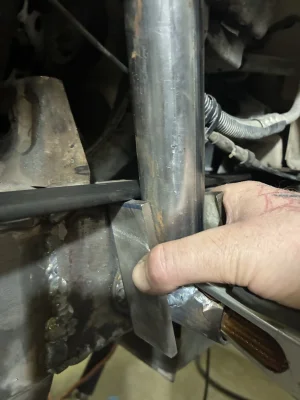
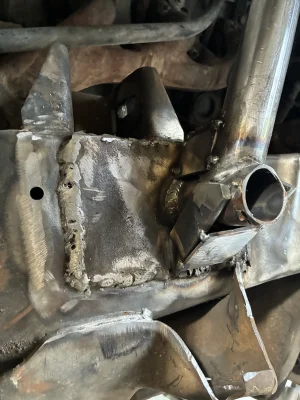
I was gonna gusset under neath like you mentioned and then box around the lower part at the shock tower and stub out.Also I would suggest Gusseting this tube
View attachment 48951
Either plate or tube
Is that .188 walled tube you are using?