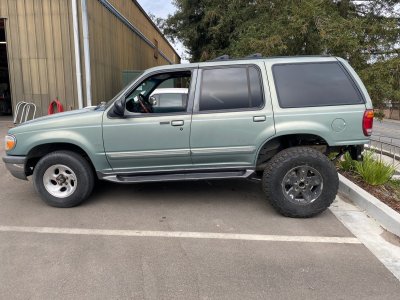
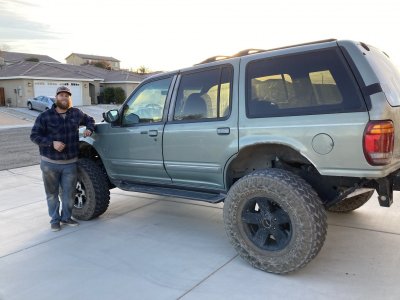
‘98 Explorer 5.0 2wd prerunner build

Joined
Aug 9, 2023
Messages
25
After posting this on DR someone kindly told me that DR was dead as a doorknob lol ancient website for ancient kid at heart. This site is where all the Kool Kats come
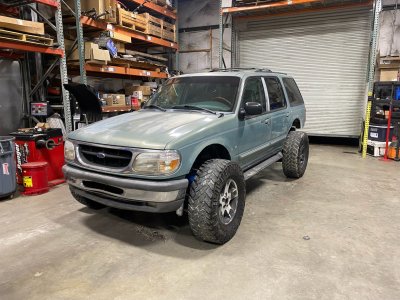
Sooo, thought I would share my ‘98 5.0 2wd explorer “budget” build.
It’s been about 3 years imagineering
2 years of collecting parts and actually building it
My dumbass thought it would be cheaper and cooler to do this build using OEM F150 parts. Was it cheaper? Maybe. Was it a lot of alcohol fueled fab? Yes. Lol
I can honestly say that I spent the most money on shocks and bumps of this whole build.
I started with the rear axle..
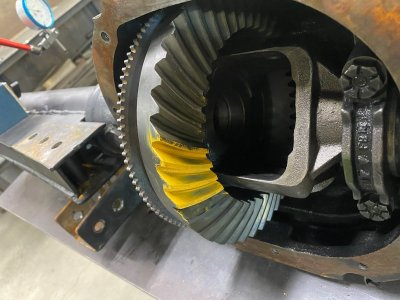
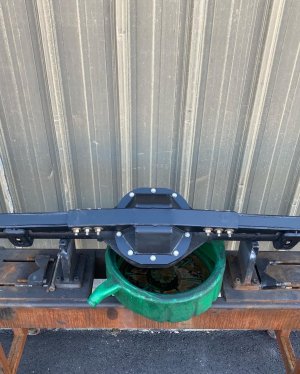
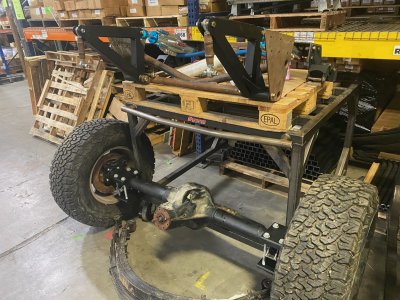
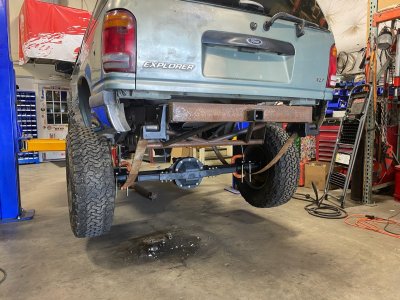
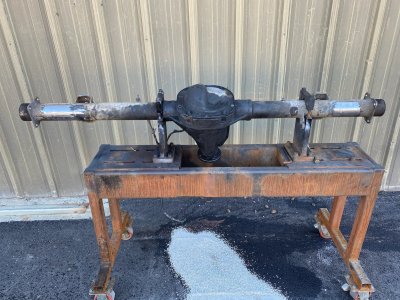
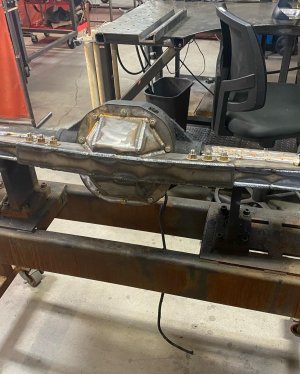
I chose an ‘04 F150 8.8 because big bearing, bigger brakes, wider, and still able to use the factory speed sensor from the explorer. -$250 @ local junkyard
IMG_5070.jpeg
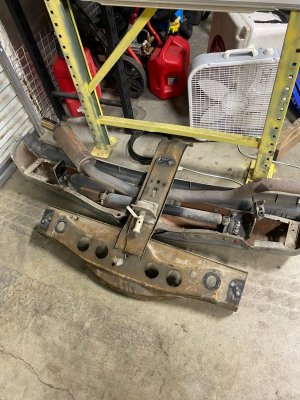
cut off all the factory junk, added a backbone truss and geared it 4.56 with Spartan lunchbox locker
92F6D443-3775-441E-BABC-27A820ABC057.jpeg
IMG_5533.jpeg
FAB62F99-74E8-472C-B508-2B86AD84C6B6.jpeg
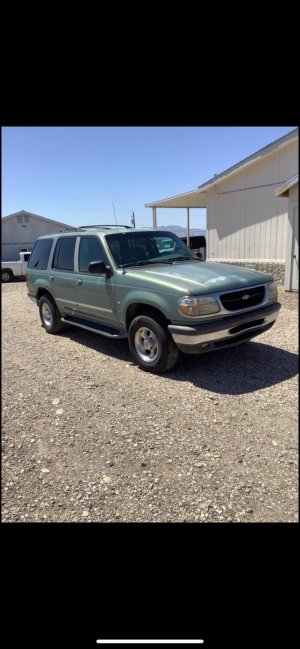
Then I bought the explorer lol
IMG_5692.jpeg
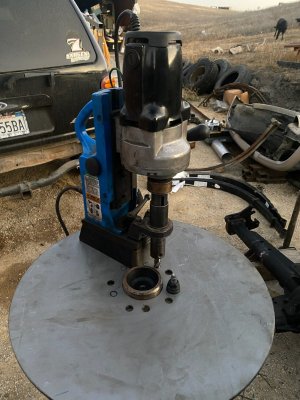
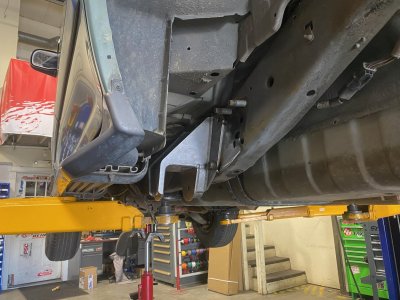
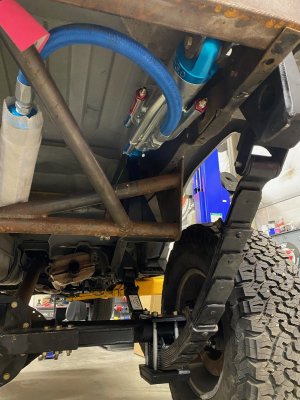
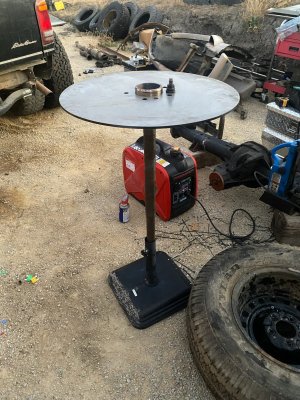
Once I got the exploder, I was able to take better measurements on the rear frame for leaf spring mounts, and commit to supension options. I decided to do a cantilevered link killer set up cuz I didn’t want to run the shocks into the cab, but wanted a lot of travel. I also decided I was gonna try to adapt F150 4wd spindle/knuckle to my home-brewed alcohol fueled long travel arms. At this point, I had several design issues, I wanted to run 5x135mm lug pattern because I wanted to use knuckles from an ‘02 F150 4WD because using CAD to model, the a-arm geometry of that year worked so well with the stock explorer a-arm pivot mounts vs using the later years F150 knuckles. (Also I had scored on stock FX4 17” wheels cheap using that lug pattern -$100 for x4 rims) Problem is my rear axle is 6x135mm pattern. I devised an absolutely redneck way to re-drill them. Welded all the lug holes shut except one that would work with 5x135mm and re-drilled the lug pattern using a mag drill and template to accurately mount mag-drill.
IMG_6070.jpeg
IMG_6071.jpeg
Worked out perfectly. Lol
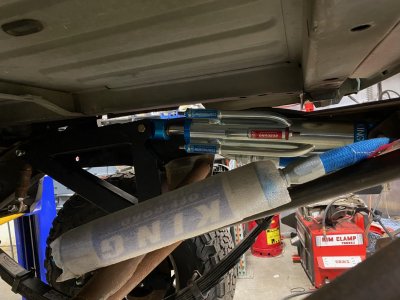
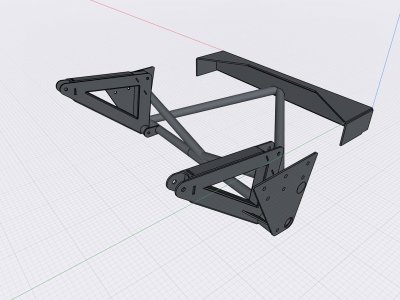
Once I had the rear end all figured out, I went ahead and modeled a cantilever set up designed around King 10” stroke 3.0 4 tube bypass with a rising rate.
475B7F52-787E-4578-A5BE-4A09B34EEF0C.jpeg
Stay tuned for part 2!
 
Part 2: Cantilever Fab.
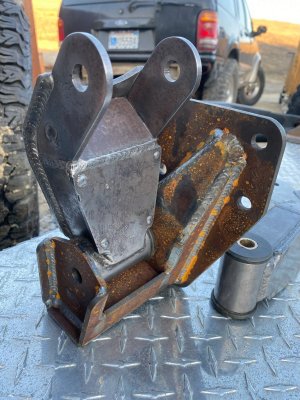
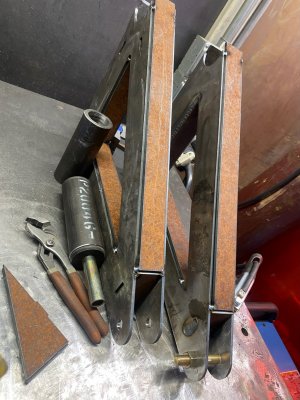
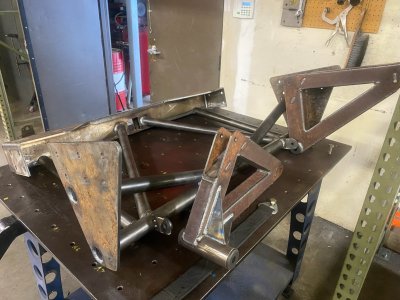
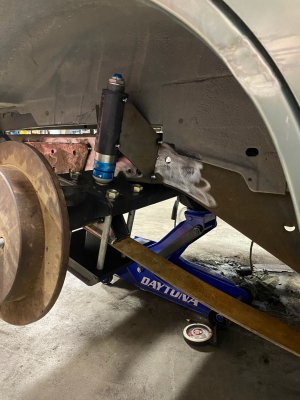
It was time to fab the leaf spring mounts, shackle, and cantilever. (Leaf spring mount, hangers and shackle courtesy $$ of DIY off-road for plans)
IMG_6061.jpeg
IMG_6170.jpeg
IMG_6178.jpeg
Around this time, I got the Kings that I had ordered.
IMG_7078.jpeg
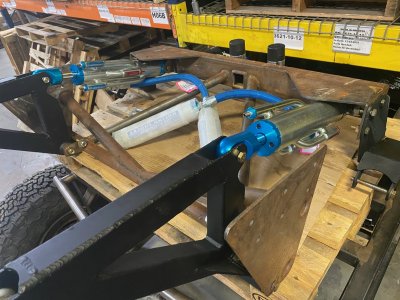
I got everything fabricated and all the pieces and components gathered up for install.
IMG_7075.jpeg
It was now time for the explorer to go under the knife. But first, a little tire roasting session lol
67535165088__EABDEC5C-D5A3-4EFC-BF8B-D190DCC50909.jpeg
Part 3 coming up!
 
Part 3: cantilever install
IMG_7081.jpeg
Now to start cutting and snorting metal dust. CHOP CHOP
IMG_7087.jpeg
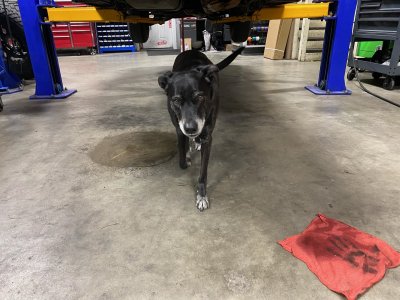
My technical supervisor lol
IMG_7088.jpeg
At this time, the frame was cleaned up and ready for the cantilever subframe.
IMG_7094.jpeg
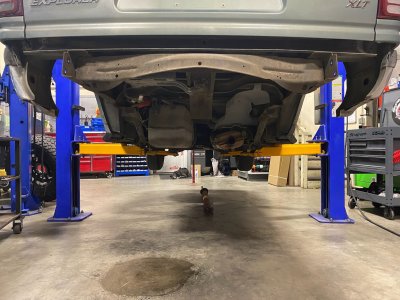
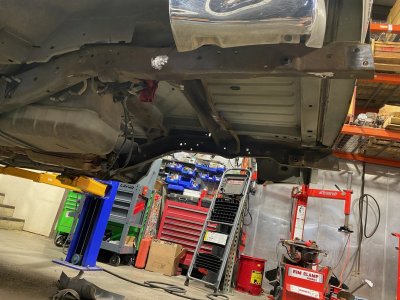
All the factory junk removed
IMG_7096.jpeg
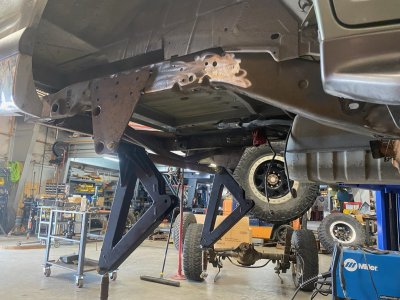
Cantilever subframe tacked in
IMG_7099.jpeg
Front leaf hanger tacked in
IMG_7097.jpeg
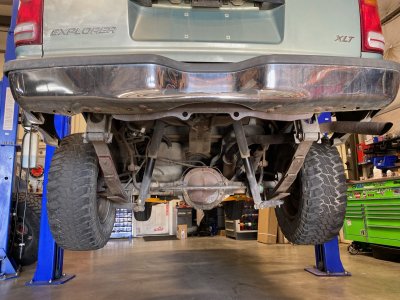
Axle in place with mock up leafs for cycling
IMG_7100.jpeg
Part 4 coming up!
 
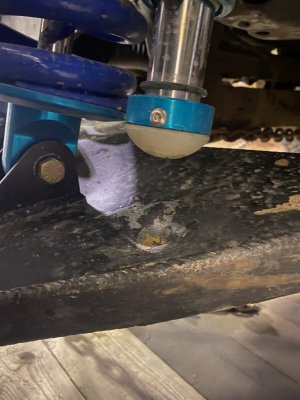
Part 4: Tacked the King 2.0 x 2” stroke bumps in. (PSA: I know I fucked up the bump mounting, suppose to take the urethane pad off and tack it all in ~ 1/4” before metal on metal contact. Will show fix and updated mount/landing pad in later post.) Also u-bolt eliminators are a gimmick and a fucking joke. It may work for the crawler dudes, but sure as hell didn’t work for me with the bumps landing on it, psa for anyone wondering about them lol again, will show fix in later post. Leaf is perfectly flat at full bump, saweeet.
IMG_7103.jpeg
Got the bypasses mounted to set tabs on axle for cantilever links.
IMG_7106.jpeg
IMG_7107.jpeg
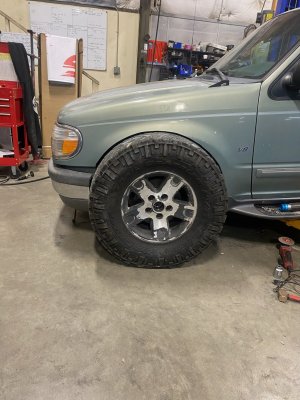
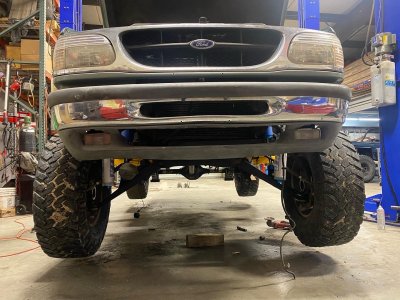
At this point, I had cycled everything until I was sick of it. literally sick to my stomach, but that coulda been all the beers I was drinking… IDK lol It ended up cycling 18” of travel bumped and strapped. I had more droop travel left in the shock but I think my hanger and shackle was limiting the last 2” maybe will fix later, we shall see. At this point I needed to trim the fender to clear 35’s at full bump, that would have to wait until another day. This is how it sat.
IMG_7110.jpeg
Part 5 on the way
 
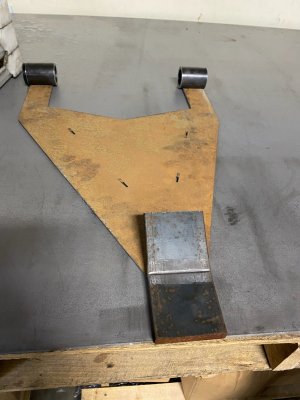
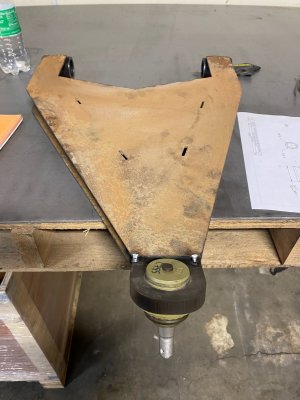
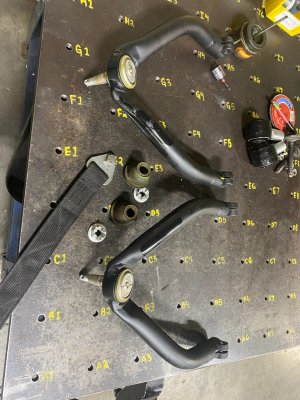
Part 5: I wanted to start modeling the a-arms and get them on the explorer ASAP cuz it looked stupid sitting ass high lol built a prototype to see how it would work before I built the real deal.
IMG_7126.jpeg
IMG_7128.jpeg
IMG_7127.jpeg
I mounted the prototype and cycled it with 02 F150 4WD knuckles and was very happy with how the geometry worked out as far as caster, camber and bump steer.
IMG_7130.jpeg
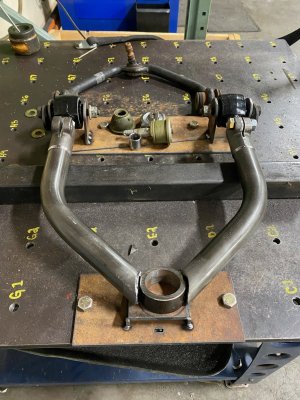
So I sent it with building the arms.
IMG_7134.jpeg
IMG_7135.jpeg
69050225618__06F8EC2C-6ABF-4275-A2CE-35342B3C0E53.jpeg
IMG_7230.jpeg
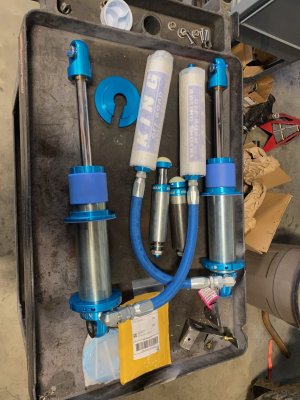
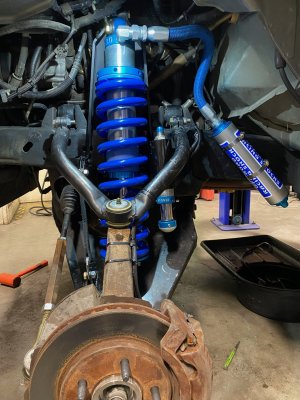
Got King 3.0 8” stroke coil overs and 2.0 x 2” bumps
IMG_7232.jpeg
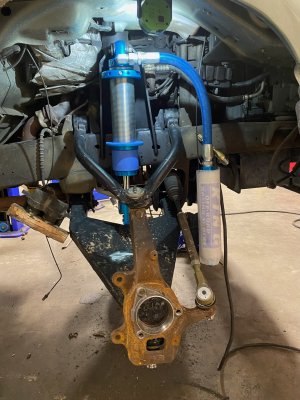
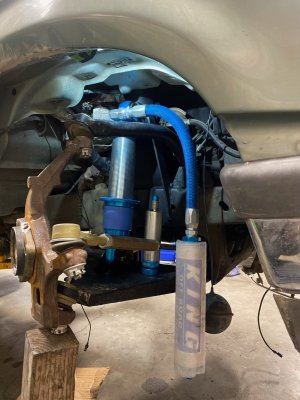
It was time to install the arms and weld in the ruff stuff 9.75” shock towers, bump-stops and cycle it a million times more lol
To be continued in episode 6
 
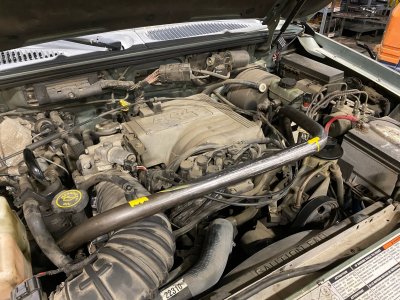
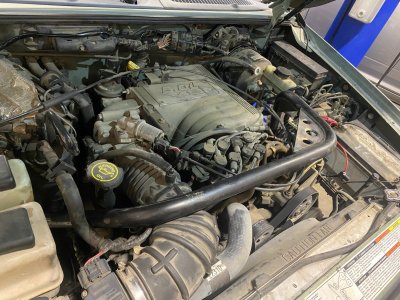
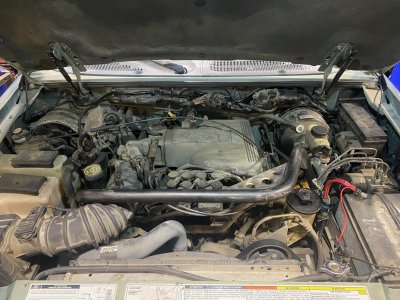
In today‘s episode, coil over tower, bump stops and engine cage gets welded in. The engine cage was a MF Biaaaatch to fab and clear the factory stuff under the hood as there is aboslutely no freaking room under the hood lol. But as Larry the cable guy says, Git’R’Done.IMG_7250.jpeg
69188111508__A916005D-146E-44A7-8484-6FB16AF44906.jpeg
IMG_7291.jpeg
IMG_7290.jpeg
IMG_7303.jpeg
Cycles 16” travel bumped and strapped without maxing out BJ angles.
IMG_7289.jpeg
IMG_7302.jpeg
IMG_7301.jpeg
Next some fender trimming.
 
Rad build! Welcome aboard!

@Turboyota this guy sounds like your long lost cousin
Actually @Turboyota project mobza was a source of inspiration for me lol hence using the ruff stuff towers and other ideas from that build. I had originally planned to do all this stuff to a ranger 3.0 I had, then I blew the motor up… stock. I was over the 3.0 and went 5.0
 
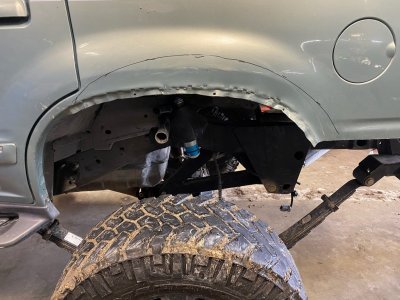
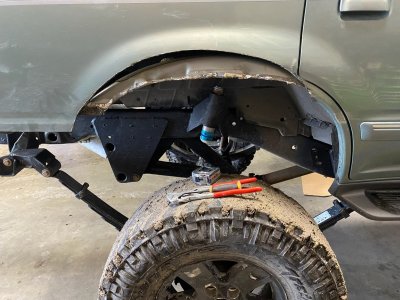
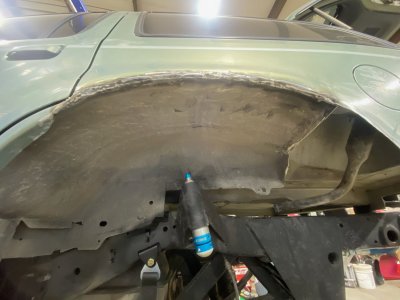
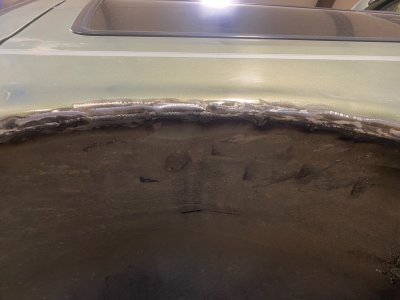
Fender trimming: not much to say bout this deal. I didn’t have fiberglass and wasn’t too sure how it was all gonna go together and wanted to take this thing for a rip, so I only trimmed as much as I needed to to clear the 35’s at bump. For the rear, I just took apart the factory fender liner to fender and pushed it all up and re welded the seam. Took a minute lol but mission accomplished.
IMG_7238.jpeg
IMG_7237.jpeg
IMG_7255.jpeg
IMG_7256.jpeg
IMG_7269.jpeg9843FCF9-E891-4C11-99BB-EBAFC90426D3.jpeg
IMG_7278.jpeg
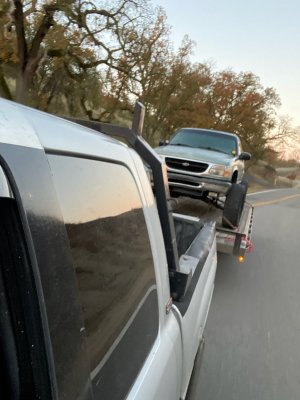
At this point, I couldn’t wait any longer and promptly loaded it up on a trailer for Jawbone Canyon maiden voyage.
IMG_7308.jpeg
Stay tuned
 
Jawbone weekend was an epic adventure.
Explorer did freaking awesome
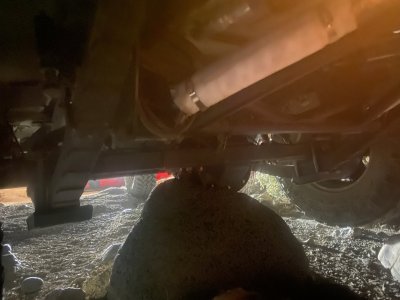
I high centered the rear end on a rock
IMG_7313.jpeg
After getting unstuck, I proceeded to give it a beat down in the whoops
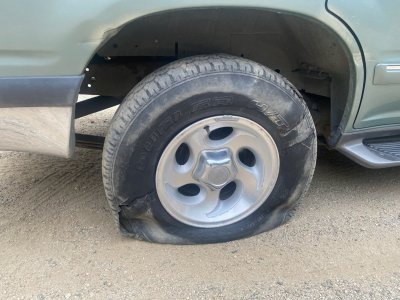
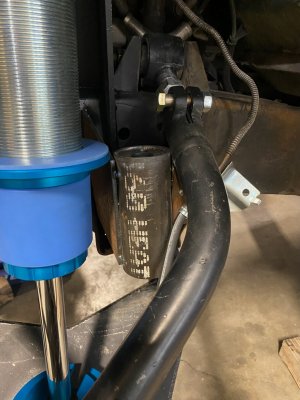
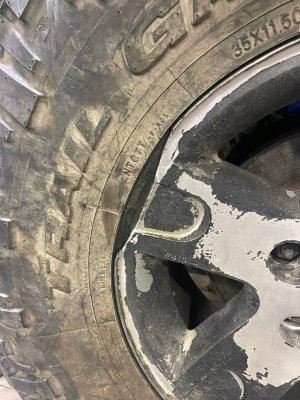
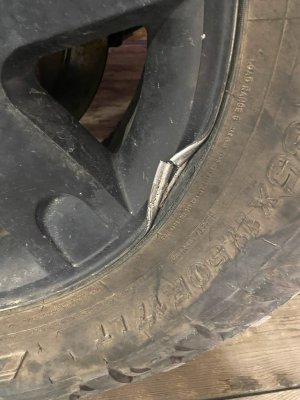
Going around 45-50 on a trail, I hit a 2-3ft URO (unidentified rock object) and chunked the driver front and rear rims, caved the bump landing on the arm, and tweaked the arm a little. But tire still held air and proceeded to rip on trails the next day til I lost all forward gears in the transmission. It was time to go home lol
IMG_7328.jpegIMG_7329.jpeg
IMG_7330.jpeg
definitely had me smiling the whole way home lol
IMG_0160.jpeg
Oh yeah, and the headlights broke off, gorilla taped it back on, and the rear hatch glass flew off, also gorilla taped it back on lol. That shit is strong.
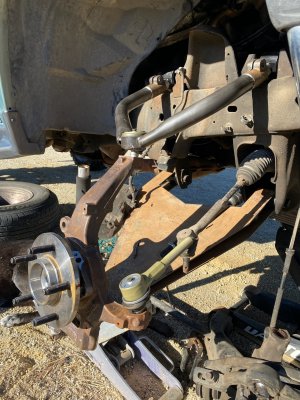
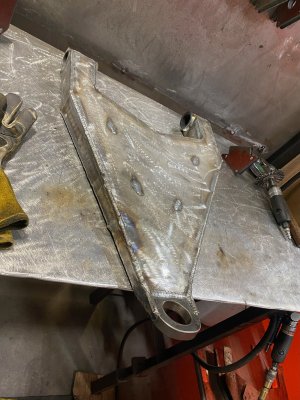
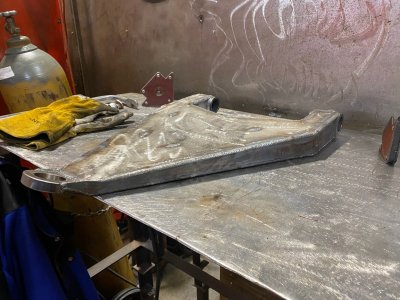
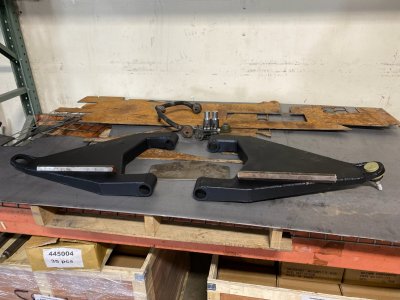
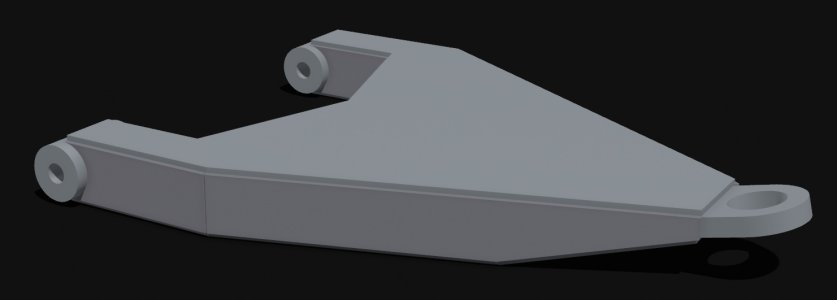
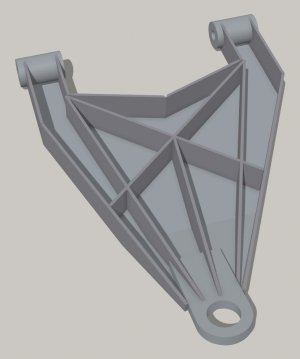
Now y’all are caught up to today. As of now, working on trans rebuild, sourcing out fiberglass fenders, redesigning a new beefier lower arm, and fixing all the little stuff that broke.
 
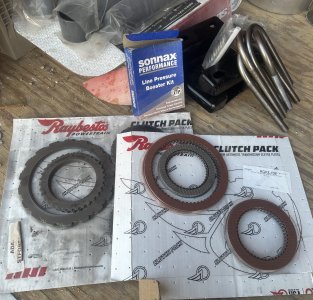
I am itching to get this thing back online. I ordered all the parts necessary to do a heavy duty trans rebuild including some 300m goodies, new torque converter and bigger cooler. Also got some more DOM to do front bumper/skid plate. Progressing slowly lol pics to come soon
 
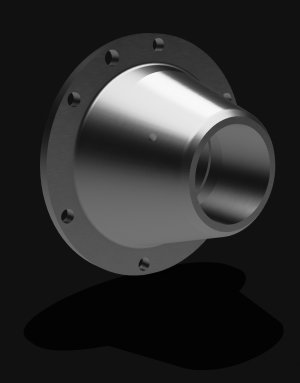
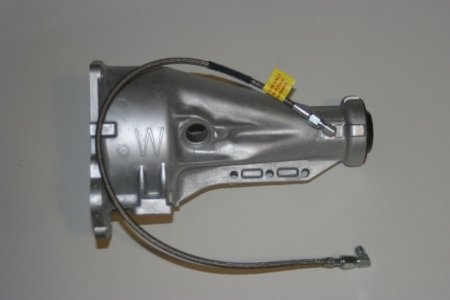
I don’t know of anyone offering a fixed yoke for the 4r70w trans, maybe I just live under a rock lol
So I brainstormed and came up with the idea of using a 4x4 tail-shaft housing with the 2WD output shaft and a custom housing that’ll take a large bearing to support the output shaft similar to the c4 fixed yoke housing.
IMG_0050.jpeg
The bearing will be lubricated via the “forced lube mod” similar to this

IMG_0052.jpeg
Does anyone have a CNC lathe? lol
 
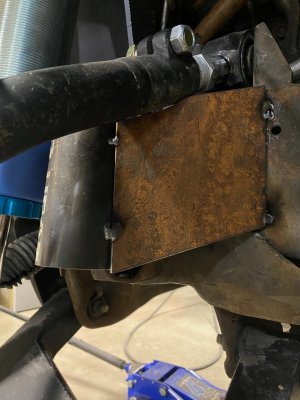
Did you put a rib directly under the bump strike this time?

I’m glad I get to read about this build again!
1. Designs & Makes fucking everything.
2. Gives zero fucks
Haha yes, this is what’s going on under the hood lol
IMG_0055.jpeg
I’m even considering adding an extra round plate on the bottom of the top plate. Overkill maybe but better safe than sorry wit dem Houdini rock lol
I’ve learned DGAF from dezert rangers and it has served me well in life… lol 😅
 
Back
Top