T-Juan - `98 Toyota T100 4x4, 5-spd

SaltyMethods

Well-known member
Joined
Apr 14, 2022
Messages
327
Location
San Diego, CA
(this build thread transferred from dezertrangers.com)

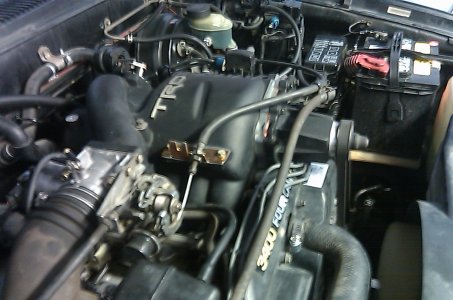
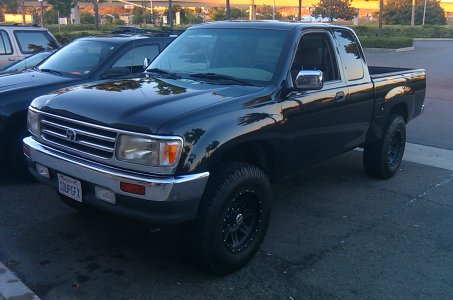
T-Juan - 1998 Toyota T100 SR5 4x4, 5-spd, TRD Supercharged

I figured it's time to start a build thread on my truck since I'm finally starting to do something with it. Might be a little boring of a thread to most because it's more of a budget build. I've decided to spend my initial money on fabrication tools first before spending it on suspension mods. I want to learn and do most of these upgrades myself. Visiting this forum has definitely taught me a lot and watching a lot of YouTube videos has helped with the confidence to do things.

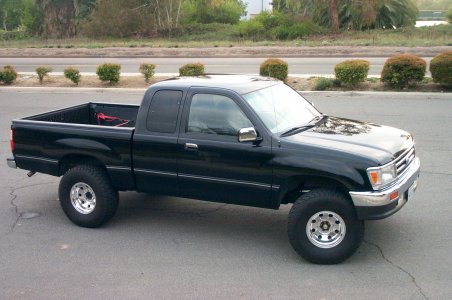
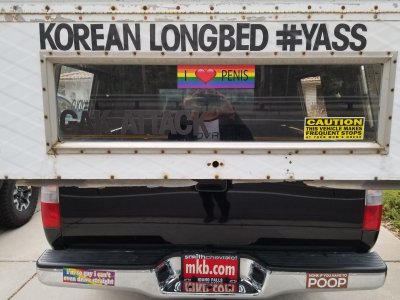
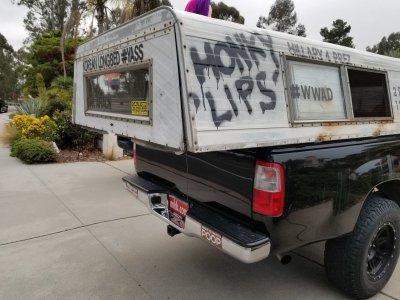
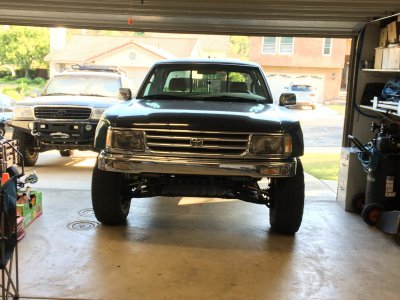
I bought this truck back in 2000 after my 1988 Toyota 4x4 pick up got stolen. It had just under 60,000 miles on it when I got my dirty hands on it as the 2nd owner. It was my daily driver for years and years. Parked it for about 2 years while I was going through the adulting phase (marriage & babies). I've always loved this truck. Not because it was the best at any one category but it was/is kinda rare breed. I loved my old `88 and this truck is very much the same truck (just a little bigger). 99% of people who drive T100s are Mexican and have a lawn mower in the back. So not much street cred when driving this around. It's hard to find upgrades or examples of what to do when you want to upgrade this truck. Drooling over the ones that I did see, it gave me inspiration to keep this truck and make it something more fun. My intention is to keep the 4x4 and make it a 20% overland & 80% pre-runner truck. The manual transmission makes the truck more fun to drive and to be honest, this truck handles fairly well for what it is. Drunken e-brake pulls to a 180 turn are possible, I've heard.

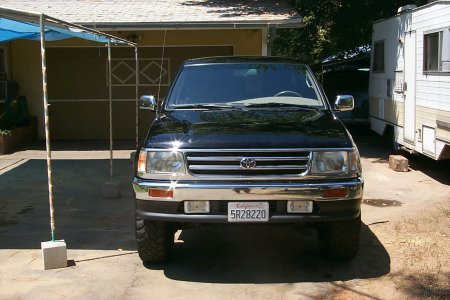
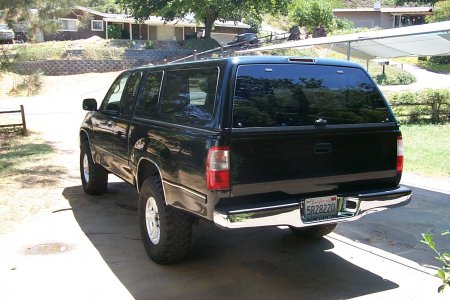
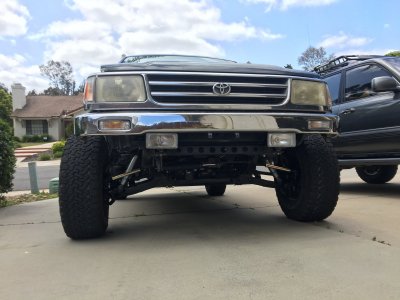
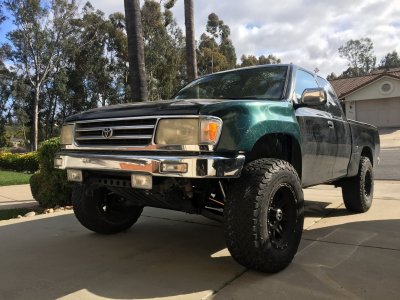
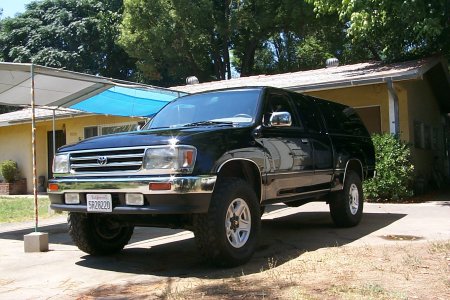
Here is how it looked when it was fairly brand new to me:
UzlW8UR.jpg
xXYbtfd.jpg
Y2nf3yU.jpg

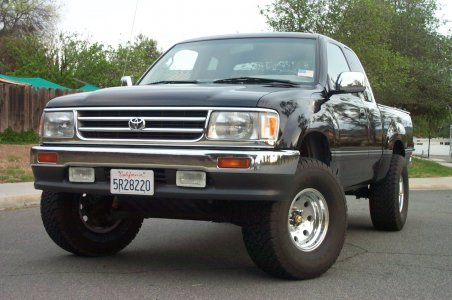
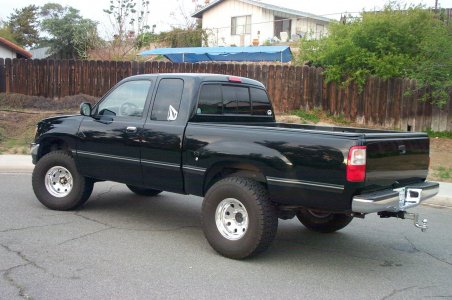
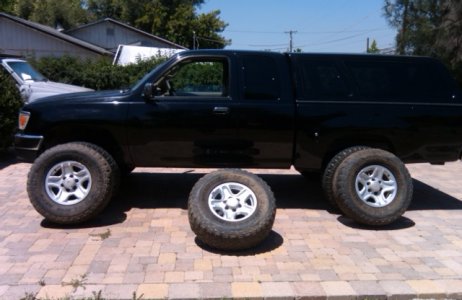
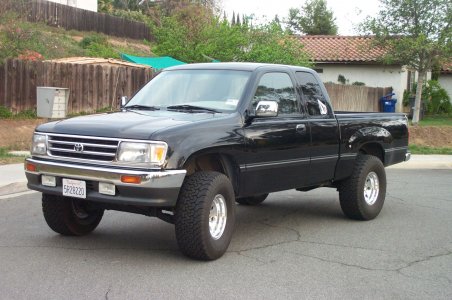
Bought some new wheels and tires, removed the camper shell:
509nkfv.jpg

EVZSYST.jpg
aXCOfPG.jpg
hVMdqXZ.jpg
 
Ya, I dug those wheels also but I was, at the time, looking to make my truck look a little more custom. So I sold them and got some cheap Alcoa knock offs. The offset on the new wheels were wack an made my steering super twitchy. Gave me super "precise" turning but was pretty fucked otherwise.

CL Posting of the wheels/tires:
kYCEdXM.jpg

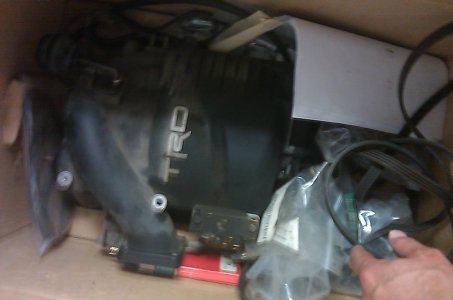
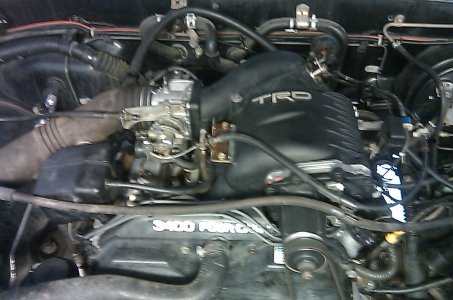
I then came to a cross roads. I had some extra money to spend. It was either I pursue more horsepower or go suspension. After many sleepless nights (not really), I decided to go with horsepower. I was lucky enough to find a TRD SC on CL for around $1,200. I had a guy who supposively used to work for Toyota put it on. He also threw on a cat-back exhaust system. I asked for something not that loud with a larger pipe out the back. He grabbed something that was sitting in the back of his garage and put it in. Way louder than what I wanted and was a little bummed on the fact he sold me on something that was supposed to be new but it was used. Oh well...

TRD Supercharger:
U3BXa40.jpgFSiYZLO.jpg
h5YrLjL.jpg
Once the SC was install, it definitely had more horsepower. It became way more fun (hence the name sake). It was loud, rowdy and fast(er). It did have a hiccup though and ran lean. Was never able to get anyone to help figure it out until a few years later, I found out about the URD 7th injector kit. I drove it sans 7th injector for years.
 
Then about 3-4 years ago, some friends and I went out to Ocotillo Wells. Was out bombing around the desert at 2-3 in the morning. Stopped for a beer and to turn around. Notice something was missing. My camper shell popped off somewhere in the desert. It sucked and we looked for it for hours. Even the next morning we drove around the areas that we felt like we went by and never found it. Fucking crazy. Felt bad about leaving that out there but I'm sure someone came up on a pretty nice camper shell at one point.


So fast forward around 3-4 months. My friend asks if he can borrow my truck to help his brother move. I guess he lived up in LA or something, so he was going to need it for a night and day. Cool. No problem. We had my birthday party planned at the house and he said he'll just bring it back to me when he comes to the party. When they brought it back to me. I had a new camper shell.
cxBiKcV.jpggaa7lFC.jpgayeRC9S.jpg1Ps9eZd.jpg4zT0Ebg.jpg
 
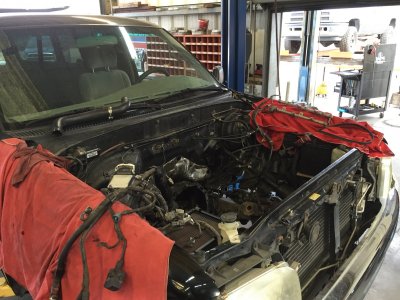
So by this time, I had strapped the supercharger onto the motor with around 180,000 miles on the clock. Trying to keep things going, I decided to have a local Mira Mar road (Toyota specific shop, which is high praised) to help give my motor a new head gasket and tune up. Spent a few thousand dollars with them to ensure the T-Fun brings more smiles-per-gallon for another couple of years. Well, not the case. The "new" head gasket gave way within a thousand miles and I hydro locked the motor. Sweet.....

I took my truck back and ask the same shop if they could fix it. They gave me a $12,000 quote for a new head and refresh of the bottom end. Let's just say, Fuck you and I'm never spending another dime at that shop after being a loyal customer and taking all my Toyotas to them for the past 3-4 years.

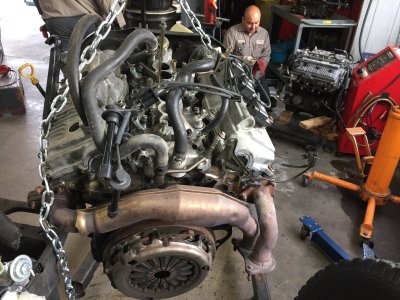
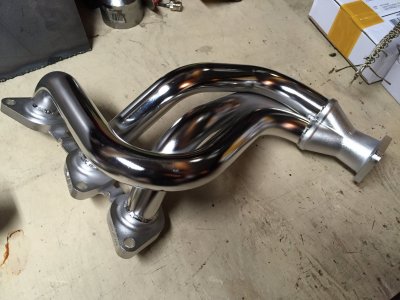
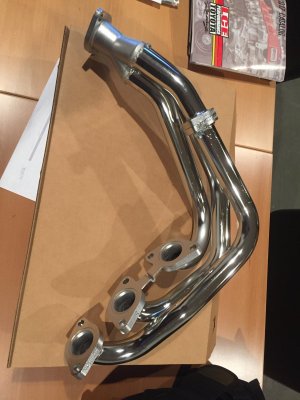
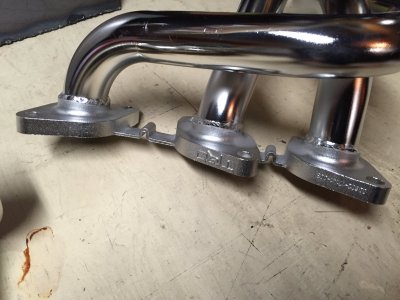
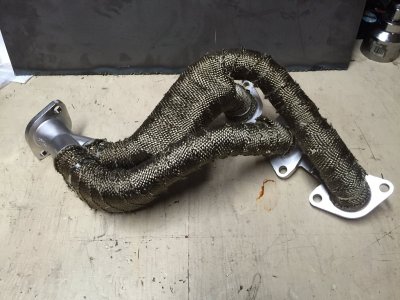
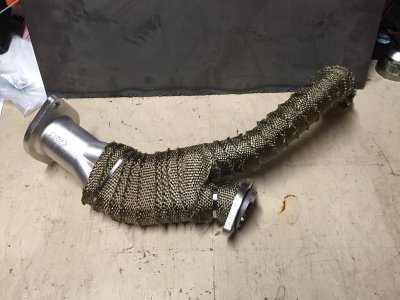
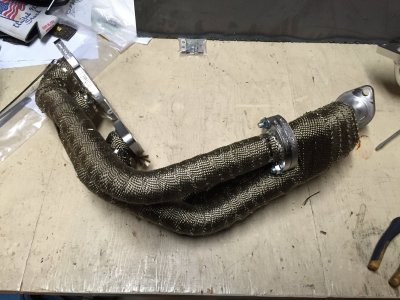
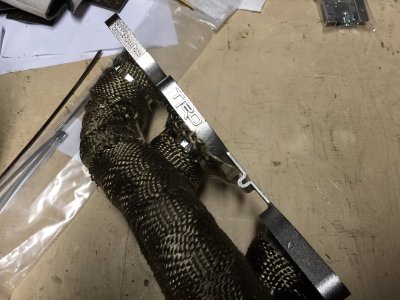
Found a new shop in Ramona that got me a 60K mile used motor from Japan and installed it all for around $5K. We suspect the motor we got was out of a sedan (Camry?) because they had to drill a new dipstick port. It was located in a different spot than the original. Got TRD headers and wrapped them. Not the prettiest wrap job. I'm no expert on that so it was the best I could do.

Motor out:
OUTeKKS.jpg
New "used" motor
NP02hx5.jpg

TRD Headers:
nDgefAw.jpg
Z34DQqc.jpg
aeOkVU1.jpg

Wrapped headers (fuck wrapping headers, it's not fun):
K4Cgj88.jpg0bRbheR.jpgHmhZkMt.jpg1YtBExm.jpg
 
It was time to make the big decision in which company I decided to move forward with on the T1-FUN. It was a 3-way tie between Total Chaos' caddy kit, JD-Fab's kit or the Blazeland extension kit. The TC and JD kits were both coming in around $10K. Both kits look and from what I have read, perform the way they should. The Blazeland kit has options: Already modified control arms or the WIY kit. After much deliberation and online research I did decided to go with the Blazeland kit. Seeing how @Horunner 's kit performs for the cost and ability to keep the torsion bars weighed heavily on my decision. As well as the cost. For the same amount of money as the TC/JD-Fab kits, I would be able to buy most of the fab equipment to allow me to weld it myself and learn how to do it.
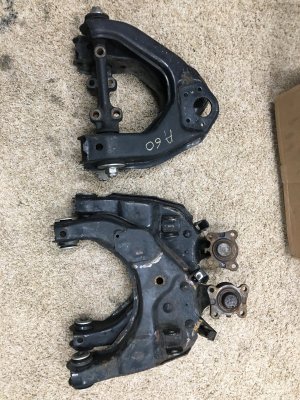
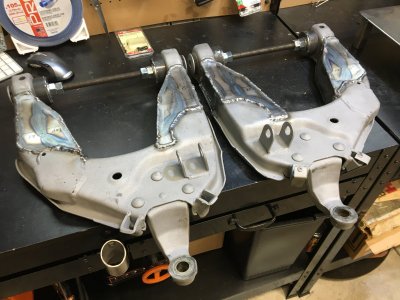
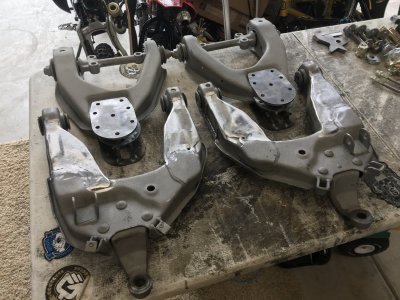
I found a second set of control arms on CL and proceeded to go through the process of modifying the arms.

CL arms:
L3JlrDG.jpg

Sand blasted and the first cuts:
57dB7Ic.jpg

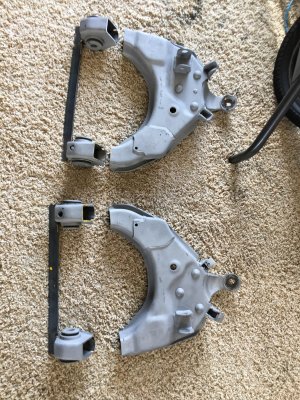
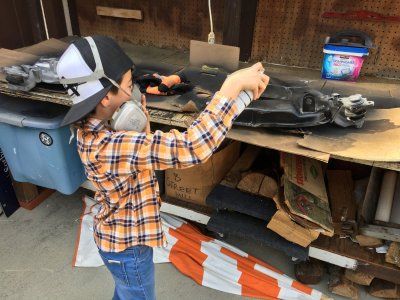
I won't go into all the steps of modifying the arms but I'll show you some of what I did.
5MP4QsA.jpgeKDLBeC.jpgW0FNQ9u.jpgtogUZpr.jpgIREFZYv.jpg51WeUa4.jpg

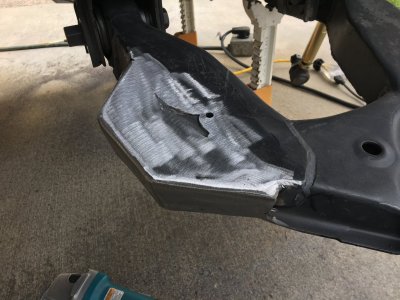
Ground down some of my shitty welds on the top. Hoping that I kept enough meat on them so that they don't crack.
SvjTz0n.jpg

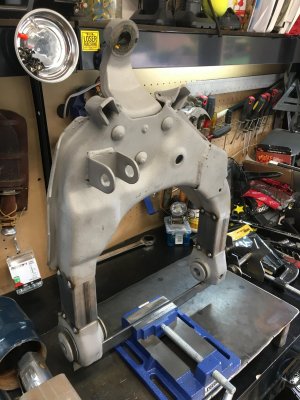
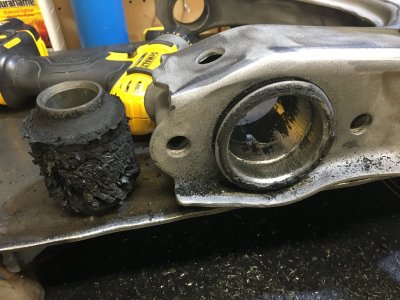
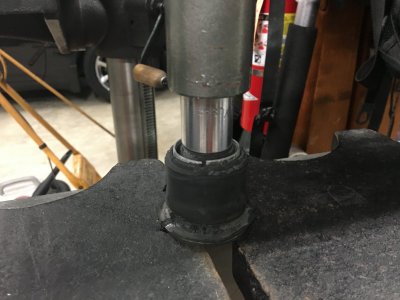
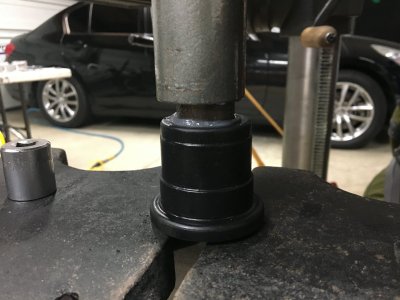
It came time to press out the old bushings and install the new ones. (Fuck this step) I did the top control arms but threw in the towel for the bottoms. I took them to a shop and had them press out those out. I had to keep the old metal bushings which made the task even harder. I decided to go with polyurethane for the replacement and I think next time, I'll just go with rubber. That way, I don't have to keep any of the old hardware.
GT8evKU.jpgg5frDIO.jpgBwIifGS.jpg

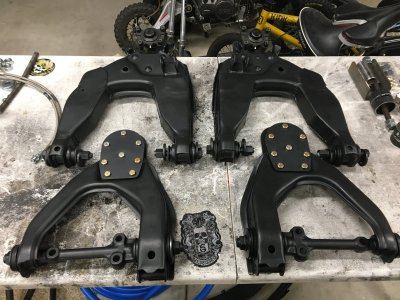
Once I got all the bushings in, it was time for paint. Threw on some Steel-It on everything.
U6HmB40.jpg41a90t4.jpgHFnYGoD.jpg


Installed all new ball joints:
uujGXAv.jpg
 
Pick up some Deavers while on the search for other random T100 parts on CL.
Iifz0Ra.jpg

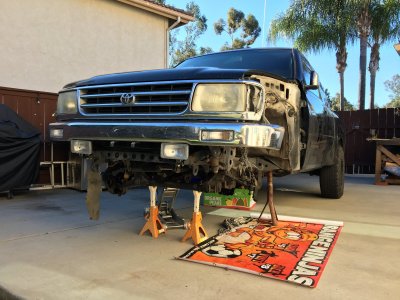
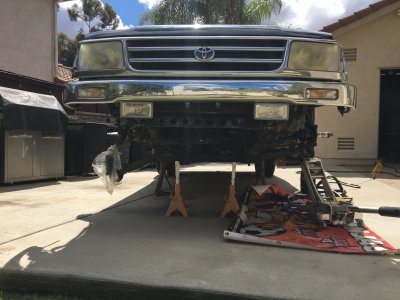
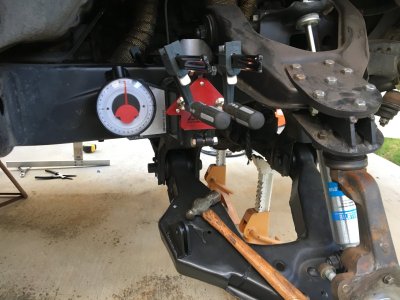
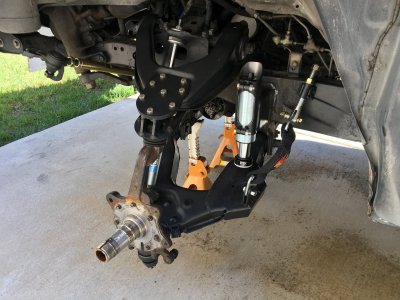
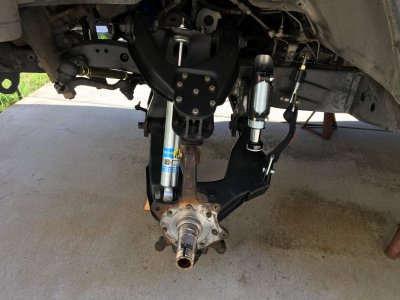
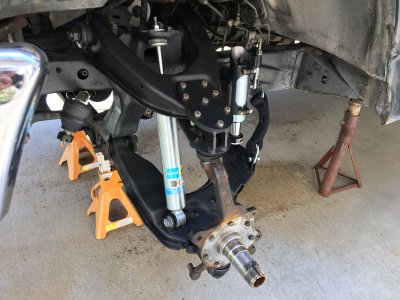
I finally made the big leap to start the control arm installation process. I have never done anything like this before, so this was a big deal for me to start ripping apart my perfectly fine, operational truck. EHHHHH.... It's definitely a leap of faith but a fun and exciting one. You guys have been a super helpful inspiration for me and so thank you all for sharing your experiences.

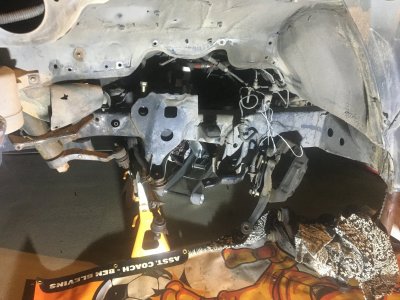
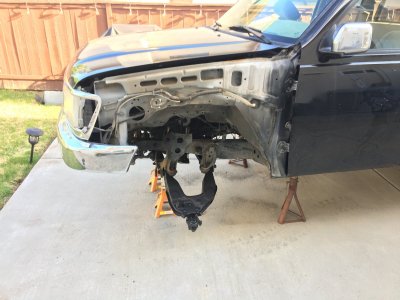
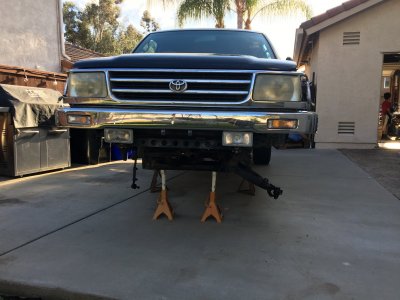
I started tearing it part this last Friday and got the driver's side control arm, torsion bar, both front fenders off that night.
VQXRBwP.jpg

KvYhAGj.jpg

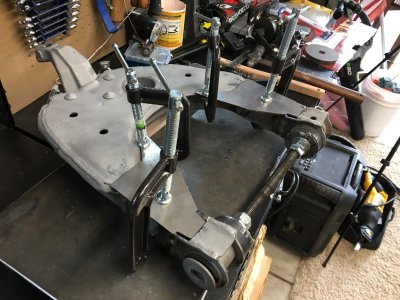
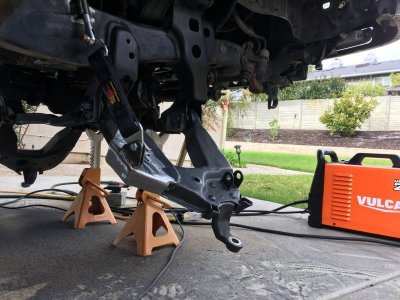
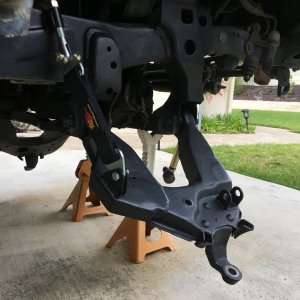
Then before the Super Bowl on Sunday, I was able to get the other side ripped out and was able to get the driver's side lower control arm put in. Removed both brake calipers also. Installing that bottom control arm was a bitch. The bottom mounts needed to be spread apart. I'm sure the modifying of those arms made them spread a bit. Luckily I was able to stretch them out a bit using some all-thread, bolts and washers.4mWXreL.jpgm5l4BqW.jpg

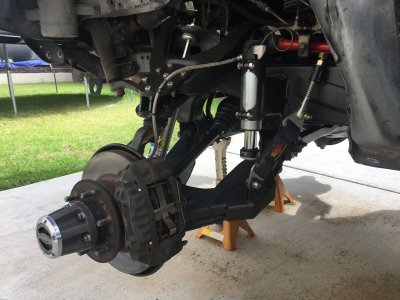
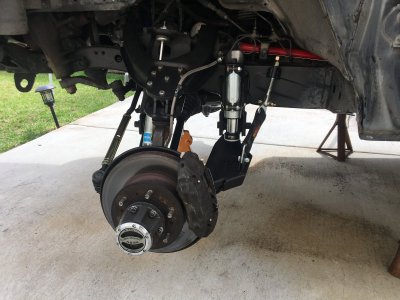
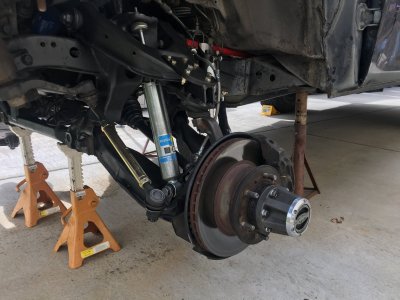
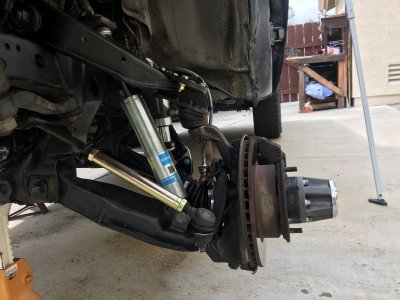
So I've decided to ditch the torsion bar setup and go with a coil overs. I have access to get some Fox shocks at a considerable discount so I figured it would be a good time to take advantage of that while it's still available.

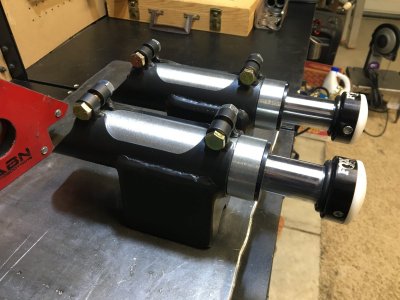
Talking with some of you guys, I've decided to go with a shock hoop. I plan on doing this on my own so this whole process is going to take alot longer than I originally planned (I'm sure you all know that feeling). The biggest thing that scares me about this whole process is cutting out the fender and re-mounting all the brake lines and electrical. Again, I have never done any of that so it's all uncharted waters for me.

One question I have for you guys, I plan on cutting out the top shock mount (not all of it just the tab hole), both bottom bump mounts, upper control bump mount. I plan on running a limiter strap and bump shock. Would you agree with that plan or should I keep any of those mounts for some reason?
 
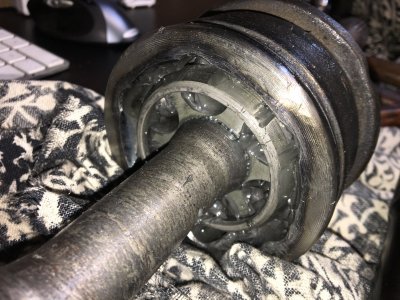
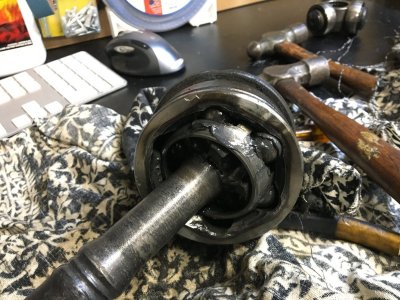
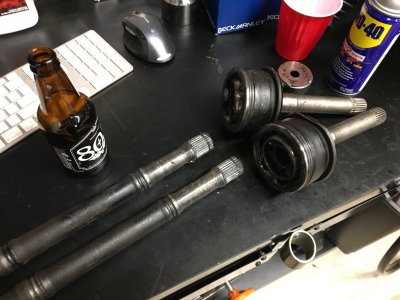
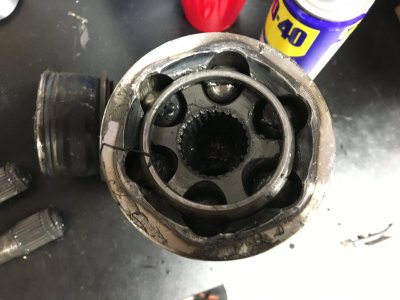
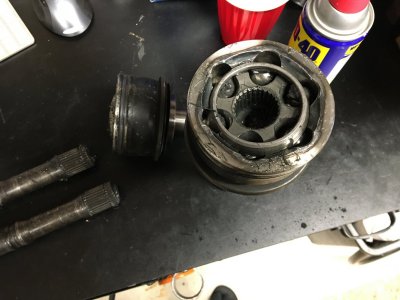
Does anyone know how to get a stock front axle shaft out of the outer CV joint on a Toyota T100/Pickup? I bought new TC extended axle shafts and was in the process of getting these all setup for install but ran into this problem. Very little on shaft replacement "John/Lorena Bobbit Syndrome" on the web. From what I've seen/read I would have to hammer them off or cut the shaft and press it to break the C-clip. Anyone have a better method?
Y8zBVj5.jpg
T7hGVdz.jpgRJi9gTj.jpg
 
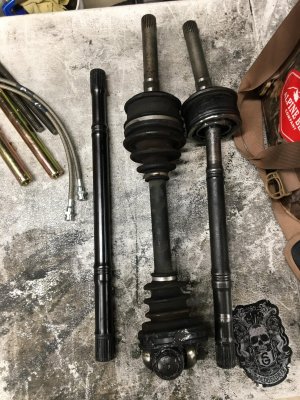
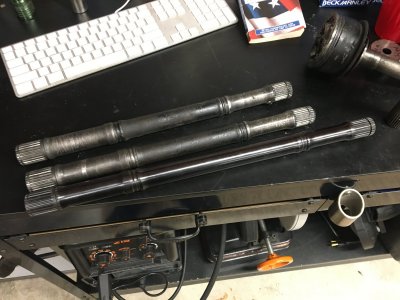
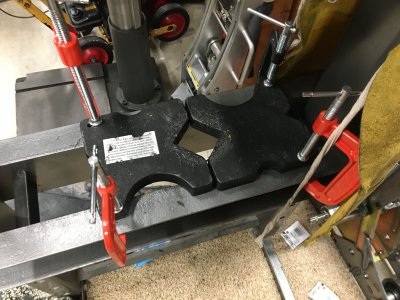
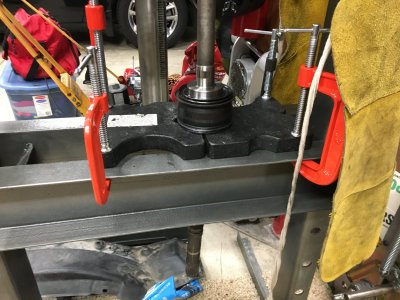
OK.... I think I figured it out. After a lot beating on my shaft until my skin was raw, I think I figured it out. I'm going out on a limb but I think I figured out the easiest way to bust off that hidden C-clip. What I did, after a lot of wacking with a brass pin and hammer, I decided to try and pull the shaft out. I went to my HF 20-ton press. I took the press plates and oriented them to allow my axle shaft to hang through. I then, after several failed attempts, figured out that I need to secure the press plates down to the press rails. Once those were secured, I proceeded to lift up and quickly smash down. The first one took a few smacks for success. The 2nd one only took two pulls to break loose. I haven't look for the broken C-clips yet because it's 4:00 in the morning but I'm stoked to get those axle shafts free without destroying the CV joints or my hands.

TC 3+ axle shafts
kl9IklS.jpg

C-clamp press plates to the HF press rails
fSMykKi.jpg

Axle shaft ready for a hard pull. YOU CAN'T HANDLE THE PULL!
sYYU9q2.jpg

Final Product:
0Et5tzw.jpgCNMIaka.jpgOEaLiiC.jpg
 
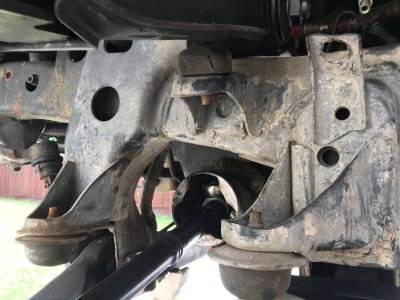
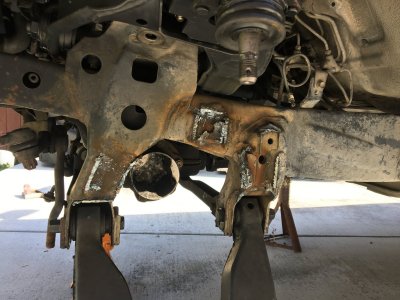
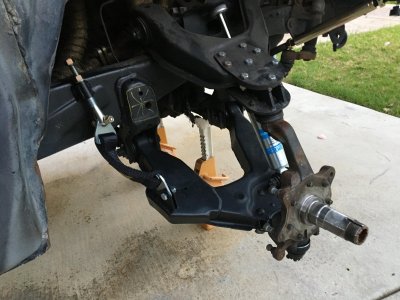
Now that I got the stock front axles removed and the new axles put together, I decided it's time to go all in and remove the stock bump stops. So I got my prasma cuttel out and went to town. I'm sure this stuff is all basic shit to you guys but this is definitely a point of no-return for me.


Before:
2Ehr5w3.jpg

After:
8KzqXjo.jpg

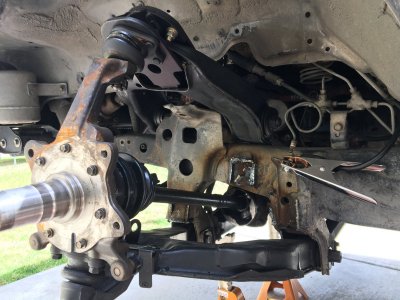
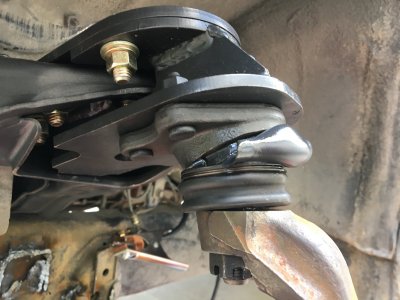
Once I got the bump stops cut, I tested out an axle for binding. I found out that the upper ball joint couldn't handle the extreme angle and it popped.
L4Kz6Yq.jpg
urABdRH.jpgQXwkePB.jpg
I have a question for you guys. How do I go about selecting the right bump stock for my truck? Do you guys have any suggestions? I have a hook up at Fox shocks for I'll probably go that route. What kind of travel should I consider? I was planning on welding it in so it lands on the back of the lower arm.
Also, any recommendations for limiter straps.
 
I don't plan on hammering the shit out of this truck but hopefully, I'll get alot more performance out of the suspension with this upgrade. Why not land the hydraulic bump stops on the lower arm? Too much stress on it or something?

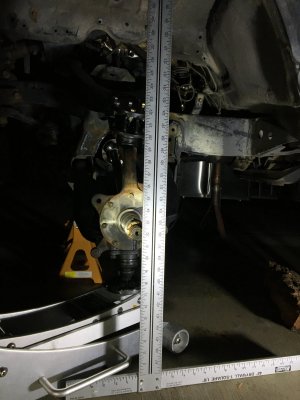
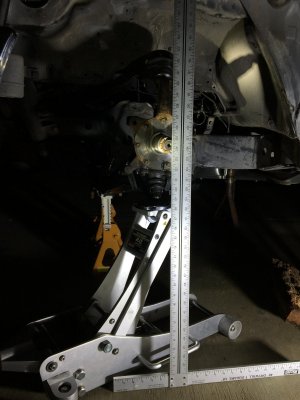
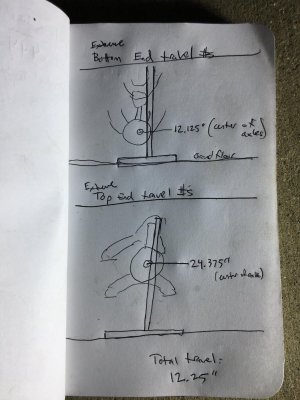
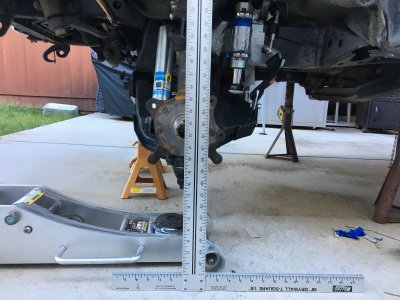
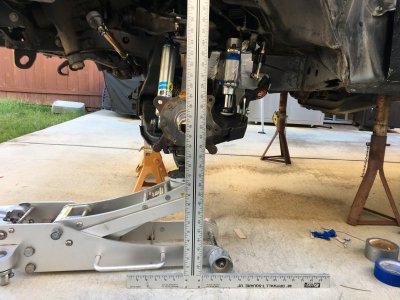
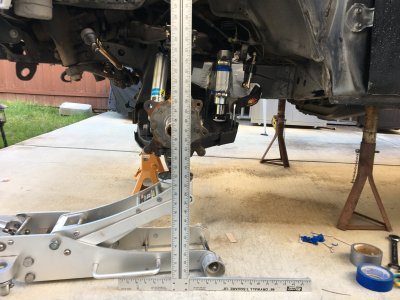
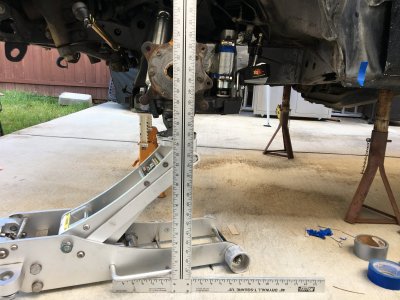
Last night I measured the amount of travel I have at complete bottom and top ends.


Bottom travel:
XyvE6DK.jpg

Top travel:
H9i4lOb.jpg

Roughly 12.25" of travel:
OfrOFch.jpg

From what I've gathered, I should limit around 1" on either end to prevent complete bottoming out. Is that the general rule?
 
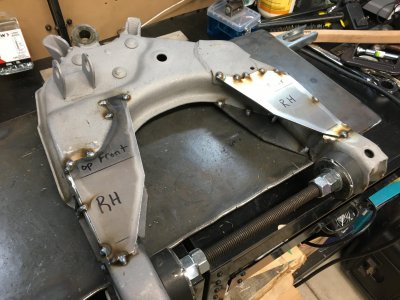
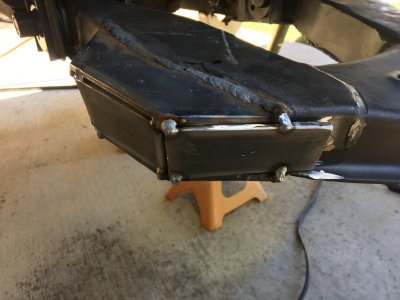
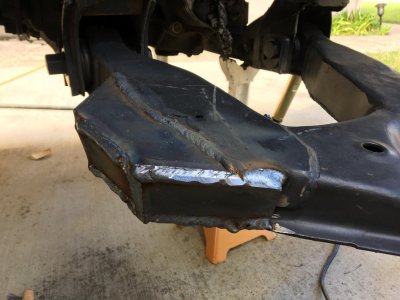
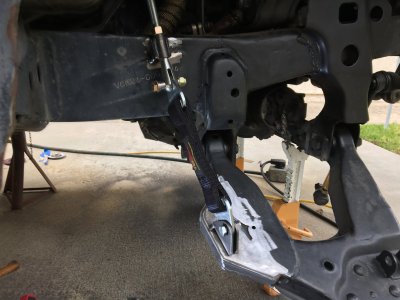
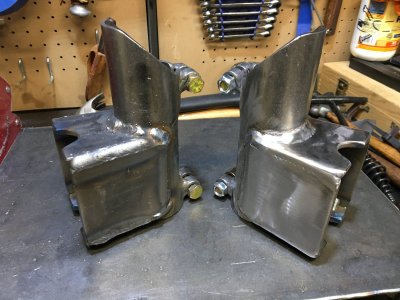
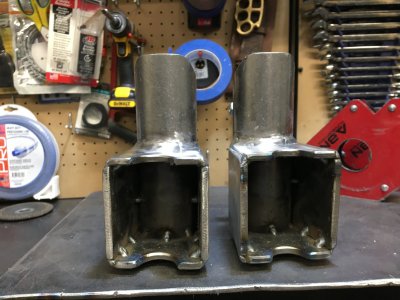
Had some time this weekend to work on mounting my limit straps. Had an issue with finding a spot to mount the lower strap to the lower control arm so I had to fab up some more space on them. It should give me some more room for my bump stop to land on also.

I think I need to get smaller straps though. Got 10" ones and I think they are letting the arms droop too far. I think 8" will do the trick.

IVMwDYI.jpg
roLs2FE.jpgZiNcMO0.jpgf9WmHJ2.jpgxsFB5oZ.jpgNrR7DXC.jpgjmNlq3M.jpgp417ECb.jpgWWzvt5O.jpgXIlzAfu.jpg
 
Onto the hydraulic bump stop install:
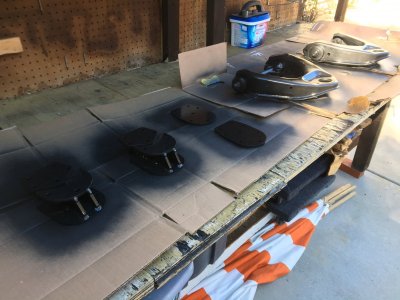
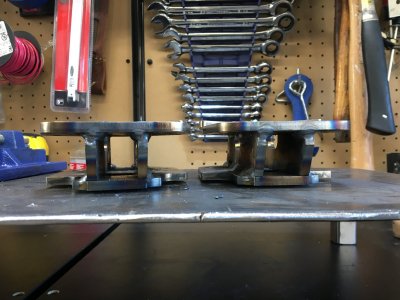
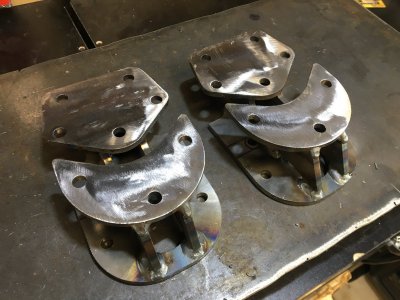
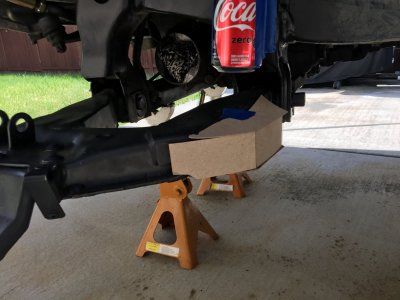
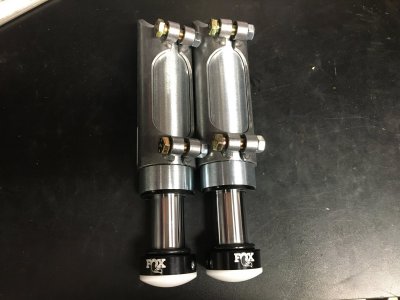
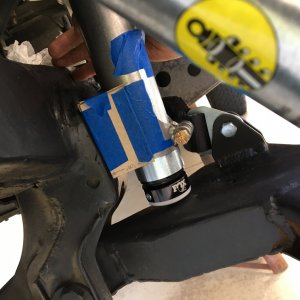
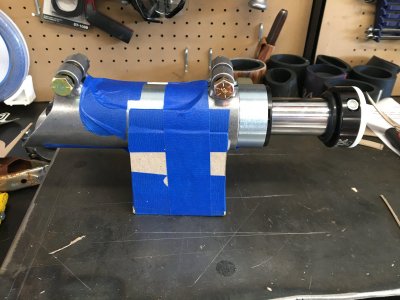
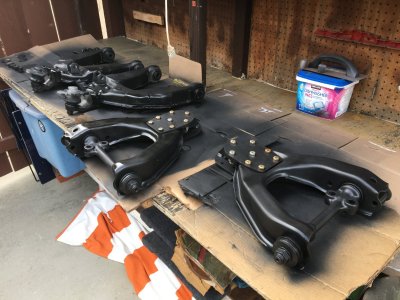
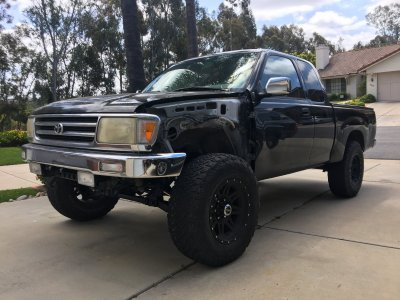
Got the 2" Fox bumps. Started mocking up some mounts and like one of you said, it was too close to the inside of the lower control arm. It was activating way too early. So I made the template longer so it sat a few inches further out. I think it was enough to bring the BS out far enough to give me enough distance to activate later in the upstroke. Crossing my fingers that it doesn't touch right away once I get it back upon it's own weight.
OD33Zf5.jpg

Original mockup, which was too short:
UIn6siS.jpg

The new, longer version:
9zizBi4.jpg

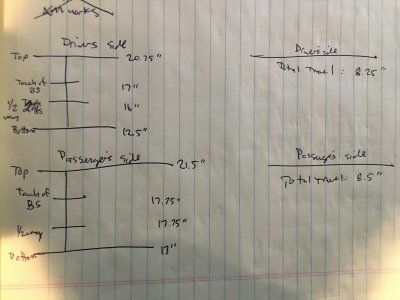
Did four measurements for both sides:
1.) Very bottom of the shock stroke
UmVsoiH.jpg

2.) Halfway up the shock stroke
55uiOrO.jpg

3.) Where the lower arm touches the bump stop
wxErTSj.jpg

4.) Very top of shock stroke (leaving about ~.25-.5")
AEvfreC.jpg

Marked where the mockup is going to be welded in (passenger's side):
7zNydJa.jpg

Looks like my numbers are close:
qKt1KIO.jpg

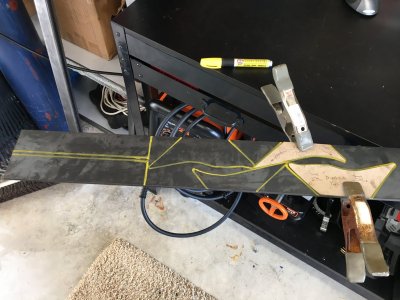
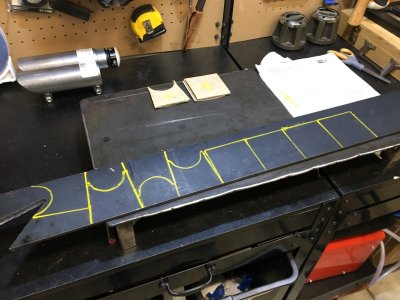
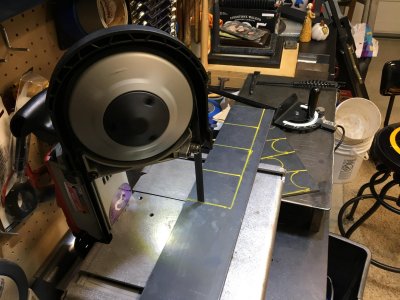
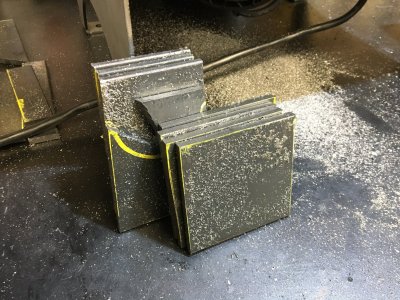
Made my templates:
OW0g6ur.jpg

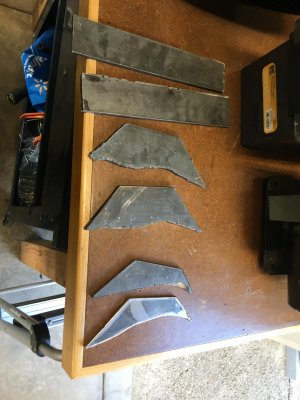
Cut:
XtECKBo.jpgWVOXuzg.jpg

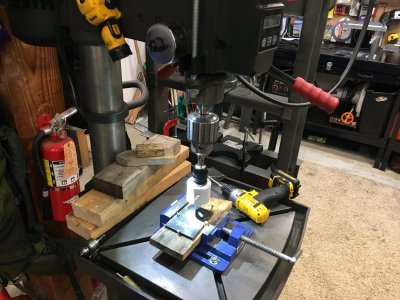
Was able to hole cut one but the rest failed miserably. I'm going to plasma cuttel the rest:
xi9iuHh.jpg
I'm kinda winging this. Let me know if there's something you see that I'm not factoring in before I burn all this in. Would love to hear some feedback and/or if I'm overlooking something or need to consider something before proceeding. Also ordered up my 8" limit straps to replace these 10" ones.
Thanks!
 
Put some more time in this last week.

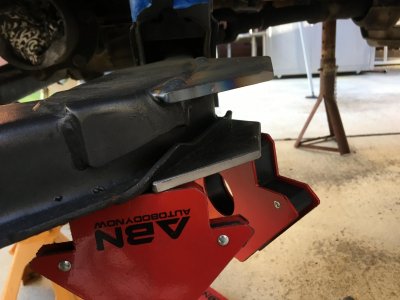
drupDvb.jpgrbbdAYr.jpgVsd0470.jpgKlPQS3k.jpg

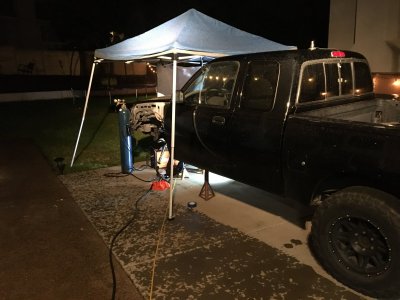
Worked last night. Rained on me. Hailed on me. Lighting/thunder....
K1lfrbN.jpgqpNwS8K.jpgwQnmpzq.jpg6kp2DBB.jpgo0DYnnd.jpg

A little bit of clean up on the massive amounts of welding I had to do last night. I had a massive gap to fill. That sucked.
Time to it all back together.
 
Spent the last few days wrapping it all up. Just need to get it aligned now and a few other little things. Did some neighborhood high speed bumps and dips. Seems to handle it pretty well. Excited to get it aligned and go see some dirt. Glad to be driving it again and I definitely learned a lot from this process.

Driver's side:
FhqXiqG.jpgo9wr2EY.jpg7W9fshT.jpgWhdXUsG.jpgQpXa4QP.jpgf5ENU4u.jpg

With the glass on:
6fQQO6K.jpg
 
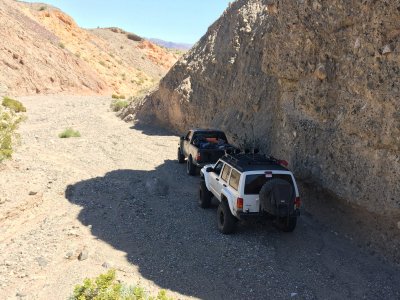
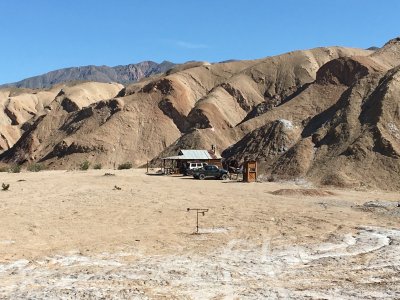
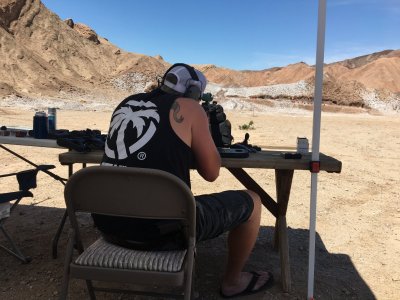
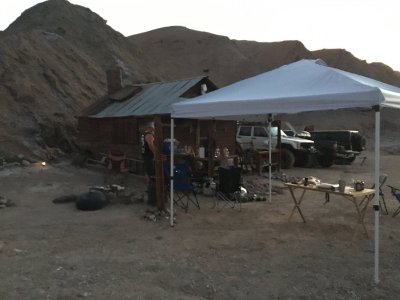
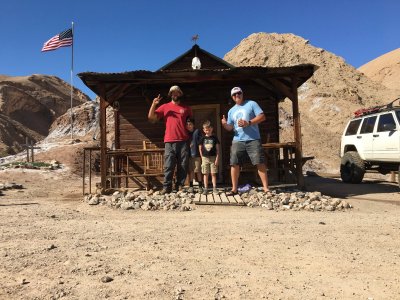
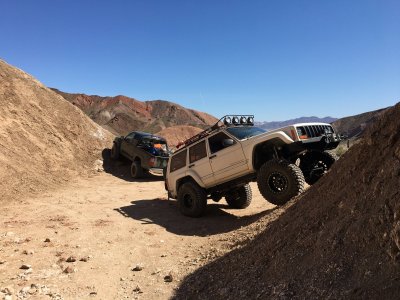
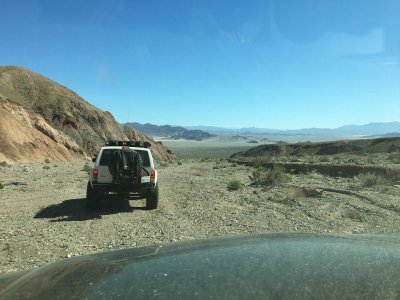
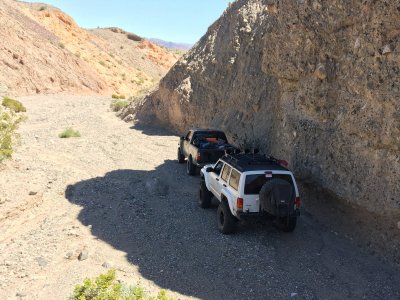
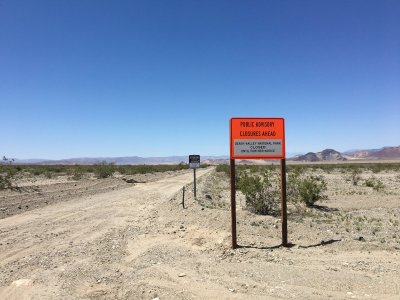
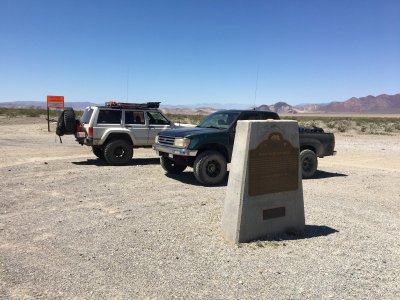
Nyu6KXa.jpgDecided to say Fuck this WuFlu BS and head out to Death Valley for my friends birthday. It was hot as fuck out there but we got to road, shoot, camp and get shitty drunk. We cut it a day short though. It was getting way too hot for the kids and sleeping in that kind of heat was getting a little stupid. Without kids though, we would have stayed. Never seen DV so green though. Flowers everywhere and the hills were green. You could tell there was a lot of water that dropped this year.

6bCqUNJ.jpgZFq2F1d.jpgB4FWuS1.jpgView attachment 7725tSAfulL.jpgS8sOhNH.jpgMqQdUEM.jpgARHWmyA.jpgDHs6bGc.jpg0qS3MYL.jpgLUoXZFo.jpg
 
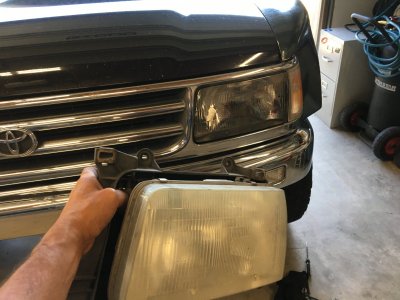
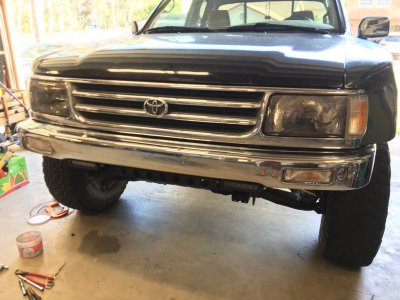
Finally decided it was time to ditch the faded stock front headlights for a $100/pair fleabay lights. They were surprisingly very close to the stock ones. Unbeknownst to me, they have a dark tint to them, which I actually like now that they are on. They definitely helped the look of the front end.
Old vs. New:
HkRsmwR.jpg
F2a77UI.jpg

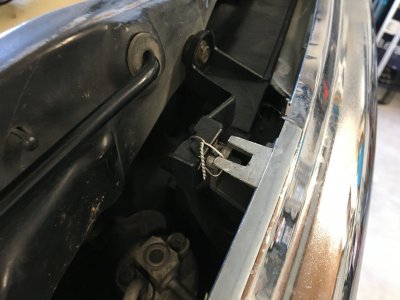
Good ol' wire keeping the front grill from falling off:
fkkgzbT.jpgom3YKb8.jpg

Question for you guys:
I'm having an issue with my steering wheel and alignment from drifting off to the left after off roading. I saw on a recent Terra Crew video of one of the guys on here, his Tacoma and the Dirt King guys have a lower control arm alignment bolt lock. Do they make anything like that for older Toyota trucks? I think that might solve my issue.
 
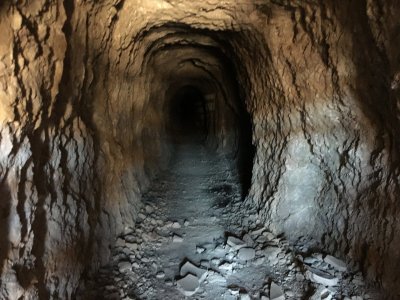
Ya, we plan on doing around 300-350 miles this year. Hoping to do a lot of the side trails and see some mines, abandoned sites, etc... We (or I) usually take a bunch of photos while we go. I'll definitely report back once we get back.
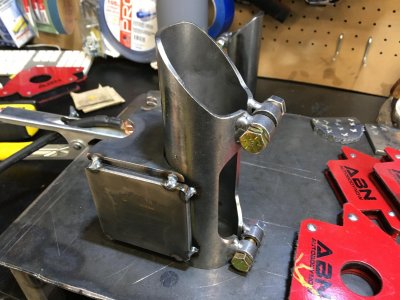
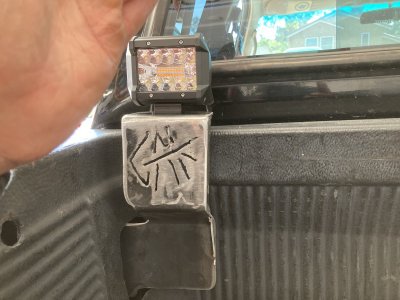
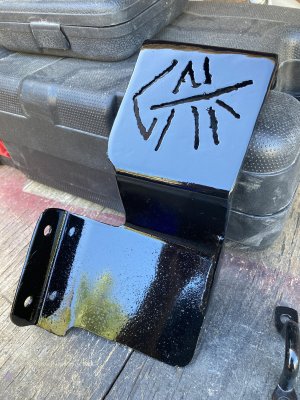
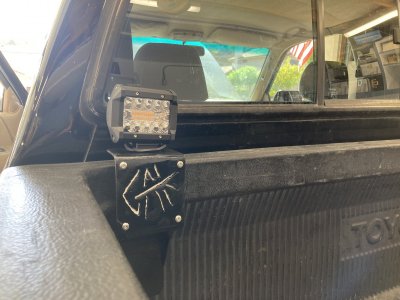
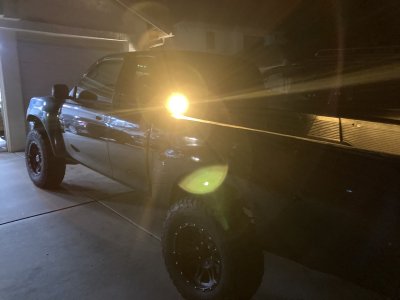
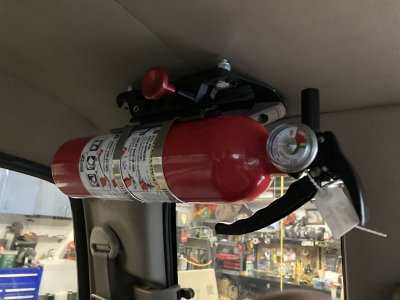
I spent the weekend tooling on the truck. Made a bracket for dust light and a fire extinguisher. I didn't want to drill into the bed so I made myself a bracket that attached right behind the tie down hoop. Same for the fire extinguisher, I used the back oh shit handle for the mounting spot.

iutqzho.jpgRWwTIjD.jpgFg4VbF7.jpgVVPeLPp.jpgtueXz51.jpg
 
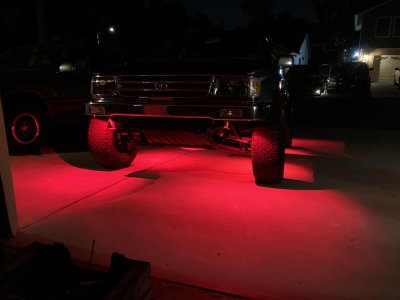
Spent Friday evening and all day Sunday adding in some new rainbow lights. I'm ready for this year's off road trip and next year's PRIDE parade.
vMwdaZh.jpg
 
Back
Top