You are using an out of date browser. It may not display this or other websites correctly.
You should upgrade or use an alternative browser.
You should upgrade or use an alternative browser.
Rusty Red
- Thread starter SByota
- Start date
June 2021
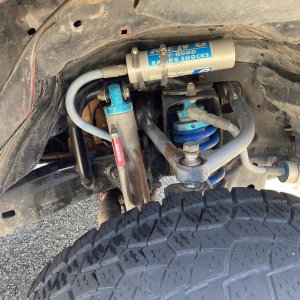
I was browsing the classifieds like I’m sure we all do. I stumbled across this listing for a well used, but pretty well equipped 1999 Tacoma Pre-Runner. It had a early generation Total Chaos long travel kit, with the added double bypass shocks, F67 deaver springs, TC 12” shackles and 2.5” double bypass shocks. Fiberglass fenders and bedsides
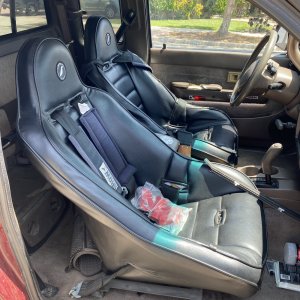
The fab work on the front looked to be of decent quality, the rear not so much. The inside had decent seats, harnesses and a fabricated harness bar. The paint was thrashed and she was definitely ridden hard and put away wet.
Asking price was $7,500 reduced from $8,500. Messaged the seller and made an appointment to see it.
Met with a mom and daughter. Mom was in charge, it was the daughters truck. They got it for her already built and she lost interest after one Glamis trip. Truck was pretty beat to shit, but in typical Toyota fashion, ran and drove well with the 250,000 miles on the odometer.
Made a deal at $5,750 and picked it up the next day.
Here is the plan:
Rebuild and prep the front suspension and shocks.
Swap out the F67 for H70 springs and set them up properly. Swap out the axle to a sequoia ( tundra width with factory disc brakes) one and mount the shocks outside of the frame rails. Add air bumps.
Ditch the bed completely and build a bed/cab cage. Il be doing the C pillar on the outside of the cab. It’s way easier to build and saves a lot of interior room. The rest of the cage will be inside like normal.
The best mod, adding 4wd. With all the parts, it’s a simple swap. I’m going to do it the easiest way. Keep it an automatic, use a manual J shift transfer case and lock the ADD in the front diff so the axles spin all the time. Zero electronic changes needed. Need 4wd, yank the lever into 4H. Need 4L, stop and shift into rock donkey range.
Blasted off all the grime today and backed it into the garage. Going to start striping it down tomorrow and ordering a shit ton of parts.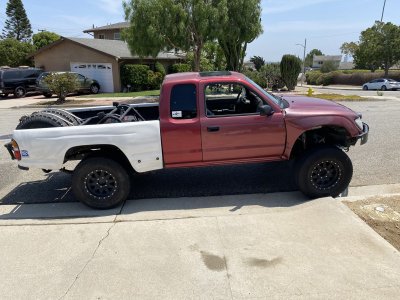


August 2021
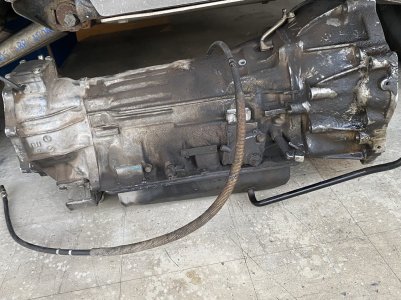
Got the major 4wd parts. Of course it was 104 degrees in LA the day I went to pull these parts. Transmission and transfer case both looked really good. The seller pulled the front diff. He wasn’t able to get the 36mm nuts off the outside of the CV so he cut the axles with a angle grinder. It doesn’t matter since I’ll be running Tundra axles.
The Jeep is pending sale and should be gone tomorrow. This will allow me to go crazy buy parts!


August 2021
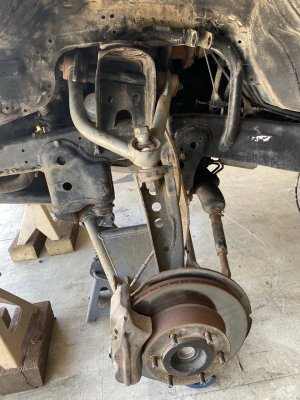
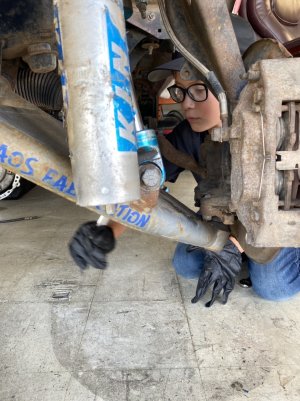
Did the driver’s side with the minion. It’s it set up pretty perfect. Coil over, bypass and upper uniball all max out at the same time. Nothing more to be gained without a total design of the suspension, and that defeats the purpose of this build. Looks like whoever setup the front end did one side good and eyeballed the second side and missed a little. Ill
Change the upper bypass mount on the passenger side so it bumps at the same time as the coil over.


August 2021
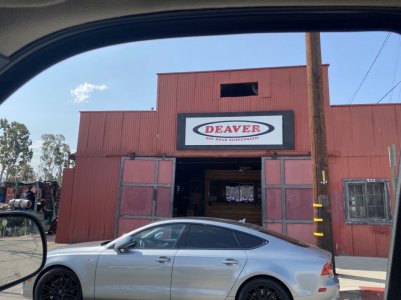
Drove down to Santa Ana and picked up some H70 springs from Deaver. Then stopped at 4WP for the rims and tires I ordered 2 weeks ago. Going to need to do lots of cutting to make these 35’s fit at bump. Probably going to need to figure out a new washer fluid reservoir too.
Work for me has been fucking terrible the last few weeks. So much mandatory overtime. I worked 86 hours in the last 7 days, fucking dumb.
I have a few days to work on ol Rusty this week.


August 2021
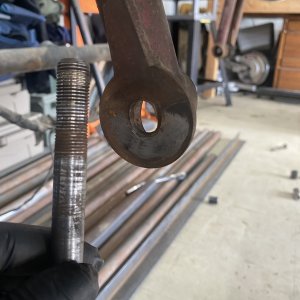
Pulled the rear suspension apart today to get rid of the parts I don’t need and make some room in the garage. The hardware on the springs were hammered. Half fine thread, half coarse. Nothing was shanked and most of the mounting holes are egg shaped now. One bolt was seized tight in the bushing. Diablo blade sliced it right off after the air hammer failed. Shank your hardware kids!!
The minion was out helping me prep the F67’s for sale.
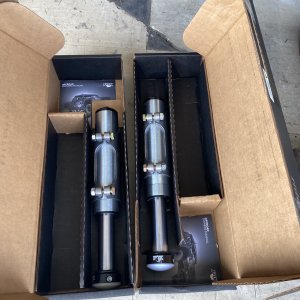
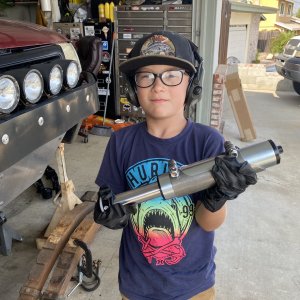
Poly Performance had a sale going on Fox bump stops. After failing to find King ones for a reasonable price in the classifieds, I just orders some fresh ones. $425 shipped for bumps, cans and hardware, not bad. People wanted more for used stuff!


August 2021
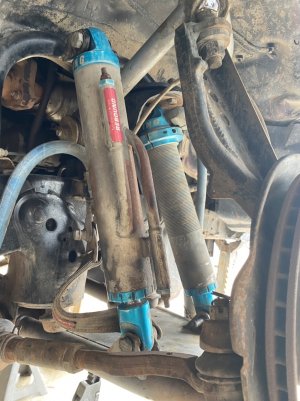
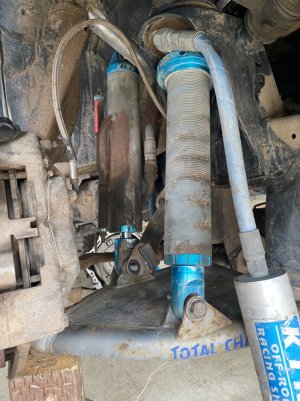
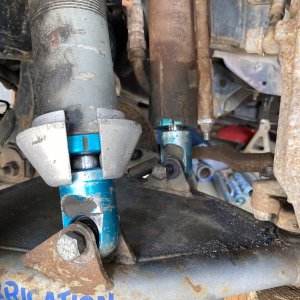
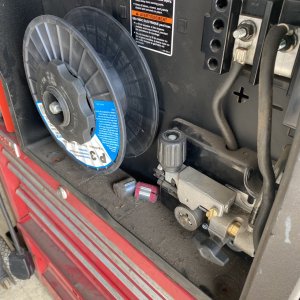
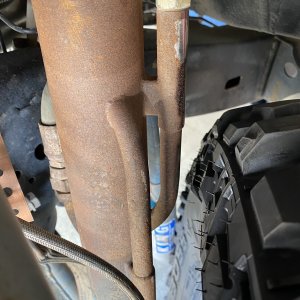
Fixed the bump stop and bypass mounting issues today. Extended the factory bump stops so they actually work and moved the bypass shocks to use the whole length without bottoming them. Tire gets a little close to the bypass tube at droop and full lock, don’t think it’s going to be a problem. Also ran out of wire in the middle of a bead.
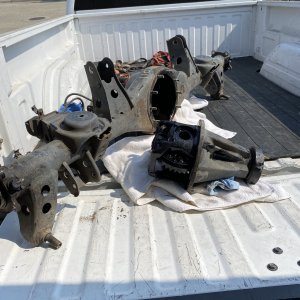
Also picked up a Sequioa rear ended from the local jonke, lots of brackets to cut off this one.
Next up is making room for the 35’s. Lots of cutting is going to be required.


August 2021
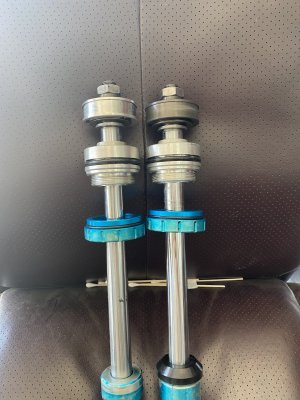
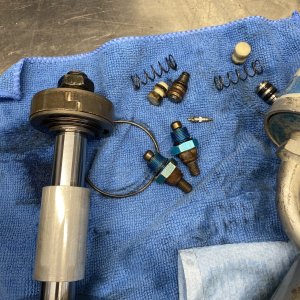
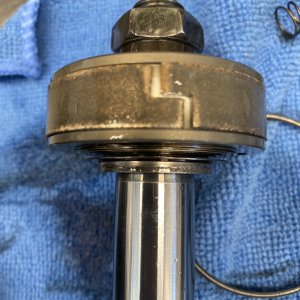
Got a minute in the garage before work today. Pulled apart one of the rear shocks. As expected, it was disgusting. Valving is a straight stack on rebound and a rate plate setup on compression. The bypass tubes had plastic check valves, I’ve never seen this kind before. Granted, I don’t have a lot of experience with bypass shocks.
Valving recommendations? I’m going with the @Do Dahstack in the fronts as a starting point. Fresh H70 springs, 12” above frame shackles and 2.0x4.0 fox bumps. Shocks mounted outside the frame on a sequoia rear axle.
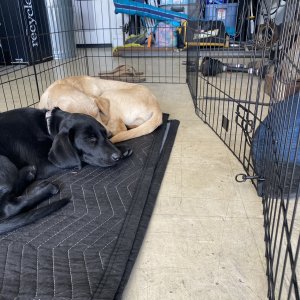
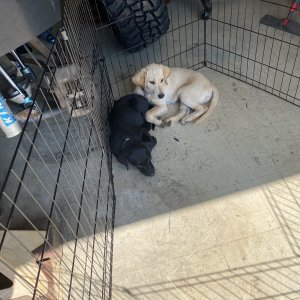
The pups were supervising because the minion was at school.


August 2021
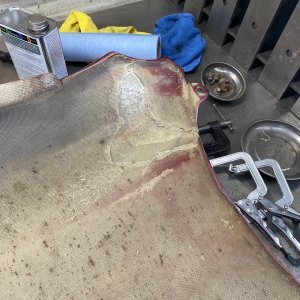
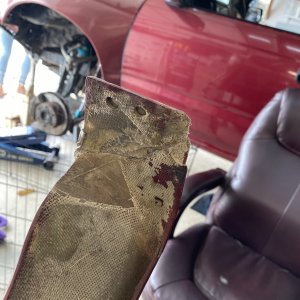
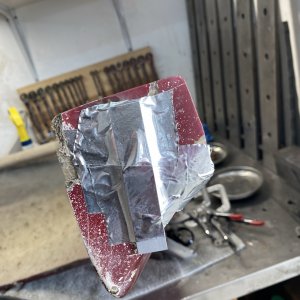
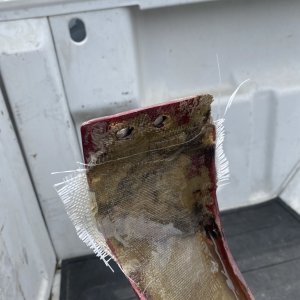
Started the repair on the passenger fender today. I have never done fiberglass work before. Definitely fumbled my way through it today. I used some old aluminum tape from my HVAC days and hold the broken pieces in place. The bottom section needed a piece of aluminum flat bar to strengthen it.
The goal was to reattach the broken pieces and get them somewhat close. Then I can do a second round of repairs to smooth it out a little.
The broken pieces are attached now and somewhat close to where they should be. Some grinding, sanding and resin and they will be useable again. Pups were lazy today and basically napped the whole time.


September 2021
Did some slicing on the cab to make room for the front tires. This is full bump and full lock. Definitely didn’t take enough pictures. Sealed off the hole with some 18ga sheet. I’ll seam seal it and paint it once I get the other side done. Fenders requires quite a bit of trimming too. The windshield washer tank on the passenger side also had go. I’ll put a universal one in the engine bay.
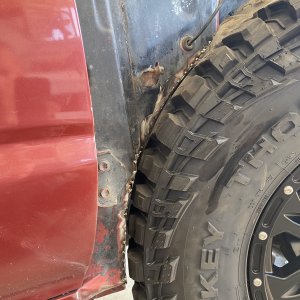
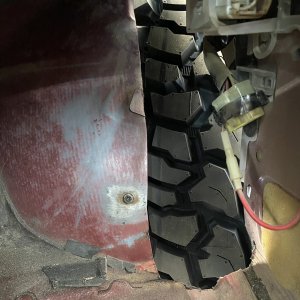
Did some slicing on the cab to make room for the front tires. This is full bump and full lock. Definitely didn’t take enough pictures. Sealed off the hole with some 18ga sheet. I’ll seam seal it and paint it once I get the other side done. Fenders requires quite a bit of trimming too. The windshield washer tank on the passenger side also had go. I’ll put a universal one in the engine bay.


September 2021
Finished off both sides this morning. Used my normal CAD template material and the cheapest seam sealer from Amazon. Check out that fancy caulking gun! It’s probably 20 years old now, left over from my HVAC and roof metal days. Man that was terrible work! Pups are definitely getting used to the garage noise.

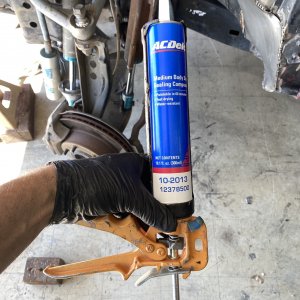


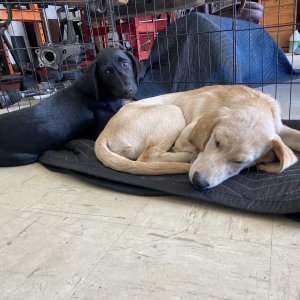
Finished off both sides this morning. Used my normal CAD template material and the cheapest seam sealer from Amazon. Check out that fancy caulking gun! It’s probably 20 years old now, left over from my HVAC and roof metal days. Man that was terrible work! Pups are definitely getting used to the garage noise.


September 2021
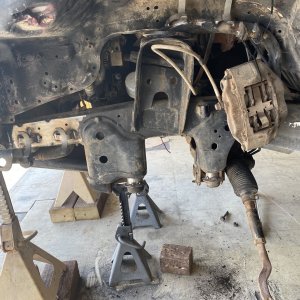
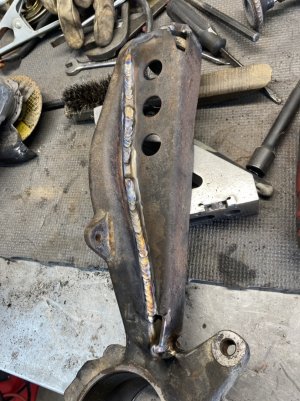
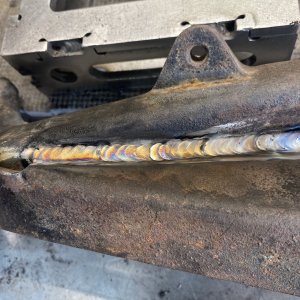
I hate taking these hubs apart! Anyone need a cir clip?! The spindle gusset was only welded, poorly, on one side. Burned it in right with some 312 filler. Felt pretty good with the TIG torch today.
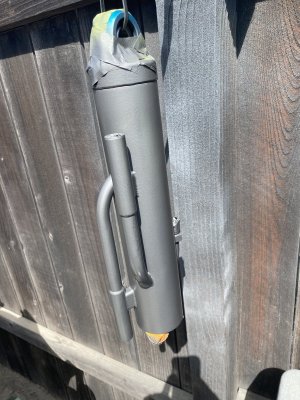
Painted a ton of parts and ordered the paint, a fresh Toyota rack and pinion ($$$) and $200 worth of hardware and misc BS small parts.
The wife is going on a girls trip in a few weeks. I’ll have 3 wife free days to hammer in this thing. Trying to make sure I have all the parts I need not have to leave the house.
Pups needed a nap in the yard after their nap in the garage


