Caidan97
Member
- Joined
- Jan 9, 2023
- Messages
- 47
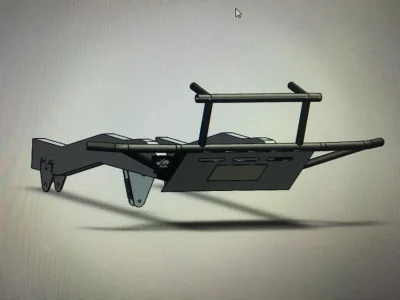
Seems like its time to move this build thread here from dezert rangers. anyways..
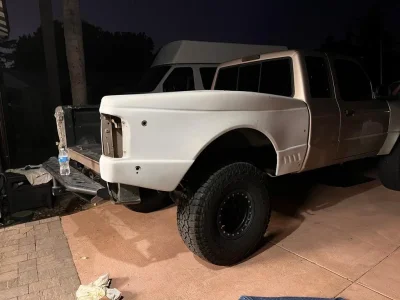
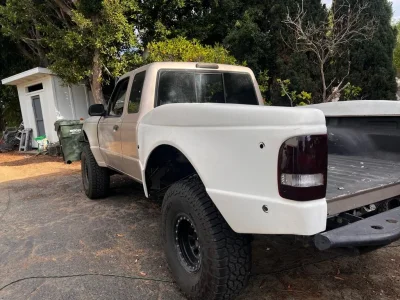
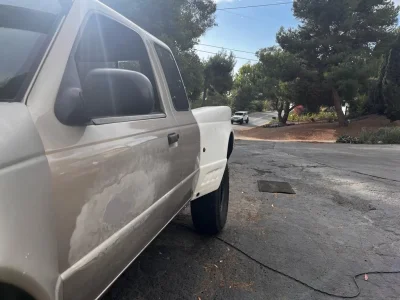
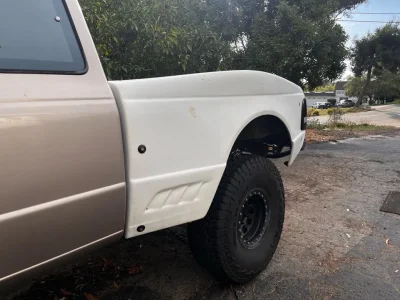
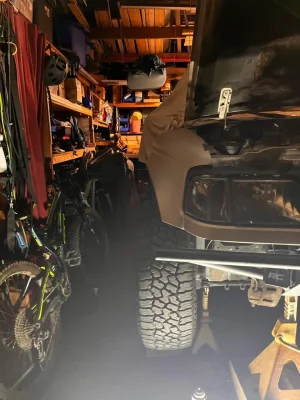
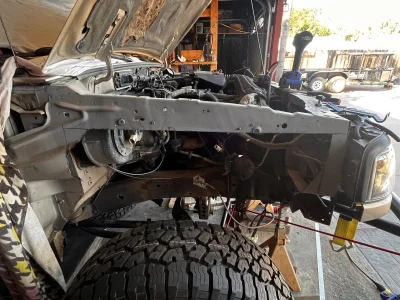
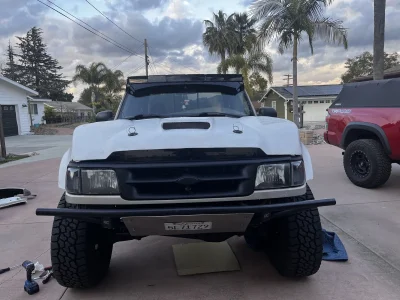
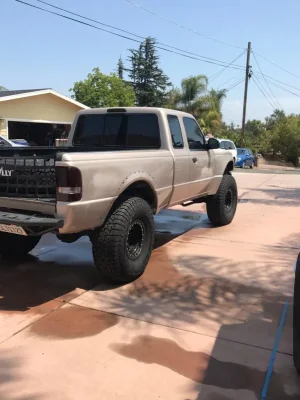
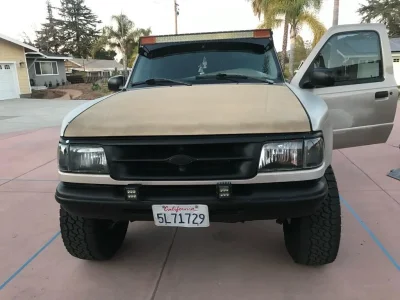
I don’t plan on doing anything to build this truck to crazy, but I wanted to log my progress in hopes of inspiring others. I’m fairly new here so I guess i’ll introduce my self. I’m Caidan, i'm a highschooler that lives in San Diego. Heres a little info on my truck and where its at right now. [ Oct. 2021]
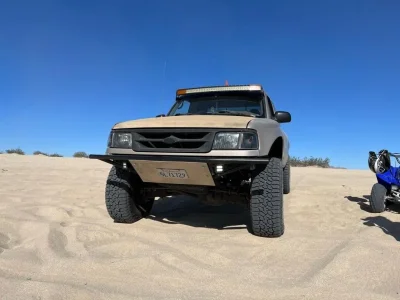
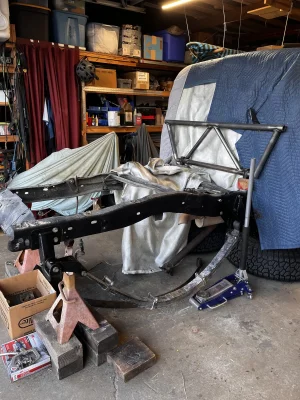
1997 Ford Ranger XL
4.0 with a 5 speed
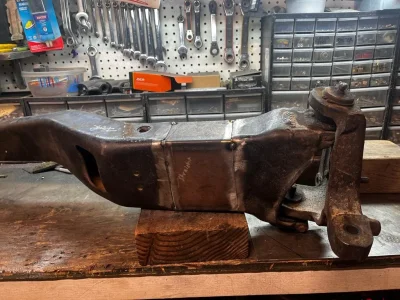
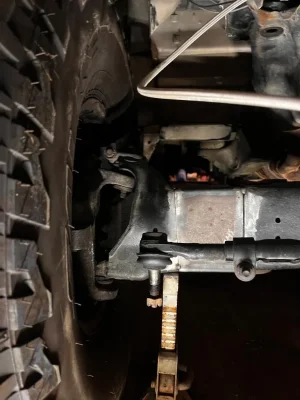
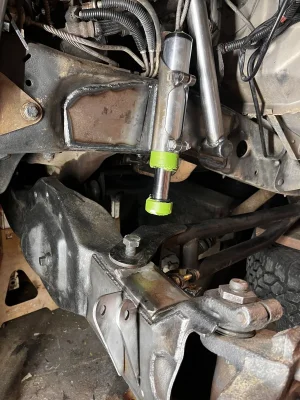
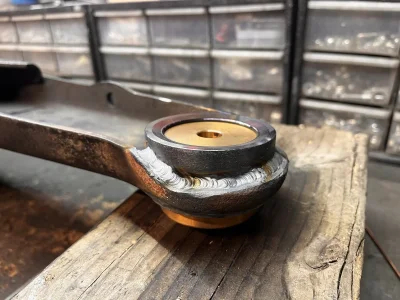
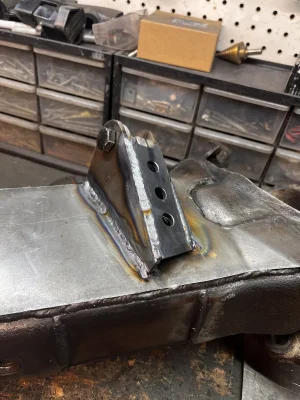
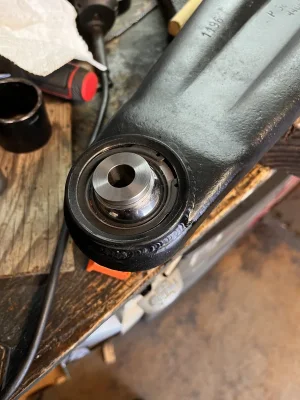
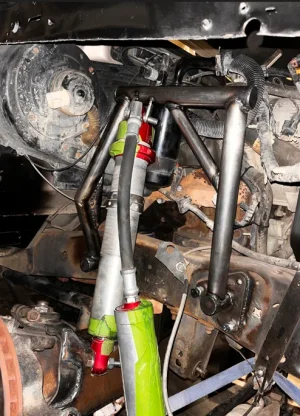
4x4 with cut and turn ttbs and radius arms
4.56 gearing
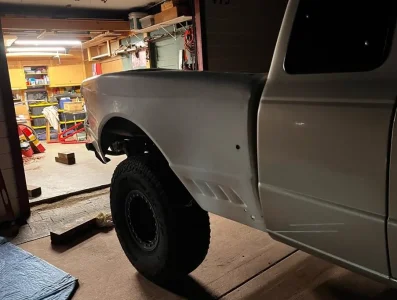
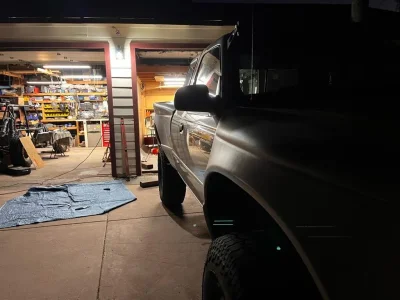
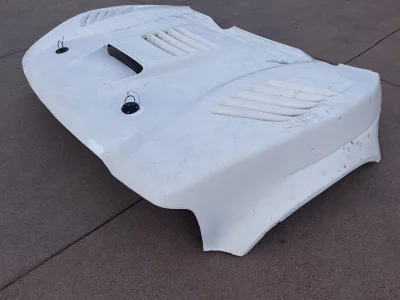
4" front glass
rear bedsides are just rolled
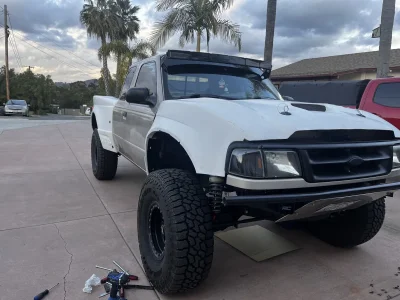
rims and some 15” steely street locks
tires are falkon wilkpeak 35x12.5 r15s
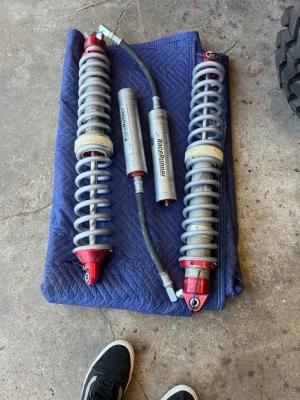
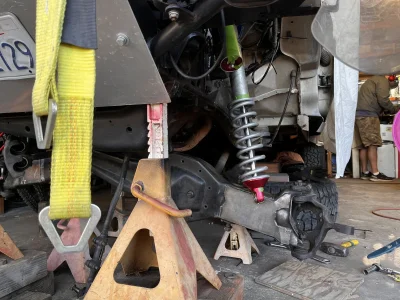
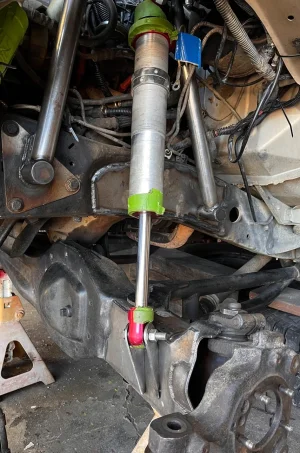
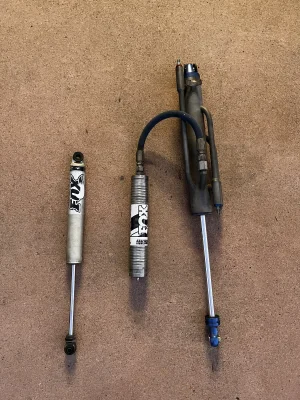
have 4” lift coils in the front with bilstien 5100s
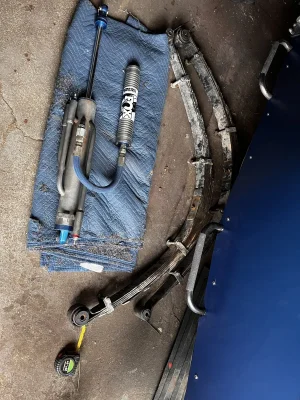
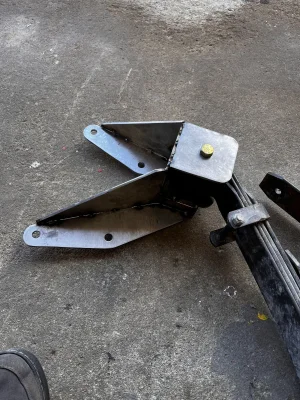
rear has deaver f31s with some flipped hangers and shackles, unknown brand, shocks are some 2.0x 11 ish foxes that are under the bed
80” wide in the front and 73” in the rear
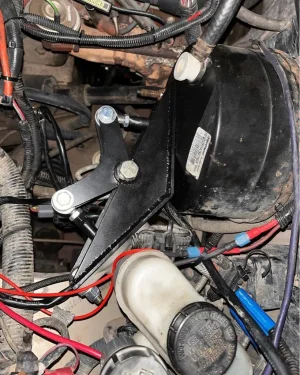
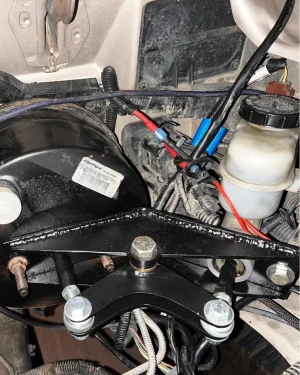
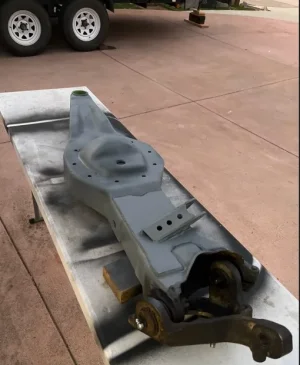
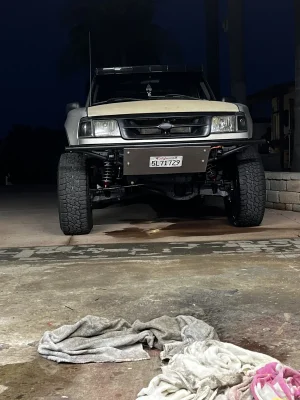
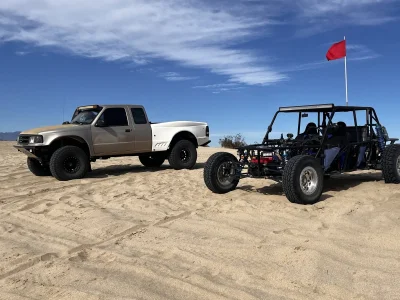
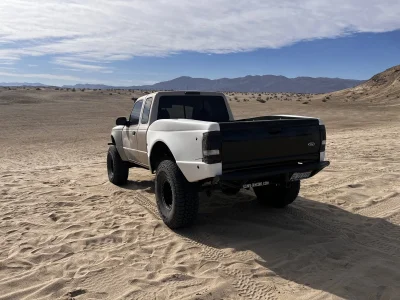
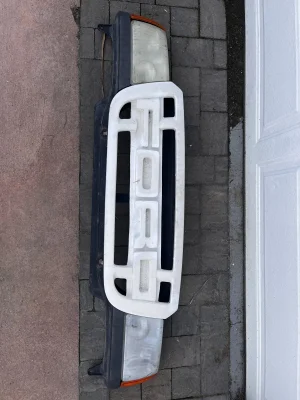
Heres a few pictures
I don’t plan on doing anything to build this truck to crazy, but I wanted to log my progress in hopes of inspiring others. I’m fairly new here so I guess i’ll introduce my self. I’m Caidan, i'm a highschooler that lives in San Diego. Heres a little info on my truck and where its at right now. [ Oct. 2021]
1997 Ford Ranger XL
4.0 with a 5 speed
4x4 with cut and turn ttbs and radius arms
4.56 gearing
4" front glass
rear bedsides are just rolled
rims and some 15” steely street locks
tires are falkon wilkpeak 35x12.5 r15s
have 4” lift coils in the front with bilstien 5100s
rear has deaver f31s with some flipped hangers and shackles, unknown brand, shocks are some 2.0x 11 ish foxes that are under the bed
80” wide in the front and 73” in the rear
Heres a few pictures
Attachments

Last edited: