Giant Geoff
Well-known member
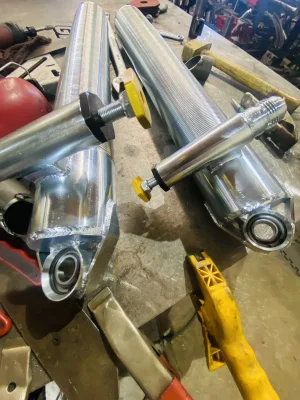
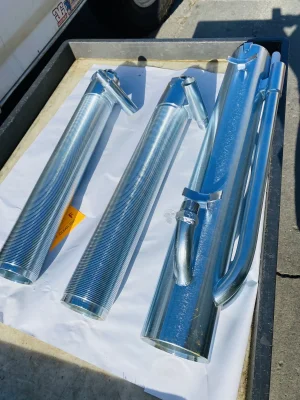
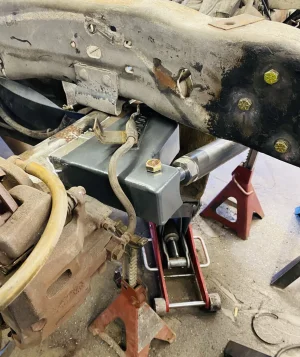
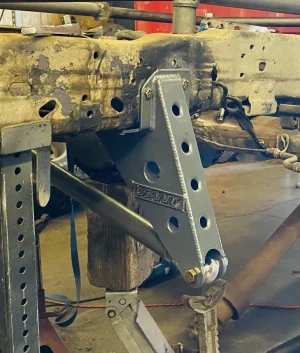
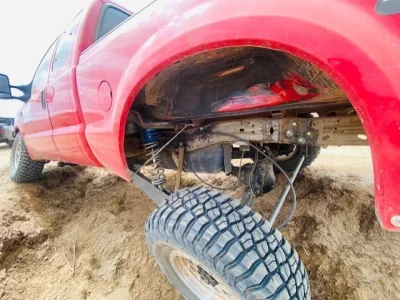
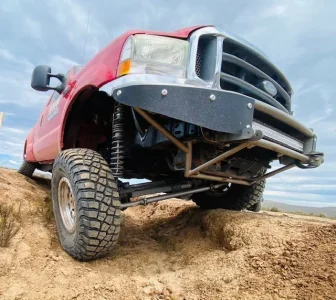
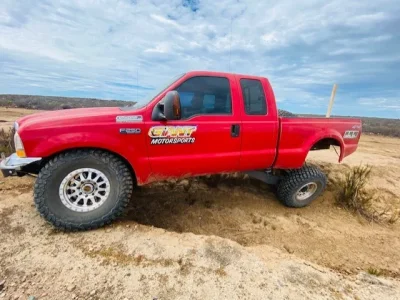
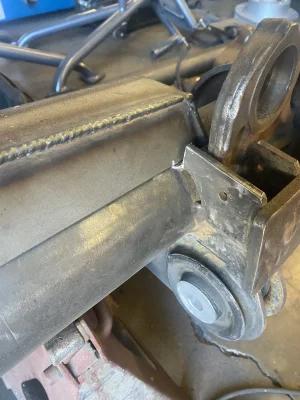
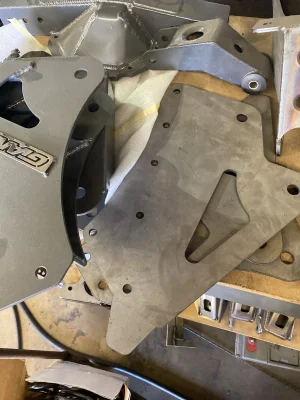
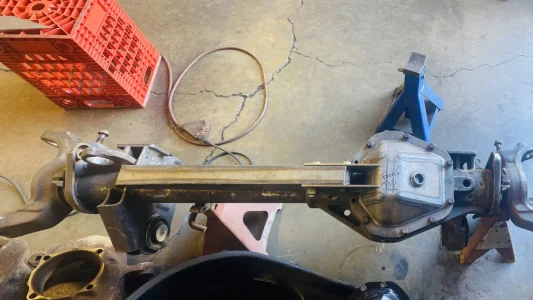
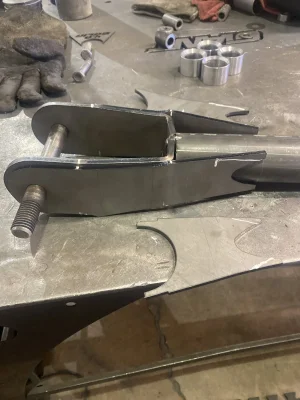
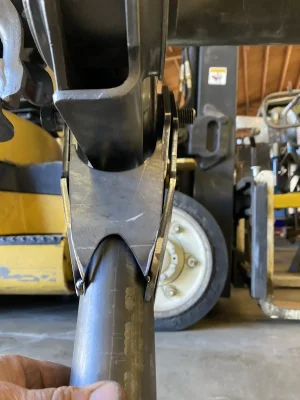
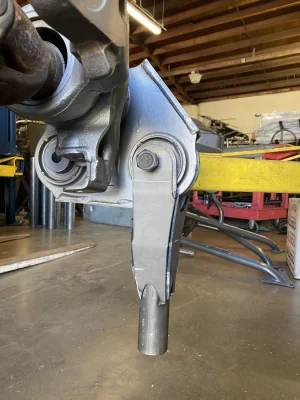
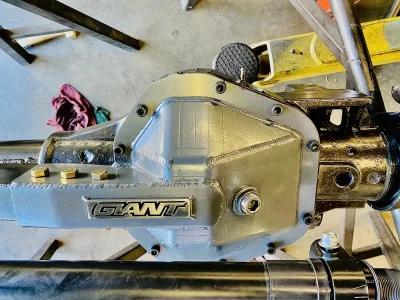
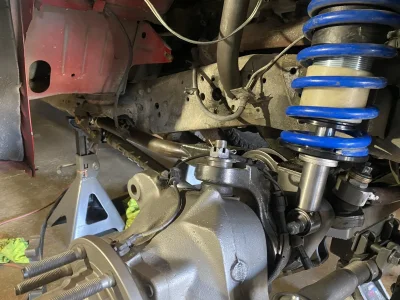
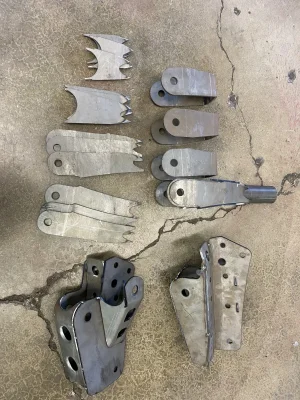
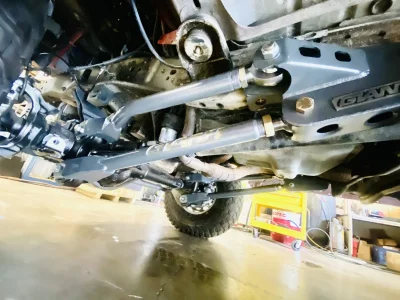
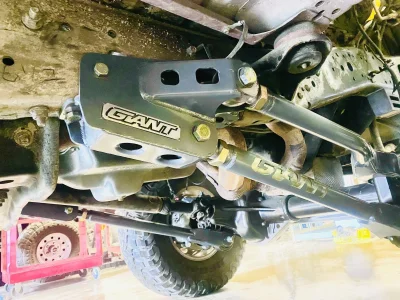
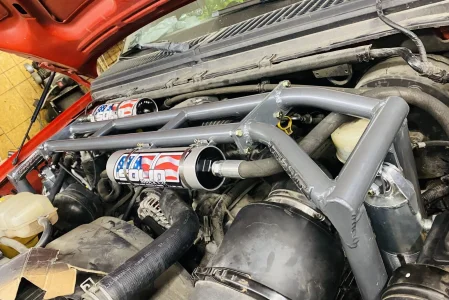
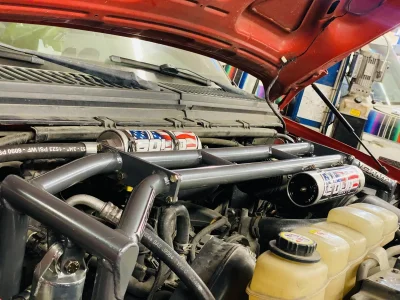
04 Super Duty: This was my first long travel straight axle so I was excited to do something different. The current front and had leaf springs and I did not while want to weld to all the casted metal on the pumpkin to mount the link arms so I picked up an 2012 front axle off of eBay for $450 that has the big pushing radius or mounts already casted into the axle making it easier to work from. I knew I had room for 16” coil overs from doing so many full size front ends. Made and Engine Cage that specifically mounts the sharks which only has room for one going up in there so luckily I have a 3.0” internal bypass to get the job done and be progressive. Premade some clevis mounts to hook to the axle and made the frame pivots and powder coated them so they are already to speed up the install. I ended up getting 15 inches of wheel travel and with the stock steering and panhard bar, it drives pretty good on the street and better than I thought in the dirt.
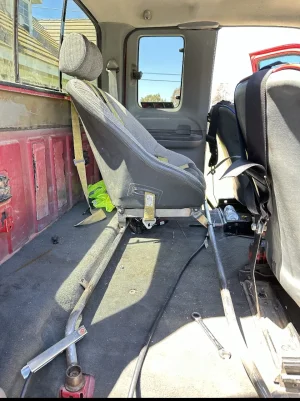
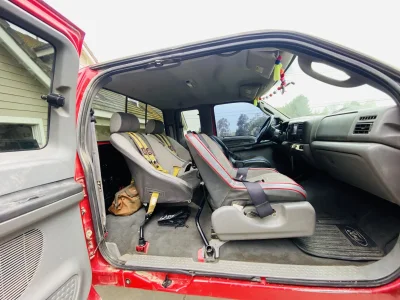
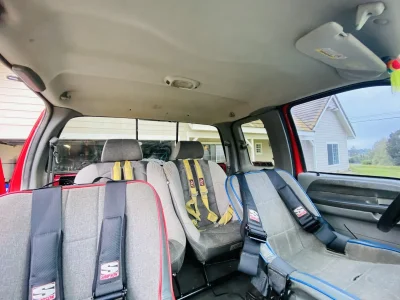
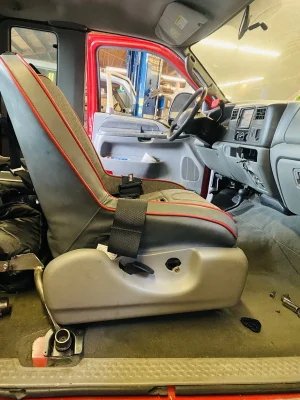
Had to front low backs made and one rear high-back to keep your head off the glass with red white and blue piping. I always like the stock seat sliders so I welded the new seats and four point harnesses to the factory sliders and put the side plastic back on them so it looks good.
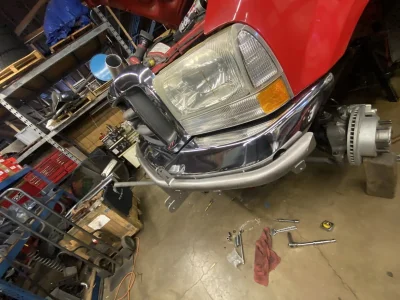
Cut the bottom half of the stock bumper off and bent a radius tube and got a 20 inch LED bar for $65. and a 50 inch radius bar for $109.
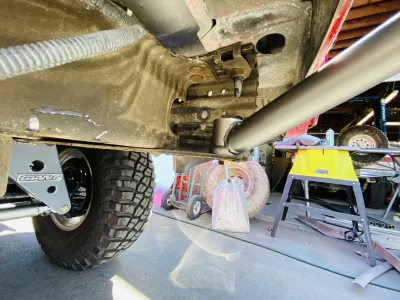
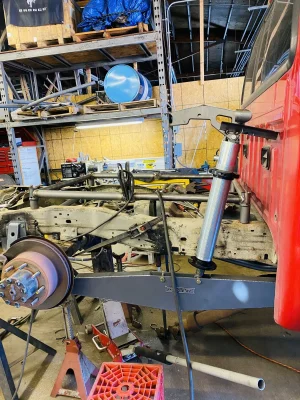
Now I made a Daily Driver Link for rear that I’m trying to do in 5 days but this time I got rid of the air shocks and just did a 3rd upper link to control the axle through the movement.
Daily driver link on the F-250: First day but only got four hours in. Trying to pull it all off in under five days.
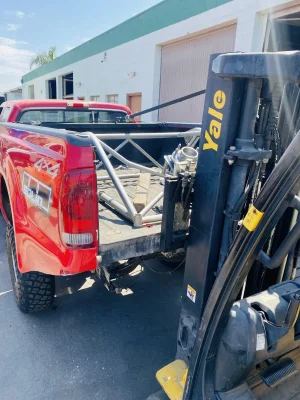
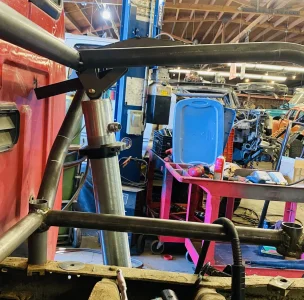
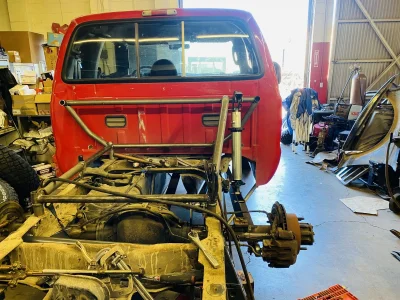
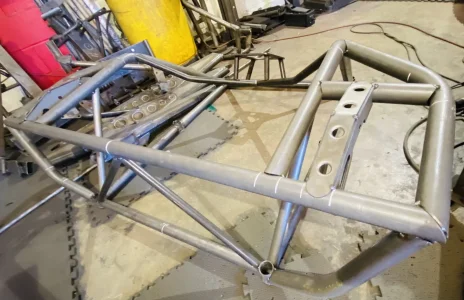
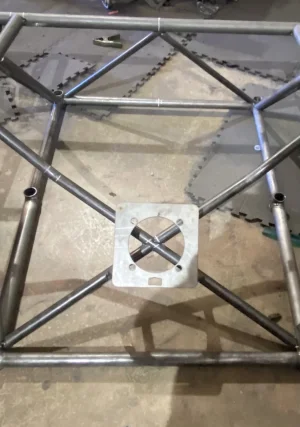
Day 2 of linking the F-250: Got the springs off, grind on the axle, bolt up the panhard frame mount, and start on the bed cage.
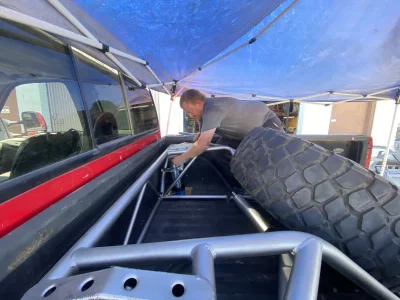
Day 4.5 of linking the F-250: I did a half day the tedious small stuff, sending the driveline out to get shortened 1.25 inches, welded the three Link Mounts onto the axle plus the panhard mount and got rear brake lines made and a bunch a little stuff. Once the bed cage was all welded I did a wipe down and spray painted the whole thing and started the main assembly, nut & bolt everything, slapped some spray painting on the axle, cut and flared the Stock bedsides which felt like I was in high school again and quite stoked. Throwing some general coils on there for now to see how the rate crashes down on them and add some weight to give me a good baseline to adjust.
Trim the bed sides, flared them and added some supports. This was super cool flaring the stock bedsides! When was the last time you did something like that?
Goal was to link the truck in under five days and in between some weekends and left town for a family trip I am extremely happy.
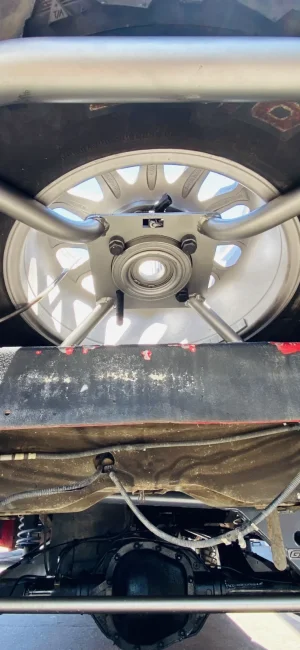
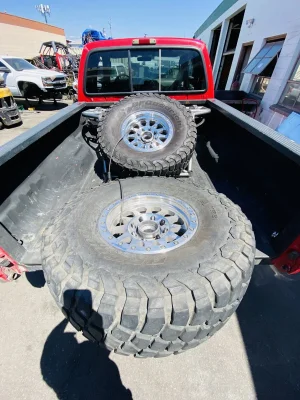
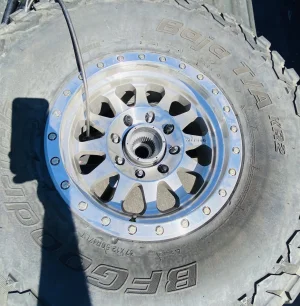
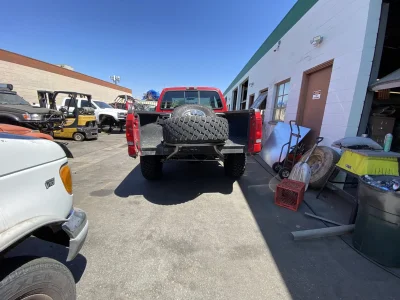
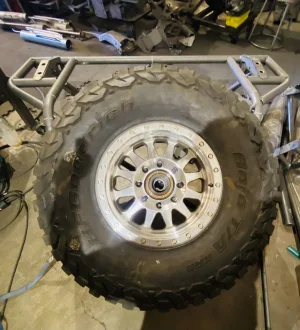
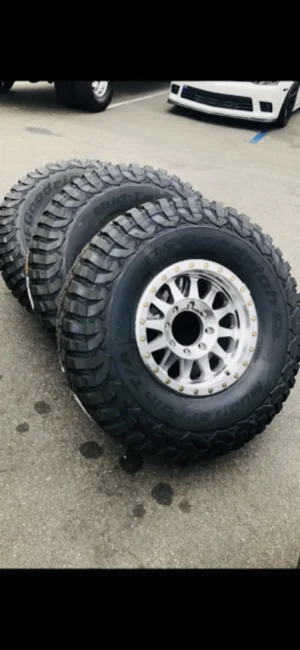
This rear bumper is old school, easy, and simply. I also mounted a front hub to mount the tire so it won’t move around, locks the wheel in place and adds a little weight in the back.
Attachments
-
 4119D1AA-3565-45E8-9FA4-4B94061EC765.webp243 KB · Views: 116
 -
 D8777F04-9459-4235-A4C6-8256785DAE4B.webp212.8 KB · Views: 82
 -
 B2EFE9DA-BA69-47D7-8DF6-28C9EF7AD1D0.webp192.3 KB · Views: 70
 -
 A3FA9B15-57C8-46F3-A0E0-69C37FB21B07.webp179.2 KB · Views: 67
 -
 BD1FE980-A6FD-4724-9CCA-76FA3D0CC600.webp121.3 KB · Views: 66
 -
 154AAFF3-BB82-4F8D-A266-1065124E21E3.webp217.2 KB · Views: 64
 -
 29762D7D-4A8D-4BCC-B148-0D5920D7ADC4.webp76.9 KB · Views: 62
 -
 B8C63E65-E6FB-479A-BCD5-3A8E379F71E6.webp139.3 KB · Views: 64
 -
 49995B83-21FB-41E8-8B58-930A20203711.webp409.1 KB · Views: 65
 -
 3B015C4F-AAD3-478F-AA17-9DE58E5C5B96.webp210.1 KB · Views: 63
 -
 F2AA65B1-426B-4E34-A74D-380B44E16F29.webp243.7 KB · Views: 64
 -
 2371CB24-80E9-4D13-A643-28AE5497B3BE.webp246.4 KB · Views: 63
 -
 F541D419-B542-4594-AC16-E76C71A52421.webp524.6 KB · Views: 64
 -
 4F940B47-CBF0-4F3B-B621-CE857ACA578F.webp79.9 KB · Views: 64
 -
 66E98CE4-DF83-4E3E-A585-76F996A3750A.webp205.2 KB · Views: 68
 -
 2A7BB027-FBE9-4D67-ABAE-F7A99CD73D81.webp407.6 KB · Views: 66
 -
 D3BA41ED-324B-4FFD-A3C3-0A7EB8657A9E.webp288.8 KB · Views: 65
 -
 5AE048A7-2AC8-430D-8C3F-789AF340E4EA.webp296.7 KB · Views: 69
 -
 FAA411D2-2BED-4A2F-A500-43889BDB9D10.webp279.4 KB · Views: 65
 -
 609142D2-FA9C-4B3E-97D6-967C04C49832.webp196 KB · Views: 74

