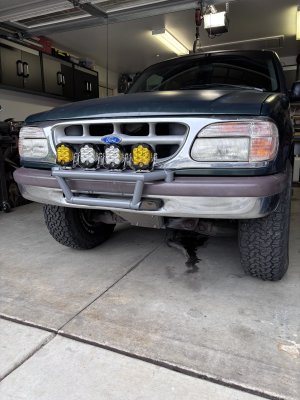
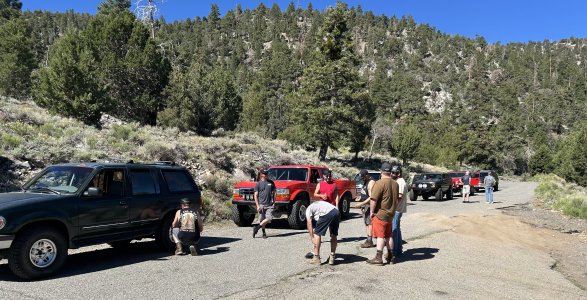
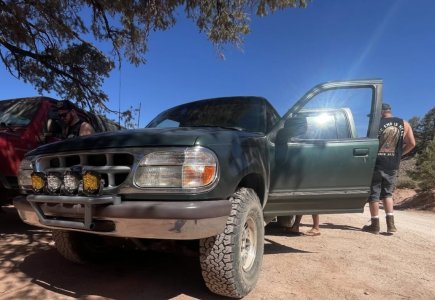
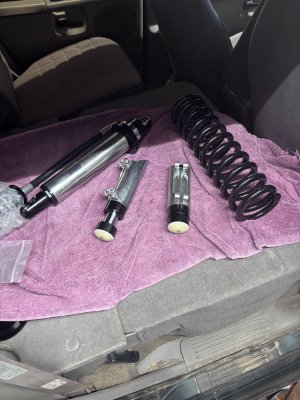
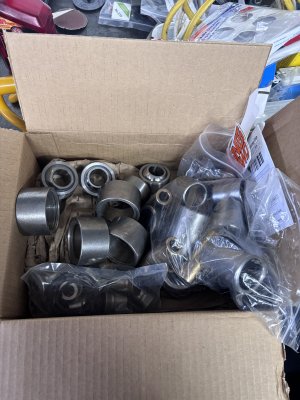
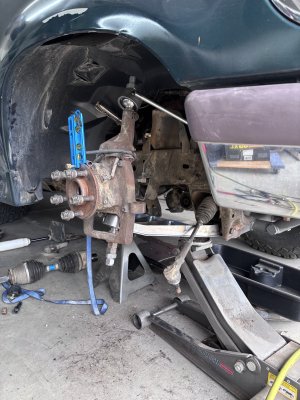
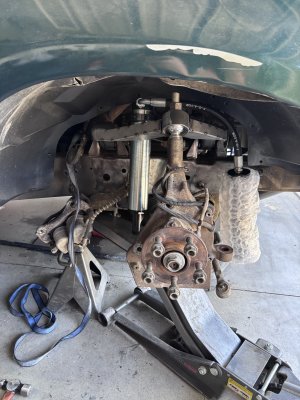
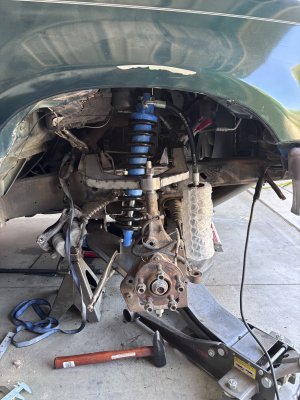
What’s up! Decided to start a thread on my explorer build. I’ve had a few toys over the years and most of them on the cheap side so this one won’t be any different. I’ve gone down the route of a full build on a ranger that snowballed well beyond my finances, not doing that again!
Anyways a little background on how I got the explorer, I had a Ranger I picked up for $1200 that was your standard high school bro truck. I need a daily and the price was right. All together I was into that truck maybe $3000. Had devers in the rear with shackles, 2.5” bypass, bed cage. Upfront east an upper arm, lift spindle, and a 2.0 shock. For what it was the truck did great, lots of dirt miles and laughs the whole way.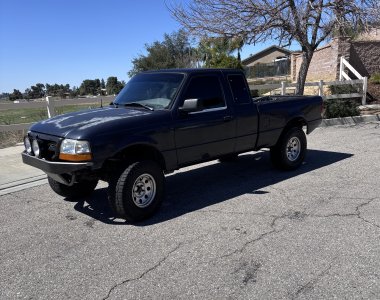
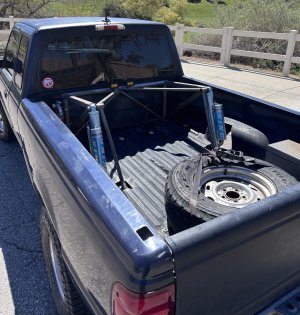
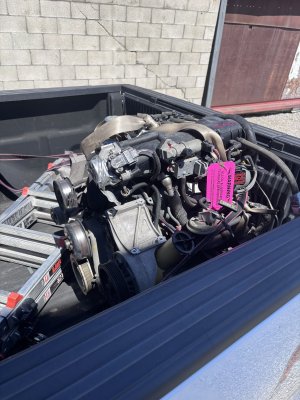
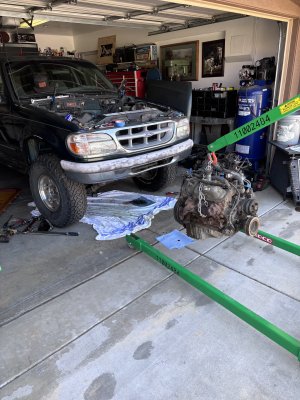
Well the wife finally got pregnant and I needed something with a back seat, so the search for a ttb explorer started! Looked for a while but the price tags people were asking was out of hand for a 30+ year old shit box. So my buddy Danny had a 1995 that had been sitting for a year with a hydrolocked engine from one of are previous trips. I didn’t want a-arms but for free I couldn’t pass it up!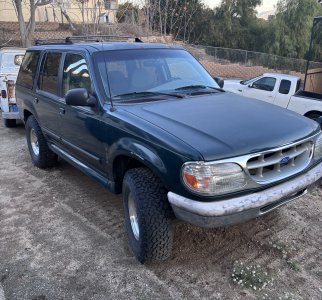 So sold the ranger and picked up the explorer on a Wednesday, found an engine with only 130k miles on Friday for only $800. The. That weekend I pulled the old engine that was full of water and got the new one in. It was a royal pain in the ass with being 4x4 and not being able to turn it over to get to the converter bolts. But by Saturday afternoon the new engine was in. Sunday buttoned everything up and and to my surprise it started right up and drove it around the block!
Anyways a little background on how I got the explorer, I had a Ranger I picked up for $1200 that was your standard high school bro truck. I need a daily and the price was right. All together I was into that truck maybe $3000. Had devers in the rear with shackles, 2.5” bypass, bed cage. Upfront east an upper arm, lift spindle, and a 2.0 shock. For what it was the truck did great, lots of dirt miles and laughs the whole way.


Well the wife finally got pregnant and I needed something with a back seat, so the search for a ttb explorer started! Looked for a while but the price tags people were asking was out of hand for a 30+ year old shit box. So my buddy Danny had a 1995 that had been sitting for a year with a hydrolocked engine from one of are previous trips. I didn’t want a-arms but for free I couldn’t pass it up!
 So sold the ranger and picked up the explorer on a Wednesday, found an engine with only 130k miles on Friday for only $800. The. That weekend I pulled the old engine that was full of water and got the new one in. It was a royal pain in the ass with being 4x4 and not being able to turn it over to get to the converter bolts. But by Saturday afternoon the new engine was in. Sunday buttoned everything up and and to my surprise it started right up and drove it around the block!


