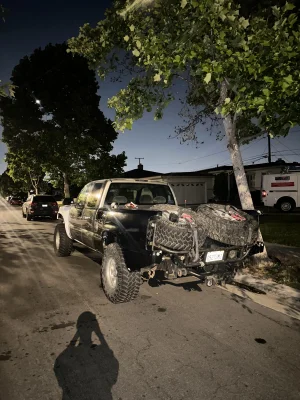
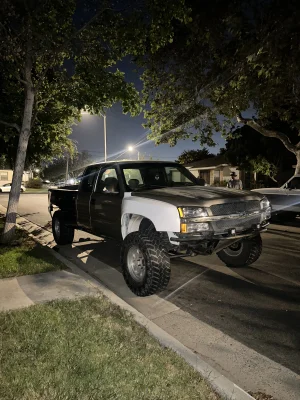
After a few of my friends that are on here have been convincing me to make a build thread on my truck, i decided to do so, i bought this truck back in September of 2024. and looking back, i really messed up buying a truck that has already been built with the mindset of "changing a few things" which didnt end up happening, this truck snowballed so fast i would have just been better off spending half of what i did on a stock silverado, but im here now and im not going to look back. live and learn. i drove the truck for a while just the way i bought it, didnt end up starting to take it apart until around february of 2025
You are using an out of date browser. It may not display this or other websites correctly.
You should upgrade or use an alternative browser.
You should upgrade or use an alternative browser.
2002 Chevy Silverado Prerunner
- Thread starter Blake2790
- Start date
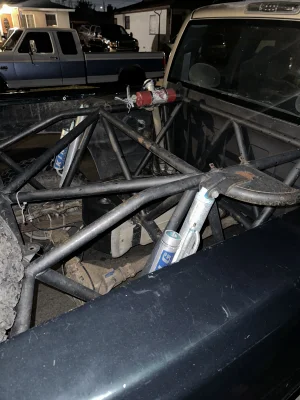
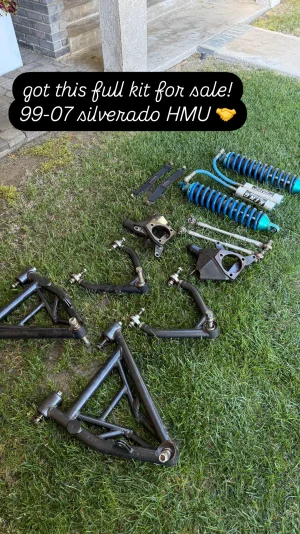
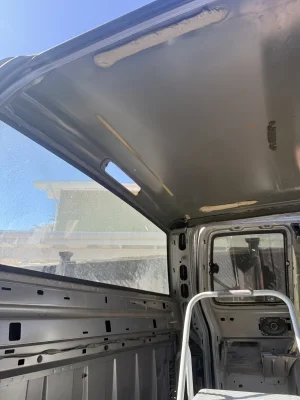
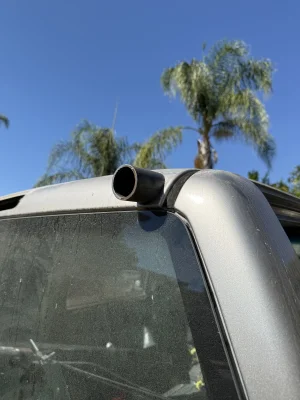
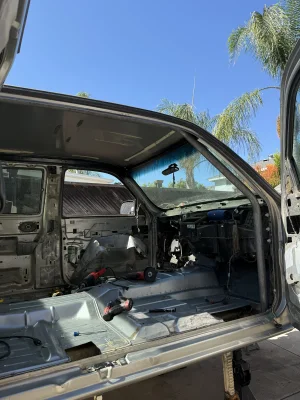
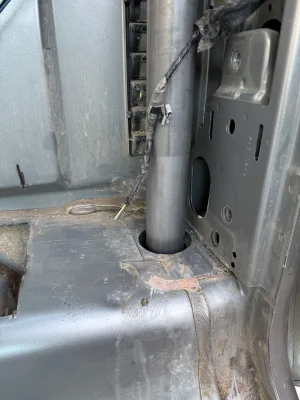
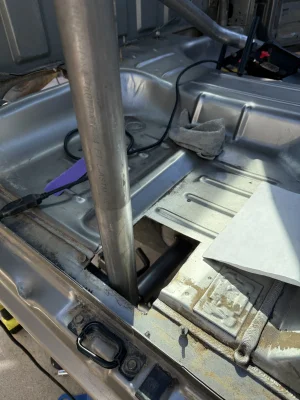
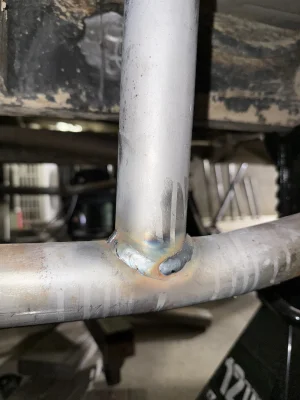
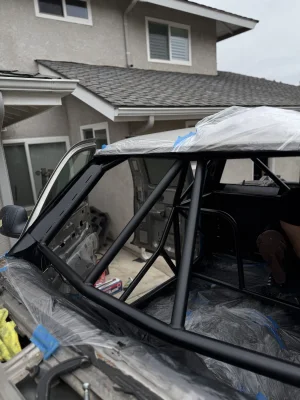
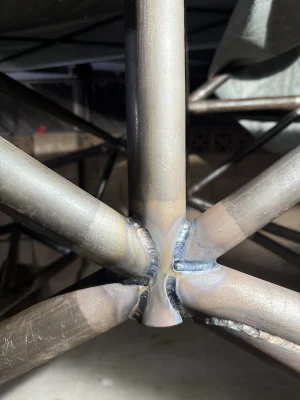
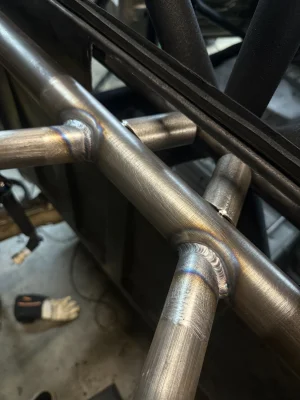
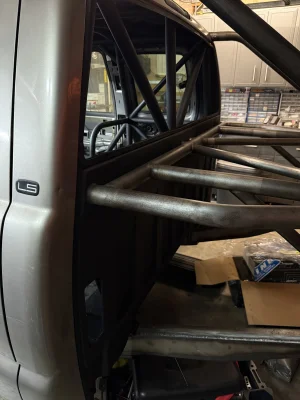
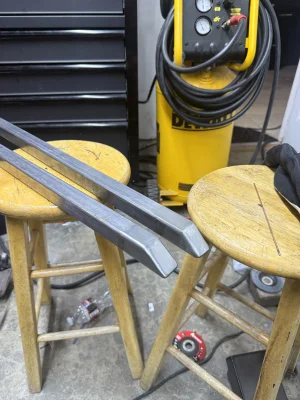
so in febraury of 2025 is when i put the truck up on jackstands and started to tear into it, luckily had guidance of a few friends who have built their own trucks before, i removed the old kit, sold it, and started getting into the cage, cutting out all the factory sheet metal in the roof, cutting out the floor and prepping tubes, started getting them all layed in and tacked together. got most of all the main 2 inch tubes in and then started welding all the main tubes together, looking back, few things i would have done different now to make this process easier on me but it all worked out
Attachments
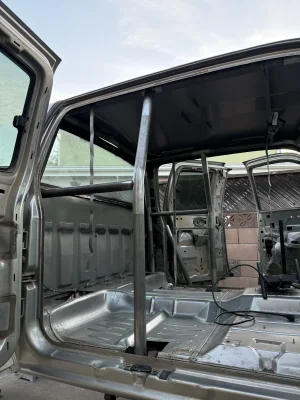
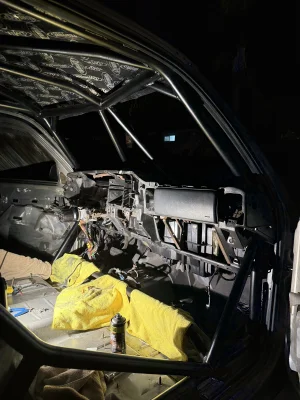
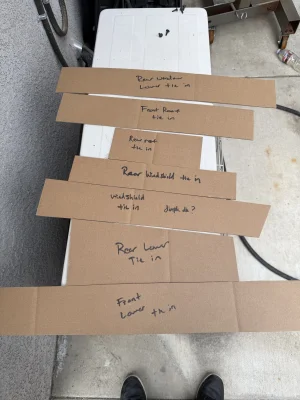
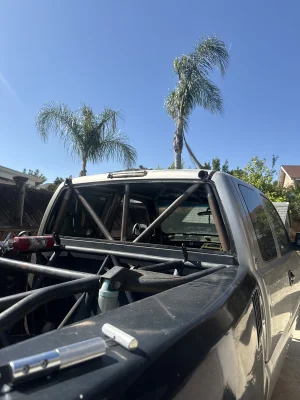
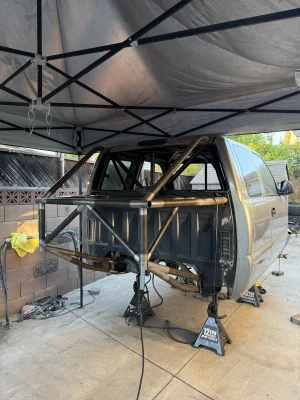
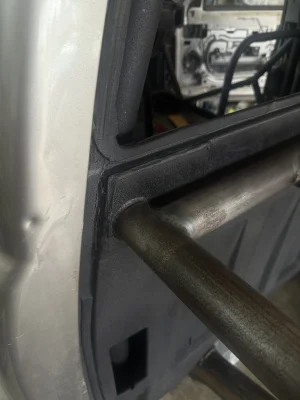
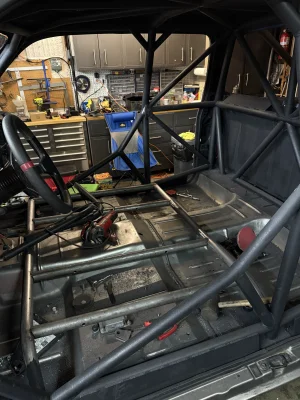
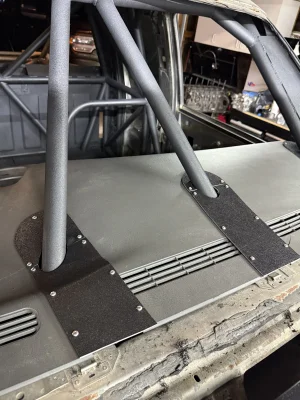
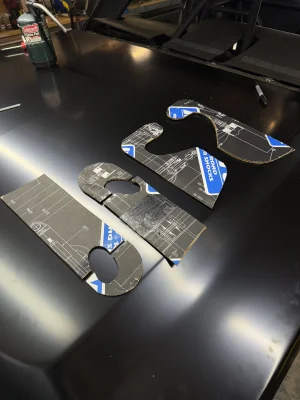
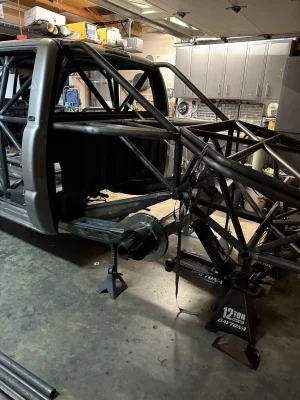
finished the cage, built cab tie ins and floor close plates, stitch welded all of them in, and then silicone sealed the floor plates. i painted the roll cage knowing id still have to mount seats etc etc. but i dont have any cover over the truck and it stays outside since i dont have an open garage so i painted it so it wouldnt rust and then i can always sand off whatever i need to in the future. and got the factory dash put back in, had to make a handful of brackets to replace some of the oem mounting locations that no longer work
Attachments
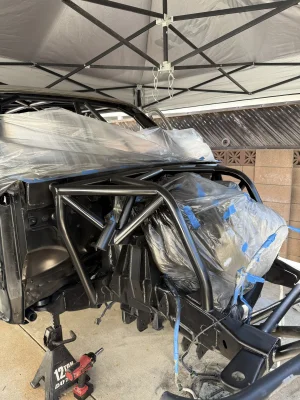
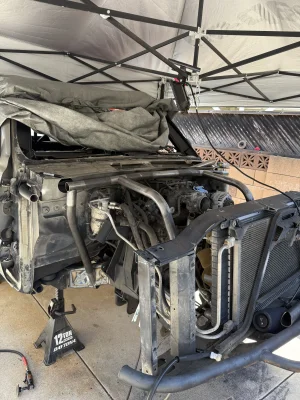
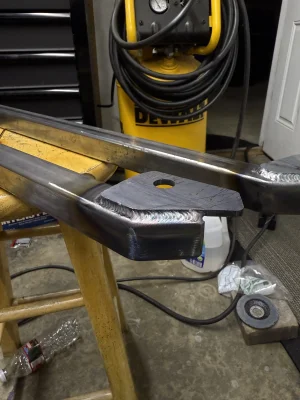
So welded on the mazulla front shock towers and forgot to take photos smh. welded on front frame plates. then i bought the TE designs engine cage, installed it, realized i didnt like it and cut it off, and ended up going a different route. built the engine cage, tied it into the cab cage. and built 3 tubes to tie in the shock towers and bump. i also ended up cutting off the frame horns but not back when i did this. painted it again since it sits outside
Attachments
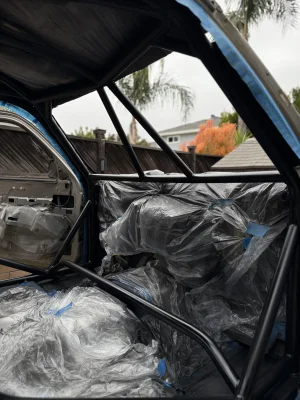
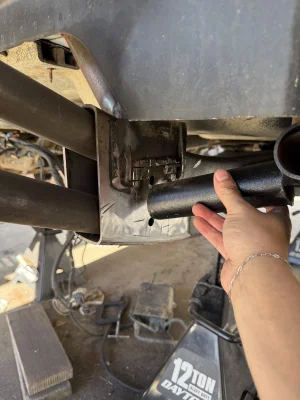
This is where i decided i wanted to link the truck instead of leaf springs. and really realized i should have just bought a stock truck. cut the back section of the truck off and started the backhalf, it came together pretty quickly. unfortunately ended up having to cut off some of the tubes from my roll cage since they are in the way of the lower links. and all the roll cage tubes were landed on rosette welded plates that all had to be cut off, wish i would have thought of it before but i was planning on the truck being leaf sprung.
Attachments
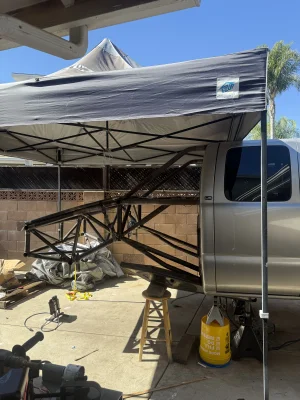

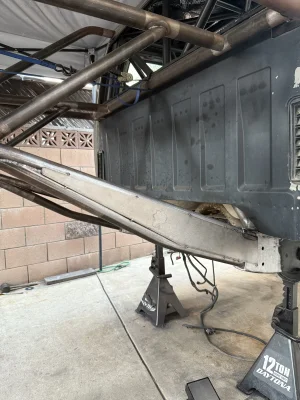
welded the lower tubes to the frame inside the frame. then plated it in in the C channel (forgot to take photos lol) plated the 2 tubes going up the back half, finished all the cage tie ins and about this time i finally cleared out the garage and got the truck in the garage! which is huge for me. then welded some rear firewall close plates, silicone sealed them and painted the rear firewall.
Attachments

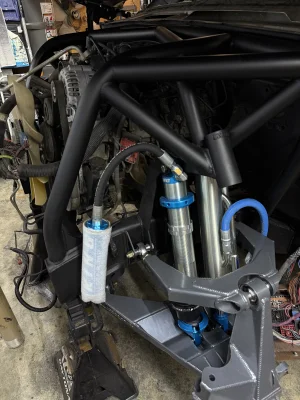
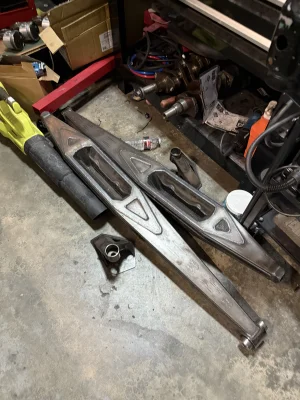
frame horns cut off placed an order for 4 coilovers. 2.5x10 and 2.5x16
bypasses 3.0x10 and 3.5x18
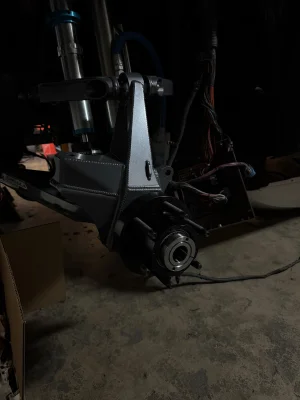
4 bump stops. 2.0s up front and 2.5s in the rear, got my front shocks still waiting on the backs and bumps. bolted my front kit on
bypasses 3.0x10 and 3.5x18
4 bump stops. 2.0s up front and 2.5s in the rear, got my front shocks still waiting on the backs and bumps. bolted my front kit on
Attachments
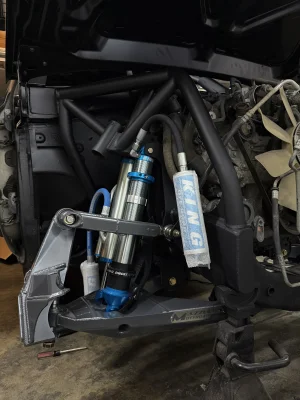
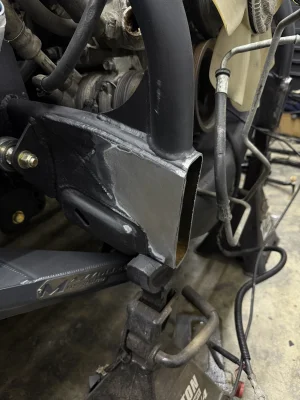
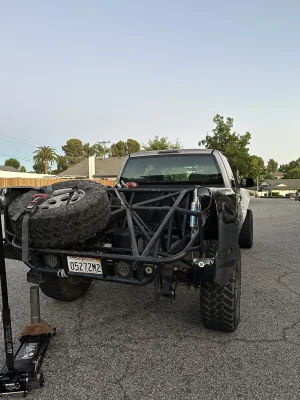
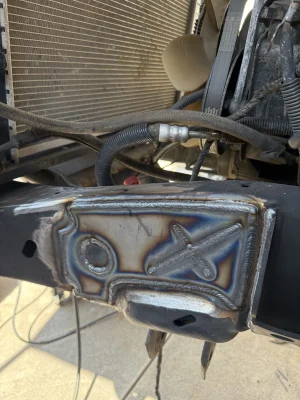
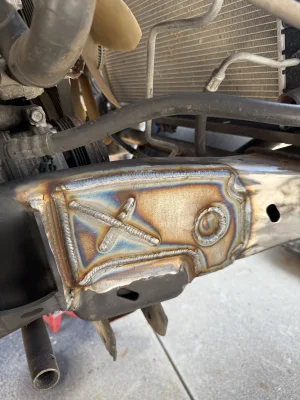
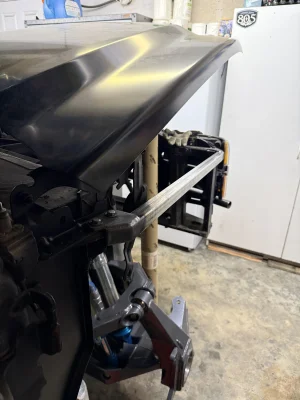
heres what i did for a front bumper/core support mount. very happy since it came so close to the grille, tucked up nice which is exactly what i wanted for this bumper, going to build skid plates soon as well.
Attachments


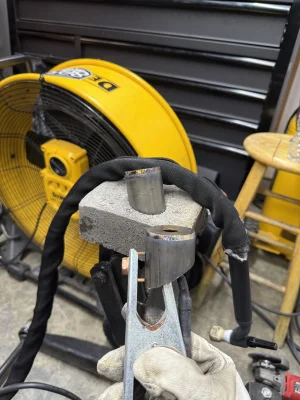
built some abs plastic cover ups for the dashboard. ordered my rear axle. got the BMS 55 inch links, Mazulla front hubs and Jamar rear hubs. and started to mount my seats, i built tabs to mount the seat to but hated how high my seats sat. so what i did was drilled holes in the seat tubes, put a 1/4 inch sleeve with an ID of the bolt. and welded them into the tube. seemed the best way to do it.
Attachments
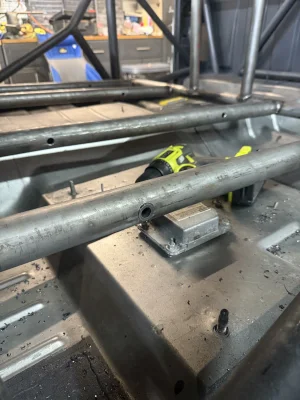
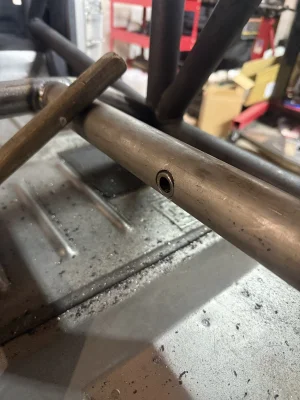
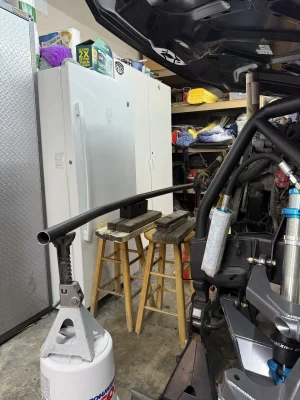
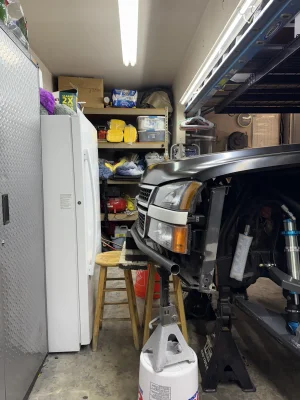
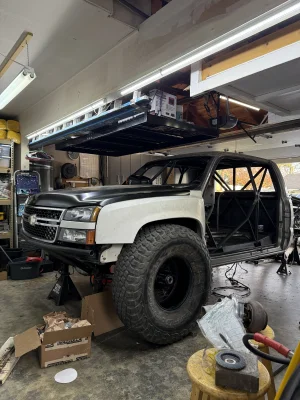
brings is to current day, i work on the truck once every week or so since i work my job full time and little by little chipping away at this build, we are officially 1 year into the build and id hope to have it done by jan 2027. got tires, built upper core supports that the fender mount to. got my rear axle from gts! have the lower link mounts clamped to the frame to mock up the axle.
Attachments
Similar threads
- Replies
- 24
- Views
- 2K
- Replies
- 22
- Views
- 453
- Replies
- 17
- Views
- 626